In a room that gets hosed down with hot water two or three times every day, waterproofing is a BFD
The stakes are high in bathrooms, and with good reason: because tubs have a track record of failure.
"I think greenboard showers sent my daughter through college—we've probably done several dozen baths due to failures."
—Doug Horgan, VP, BOWA Builders
Critical spots are where different materials connect—don't tuck your rain pants into your boots—and where wicking is a possibility—keep some space between your pants and the puddles.
1. Insulate and air seal the exterior walls (another BFD)
Pay extra attention to exterior walls when rehabbing a tub/shower area.
With so much moisture in the room, a hole in the air barrier as big as a tub can cause some pretty big problems.
#BugsMoldRot
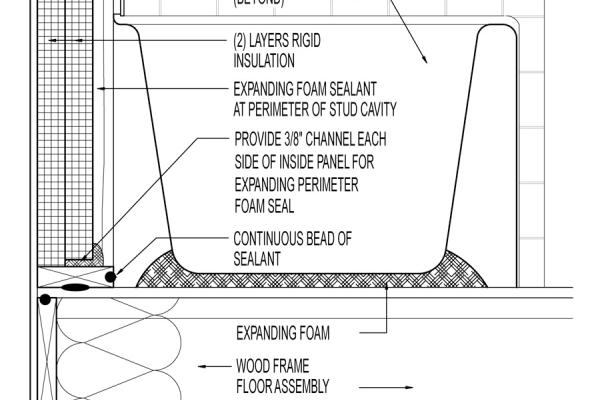
Spray foam or rigid foam and low expansion foam along the edges are two good options.
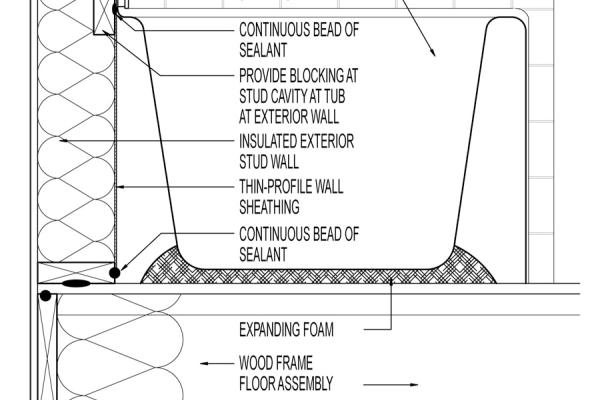
Alternatively, you can use a thin sheeting product, such as ThermoPly to create a solid air barrier behind the tub (see the slideshow below).
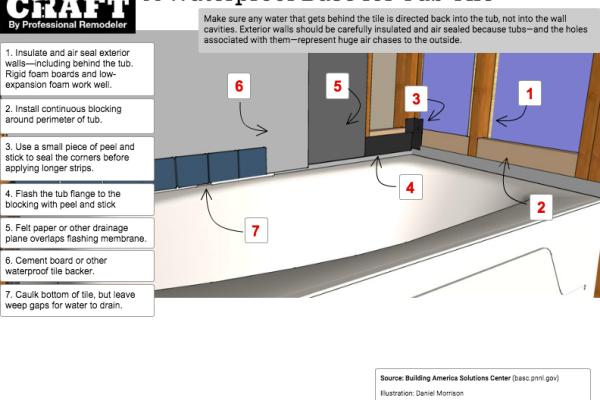
2. Flash the tub to the wall
 Create a backup drainage plane that will direct water into the tub no matter what.
Install blocking between the studs and behind the flange to give solid backing for flashing tape.
Install corner pieces of flashing tape in the inner corners, covering the tub flange.
Install a 4 in. strip of flashing tape around the tub, into the corners, overlapping the tub flange.
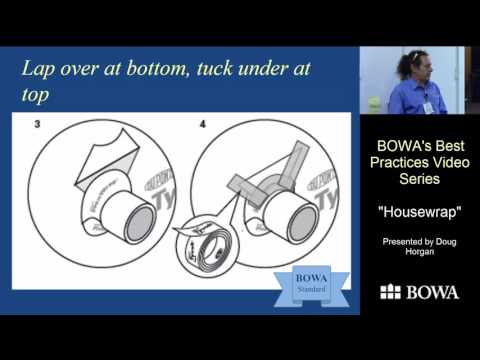
Install house wrap or #30 building paper over the framing, overlapping the flashing top at the bottom to the tub flange.
3. Install the backer board
Cement backerboard may be waterproof, but it is not the primary water proofing protection. And leaks happen at joints and penetrations, allowing water to migrate deep into an assembly.
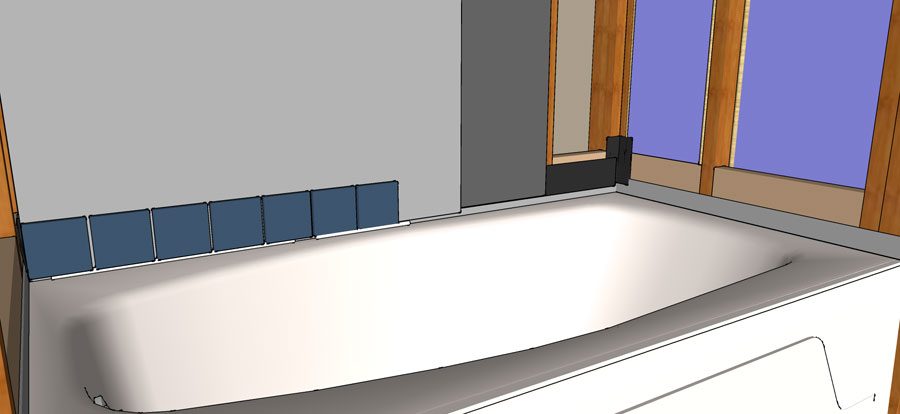
Don't set the cement backerboard directly on the tub: it will wick water every day until finishes fall off and framing fails. Don't hold it up too high either: it should lap shingle style over the tub flange, stopping about 1/2 in. above the tub deck.
Some comments from Mike Maines, a designer and master craftsman:
"If I was doing it myself, I would use a cementitious backer board, as I am not trained in installing Kerdi or similar.
The cement board joints should be taped with fiberglass and prepped with one thin coat of mortar before tiling starts.The mortar should be spread wide to avoid a hump in the tile.The fiberglass should be made for mortar, not drywall, as the mortar is very alkaline and will eat drywall tape. "
4. Tile the walls
- Seal all the joints and corners in the backerboard with mesh tape and thinset.
- Install the tile using thinset mortar, grout, and grout sealer.
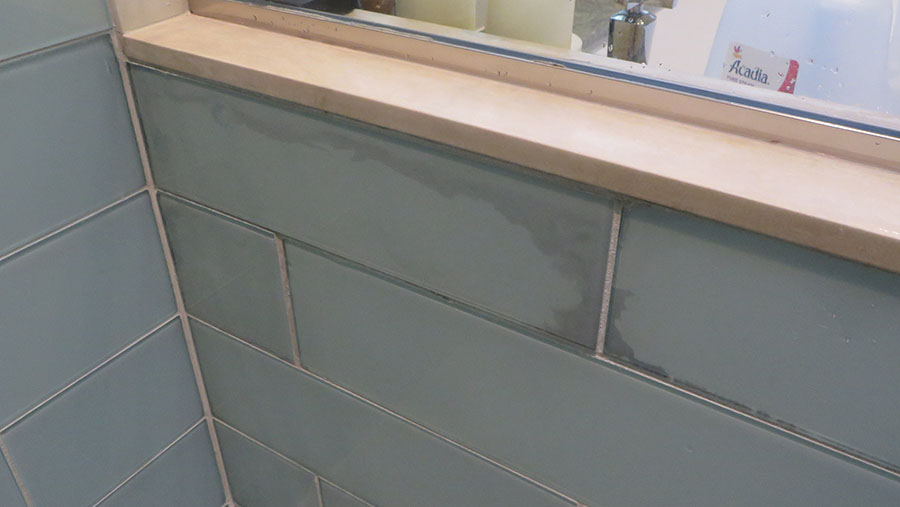
- Caulk the bottom of the tile with silicone caulk leaving weep holes at either end and in the middle to allow water to drain.
- For shower pans, make sure not to fill the weep holes with grout: maintain an exit path for water.
More from Mike:
I have had better luck getting quality grout and sealer from tile stores than from box stores.
And another tip—from someone who hates cleaning grout joints—consider using a light gray grout, which would also better show off the changes in tile size.
— Mike Maines, Michael Maines Residential Design
<code>
2012 IRC: SECTION R702 INTERIOR COVERING
</code>
Source:
- BASC's Resource Guide: Walls Behind Showers and Tubs
- NREL's Measure Guideline: Water Management at Tub and Shower Assemblies

