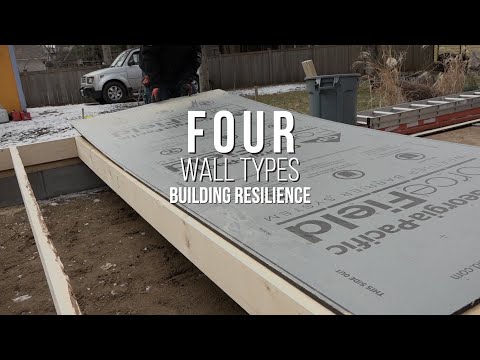
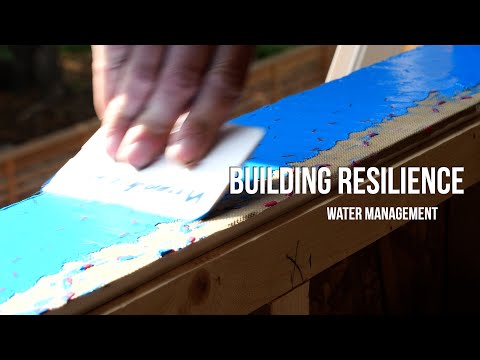
Peel and stick Z-flashing and some padding pushes a ledger flush with the face of the thick panels. A cover sheet of peel and stick completely waterproof the ledger before the deck is framed
Seems like whenever you build a house, someone comes along wanting you to build a deck or two onto it.
Which is fine, except that they also want you to use some kind of exterior insulation.
You can bolt through it all with extra long bolts, but you may have to convince your inspector that the foam does not represent a cantilevered load.
And you still need to flash the ledger into the WRB.
OA Design+Build weaves it into the sheathing for a watertight seal.
Step by step:
- They begin the process with a strip of peel and stick membrane over the rim joist. Let the bottom few inches hang down, without sticking it to the framing.
- Pad the ledger with a strip of ¾ inch subfloor scrap and bolt it to the framing according to the IRC requirements.
- Now you can fold up that flap and install the insulated sheathing below the ledger. The padding means the ledger and the sheathing will be flush.
- Fold the flap down—forming a Z-flashing—and seal it to the sheathing.
- Another strip of peel and stick covers the assembly, sealing it against air and water leaks.
- Frame the deck as you would for any other deck.
- Some people like to put a termination tape on the membrane as added protection.
This assembly is neat and tidy and will keep water OUT of your walls.
—Technical details from Otogawa-Anschel Design+Build, Minneapolis, MN


