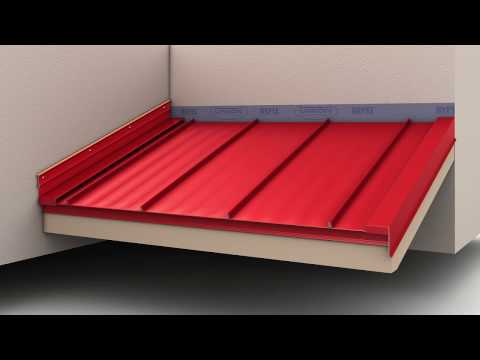
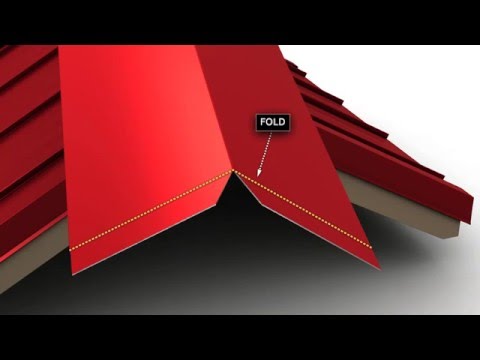
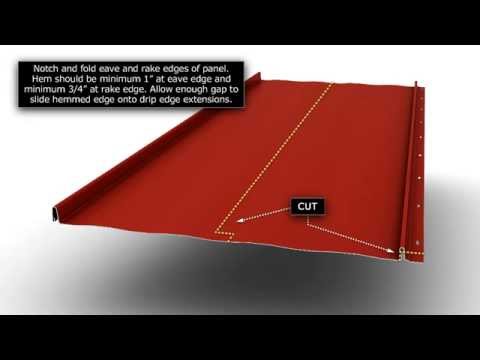
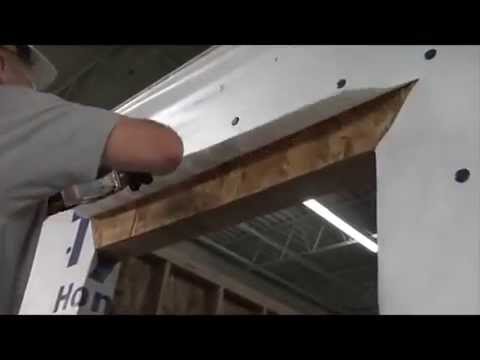
A silent movie about flashing a metal roof into a brick chimney from UnionCorrugating.
Step by step:
- Trim panels to fit around the chimney.
- Panels above the chimney should be removed.
- Bend legs up the chimney sides about 1 inch.
- Cut two opposing 45-degree notches into Z-closure (to allow a 90-degree bend).
- Apply butyl tape to the underside of the closure.
- Fold closure 90 degrees, and apply to the roofing along one side and one-half of the section below the chimney.
- Screw closure in place with pancake head wood screws set four inches apart.
- Repeat z-closure installation on opposite side of the chimney.
- Cut an apron flashing for the bottom of the chimney. Hem the bottom of the apron to hook onto z-closure.
- Fasten apron into the chimney with masonry anchors.
- Apply sealant to the apron where sidewall flashings will overlap.
- Cut the bottom of the sidewall flashing at 45 degrees and the top such that it will bend around the uphill side of the chimney.
- Slide sidewall flashing into place and fasten into the chimney with masonry anchors.
- Repeat sidewall flashing on opposite side of the chimney.
- Install two layers of butyl tape sealant under perimeter of pan flashing
- Apply sealant to sidewall flashing where pan flashing tabs will overlap.
- Cut and fold pan flashing to fold up the back of the chimney and over the sidewall trim. Pan flashing should extend at least 12 inches up the roof plane.
- Rivet the pan flashing to the sidewall flashing.
- Screw the pan flashing to the roof with gasket screws.
- Apply butyl tape sealant to the bottom of an offset cleat, and install the cleat six inches above the chimney base.
- Fasten cleat with pancake head screws.
- Fasten upturned leg of the pan flashing to the chimney with masonry anchors.
- Install counterflashing with masonry anchors around the perimeter of chimney covering all upturned legs.
- Generously apply sealant to the top of the counterflashing around the perimeter of the chimney.
- Remove upper portion of the lower hook of the female leg of the roofing panel that runs alongside the chimney. This will allow an overlapping panel to snap into this section.
- Install field-hemmed panels above the pan flashing, hooking into the offset cleat.
- Field trim the male leg to allow a flush fit against the adjacent continuous panel.
- Install full-length panel over the just-cut male leg.
Easy as 1, 2 ... 28
—Union Corrugating is not an advertiser of ProTradeCraft. We just think their video is useful.
