The best containment strategy depends on the job size, tools required, location in the house, and proximity to living space
Working in homes built before 1978 requires that certain rules and procedures be followed. Weatherization contractors work under two sets of rules:
- The Department of Energy's Lead Safe Weatherization Rule (LSW)
- The Environmental Protection Agency's Renovation, Repair, and Painting Rule
Weatherization TV covered setting up a lead-safe containment area on the exterior in a previous video, this one focuses on setting up lead safe containment on the interior of a house.
Containment is designed to keep dust from migrating outside the work area. Under the LSW rule, containment is always required regardless of the size of disturbance. But, size of disturbance is a good way to define your containment strategy.
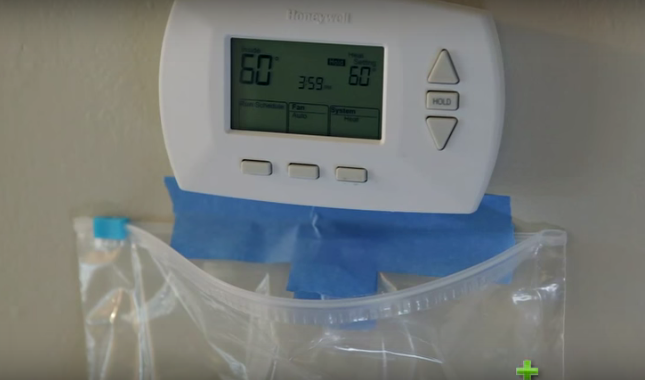
Level 1 containment (lower level)
Suitable for small areas, less than six square feet. Level one containment is just enough plastic to contain the dust from the job. An example is taping a plastic bag under a thermostat that you are changing, to catch the debris. Another example would be taping plastic on the floor to catch the debris.
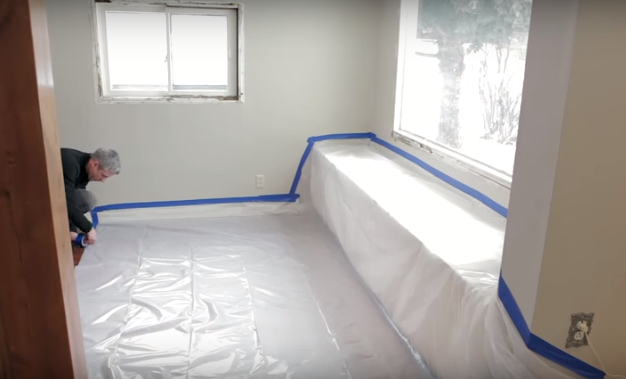
Level 2 (RRP containment): Greater than or equal to 6 sq ft per room
Level 2 containment is also required by both rules when working on windows, regardless of the size.
Step 1: remove anything from the area that may get dust on it, such as chairs, cushions, rugs, etc.
Step 2: lay out the plastic. The minimum guideline is to lay out six feet of plastic from the edge of the work area both side to side and front to back. So the plastic will cover 12 feet more than the window width (if floor space permits), and it extends six feet in from the window.
Tape the plastic to the floor and walls below the window with painter's tape. Use duct tape to tape plastic to plastic.
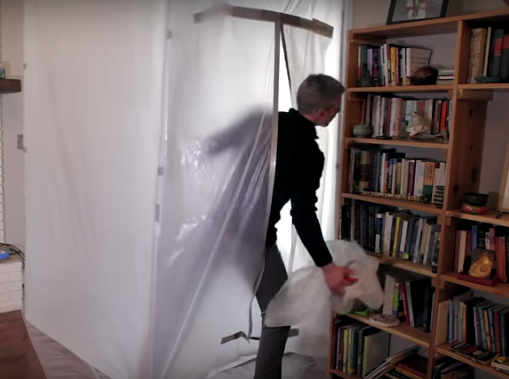
Level 2 Vertical Containment: for bigger jobs that kick up dust
When replacing a window it is likely that a reciprocating saw, power drill, circular saw or other high speed power tools will be involved. This calls for plastic walls to contain the dust. Other situations that call for vertical containment:
- Extended job duration
- Proximity to living space
- Elevated work area
- High dust
It makes sense to cover the floor register for forced air systems, to keep the supply air from messing up the plastic.
Tape the floor plastic to the bottom of the wall below the window.
Use ZipWall Poles or similar to extend plastic walls. Doors can be made in a plastic wall with duct tape and a utility knife. Tape an I shape in the wall and cut the vertical line and bottom horizontal line to create a rip-resistant entrance. Add an interior flap weighted down at the bottom.
Slip the wall poles on top of the floor plastic and tape the walls to the floor with duct tape. Tape wall plastic to the house walls with painter's tape.
Plastic used in this video is 6 mil for the floor and either 4 mil or 6 mil on the walls.
Placing the tent poles inside the tent makes it easier to set up, but it means that the poles need to be cleaned after using them. You can also put them on the outside of the tent, but it is harder to set up a durable containment zone that way.
—Thank you Montana Weatherization Center for doing such good work and sharing it with the crowd.
