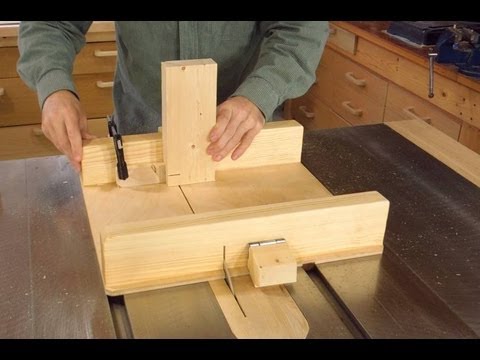
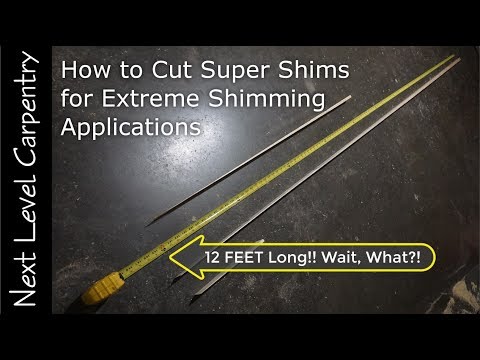
Lots of carpenters have a shim jig somewhere in their tool box that was right for the shim they needed when they made the jig. But when the situation changed, why maker a new jig? This tewo-piece adjustable shim jog is buildt for a table saw and lets you cut shims to almost any size you need.
"I've never been happy with the soft, Cedar, store bought shims...they work for some applications. But for heavy cabinets and where you need custom sizes, heavy duty shims that won’t crush, or shims that taper fast, or with a slow taper, or even shims that taper to a fine point....making your own is quick, easy and safe to do with my Adjustable Shim Jig."
—Ramon Valdez, funituremaker
A quick look at the parts and assembly involved
The main top plate is about 6-1/4 inches wide (this number is arbitrary, but provides a very safe distance for pushing the jig through the blade). The top plate has two elongated slots for the adjustment knobs which screw into threaded T-nuts countersunk into the plywood stop plate below.
Attached to the underside of the main plate is a cleat of the same thickness as the shim material, about 13/16-inch for most hardwood stock in the United States.
The cleat is held back about a half-inch from the edge of the top plate for a couple of reasons: to eliminate sawdust buildup and to set it away from the miter slot in the top of Ramon's table saw.
There is also a plywood stop-plate under the top plate. The stop plate is about 2-7/8 inches wide and 3/4 inch thick, so the adjustable plywood piece will be 'floating' to some extent.
The floating aspect of the plywood eliminates friction when pushing the jig through the table saw, which captures the shim stock tightly. The stop plate is set behind the top plate so that the stop notch is easily visible to the operator.
A stop block is screwed to the end of the stop plate. It could be notched into the plate, but screwing it in place makes it easily replaceable.
Ramon also drawls a line on the underside of the top plate indicating his most common shim size, making the shim-cutting setup quicker.
Sandpaper on the underside of the top plate and the top of the plywood plate eliminates accidental slippage and holds the shim in place.
You can buy plans for this jig from Ramon here.
