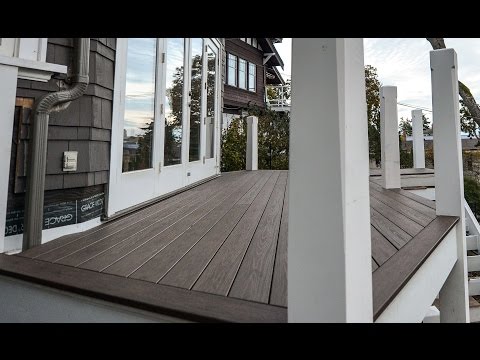
Fine-looking decks begin with basic details, and nothing is more basic than cutting deck boards cleanly and accurately.
There are at least five chances for error in the measuring/cutting process:
- Measuring the space
- Communicating the measurement
- Measuring the board
- Marking the measurement
- And cutting the mark
Decking tip 1: Synchronize your measuring tapes
First, synchronize all the measuring tapes.
They do not all read the same. Even tapes of the same brand can vary.
These tapes are right on, but if yours are off, ensure someone accounts for it.
Decking tip 2: Cut the split from the board's end
When choosing the lengths, look for ways to get the most from a board, but do not get too greedy. Most wooden deck boards have split ends.
If these are not cut off, the split will grow. So Ben nips this split in the butt joint.
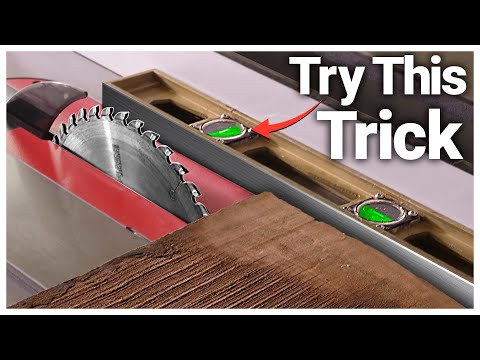
Cut off the split end and then remove quarter-inch sections until they do not break easily when you tap them against the saw table.
This is an old furniture maker's trick. It's called the tap test.
Decking tip 3: Mark deck boards with a knife
With a clean and square end to measure from, flip the board around and pull your number. Ryan uses a utility knife to mark the length. And then, he scores the cut line to reduce tear-out and give a crisp, readable line.
Decking tip 4: Do not waste movements
To speed up the process, put your knife in the length mark and then slide the square over to it. That way, you do not have to goof around by sliding the square exactly to the little mark.
Decking tip 5: Nibble your way up to the cut line
This saw has lasers on both sides of the blade, but Ryan still nibbles his way up to the cut line to get a precise length.
Decking tip 6: Seal decking end grain before installing
To seal the deal, he soaks stain into the end grain. And this deck board is ready to screw off.
