SPONSOR CONTENT
A timeless accent wall treatment that takes very little time to install
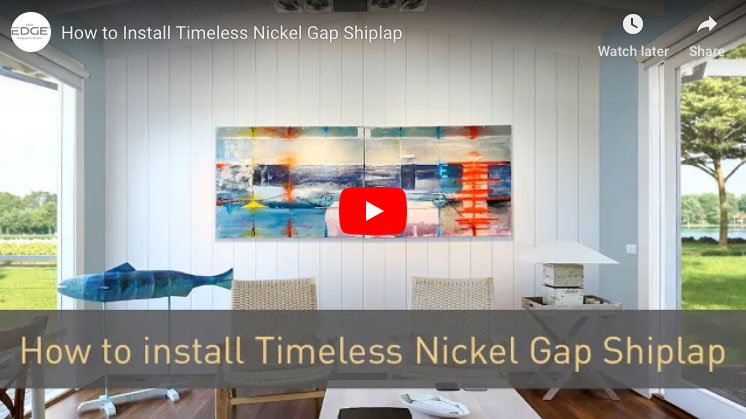
In this video, we'll show you how to install a UFP-Edge Timeless nickel gap shiplap as an accent wall treatment.
After buying your material, allow the wood to acclimate for several days before installation in the room it will be installed in.
- Locate and mark your studs.
- Begin installing shiplap boards from the bottom of the wall. Apply a bead of construction adhesive to the back of the board.
- Place the board on the wall as shown with the flange on top.
- Drive 2-inch trim nails into the flange at each stud. You can use a pneumatic nailer to get the job done faster.
- Make sure that your boards always meet on a stud. You may have to cut boards to length.
- Stagger the seams as you make your way toward the ceiling. The final row will likely have to be cut lengthwise to fit.
- Measure the gap in several places in case the ceiling isn't perfectly level then cut the board with a table saw or circular saw.
If you're installing a vertical orientation, begin by installing full-length furring strips every 24 inches then install the shiplap boards the same way starting on one side, staggering seams, and cutting the final board for a custom fit.
Trim boards can be installed before or after the shiplap.
Use the same construction adhesive on the back of the board then drive trim nails through the face.
Use the color-matched wax fill stick to hide the nail holes. If installing on top of plaster or hardboard, make sure the wall is in moderately good condition before beginning.
If your shiplap gets scratched or damaged at any point use the color-match wax fill stick to hide the damaged fill with the wax stick and scrape off the excess with a plastic scraper.
To clean your wall, apply mild soap and water to a smooth cloth and wipe the surface.
—This video is from UFP-Edge, one of ProTradeCraft's advertisers. See all of UFP-Edge's content here.
