... Works for any spring angle and (almost) any size crown.
Typically, carpenters set up a stop block to hold the crown molding at the correct spring angle on the table of the miter saw. Because the table and fence meet at 90 degrees, they can mimic the wall and ceiling to help visualize how the crown sits.
Problem is, the crown needs to sit upside down because the ceiling (saw table) is where the floor would be. This is where the familiar 'upside-down and backward' comes from that you can hear finish carpenters mumbling as they walk from the wall to the saw station.
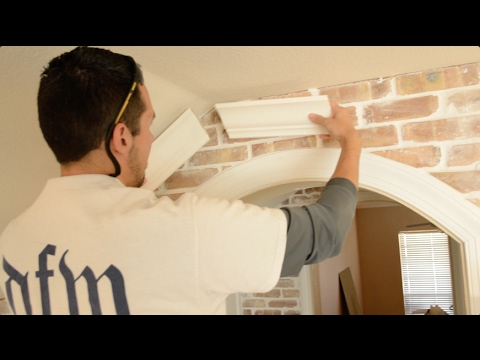
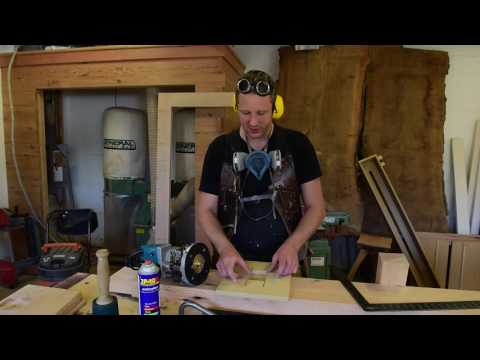
In this video, Paul demonstrates a jig that will help the crown at the right spring angle without setting it upside-down.
How to make the crown molding jig:
Paul makes a T-block with two pieces of scrap plywood, the base is 4-3/4 inches wide and the upright is 4 inches wide, which is the projection of the 6-inch crown molding that Paul will be cutting. If your crown molding is larger or smaller, the upright section will need to be taller or shorter.
Both are about 18 inches long.
- He cuts a semi-circle in the upright fence to use as a handle. He uses a hole saw, but a jigsaw would be quicker.
- He scribes a line 2-1/2 inches from the edge using his patented invention, the ProScribe Tape Measure
- Pre-drill holes with countersinks for the screws
- Paul tacks the two pieces together with a finish nailer to make screwing them together easier.
- He then tacks a 1-inch strip atop the fence to act as a crown stop. The strip is flush with one side of the fence and overhangs the other edge 1/4 inch.
This fence sits atop the saw's table, but the crown molding angles up toward the carpenter rather than up away from the carpenter. This means that the saw's table represents the ceiling and the jig's fence represents the wall. placing you in the same view as you'll have when nailing the crown molding in the room.
The crown molding jig is reversible for other sizes, too
To use this jig on smaller trim, flip it around so that the crown stop is out of the way.
- Place the crown molding in the jig and line it up so that the back sits flat against the jig's fence.
- Where the top of the molding sits is where you'll clamp a 1-inch strip to act as a crown stop.
The spring angle is irrelevant because the crown stop is adjustable.
—Paul Ricalde is a home improvement contractor and fireman in New Orleans, LA. His YouTube channel is rich with construction/remodeling videos.
