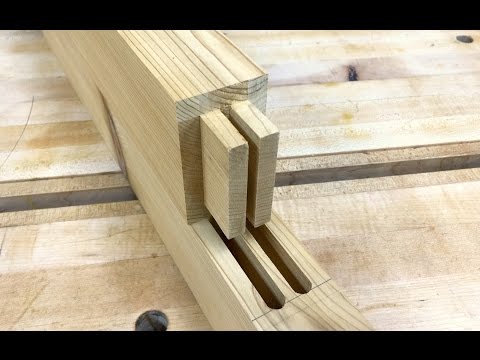
How to pull a rabbet out of your hat—because woodworking mistakes happen
In this video, Ramon Valdez, a furniture maker, comes clean about cutting rabbets in the wrong place, and he demonstrates his 12-steps to success.
Twelve steps to woodworking mistake success
- Find a section that has a similar grain pattern and tone. Hopefully, the spare piece will be longer, wider, and thicker than what you'll need for a patch.
- Clean up the face and edge to be glued with a hand plane.
- Use a draftsman's circle guide to draw an arc matching the router but radius on the end of the patch piece.
- Use a belt sander or edge sander to sand away the excess down to the radius you just drew.
- Check the fit.
- Adjust the curve until it fits perfectly. It usually makes sense to move down to a finer grit as you get closer to dialing in that radius. Coarse grit sandpaper will work, but it may leave burn marks.
- Cut to length, a little long.
- Glue the patch into the goof-spot, making sure it is still slightly long, proud, and wide.
- Clamp in three directions—tight, but not too tight—using a cowl to clamp the patch tightly. A polypropylene cowl will not absorb glue so that it won't stick to the workpiece.
- Don't try to sand it flush until long after the glue has set up. There is moisture in the glue, which will cause the wood to expand slightly. If you sand it flush before the moisture dissipates, you'll be left with a divot after the moisture does dissipate. Depending on the finish you use, this may show up and make you look like a rookie.
- Sand the surfaces flush with the workpiece. Ramon draws pencil marks across the surfaces to indicate even sanding.
- Keep the mis-take to yourself and celebrate your success.


