Last time on Building Resilience, we were surveying the many aspects of heating and cooling systems.
So, heating and cooling systems. This house has a boiler which means that we’ve got radiators throughout the house that are providing really great heat. We’ve got in-floor, we’ve got standard cast iron all over. But cooling is something that these old houses didn’t come with.
Now upstairs in the attic, where we foamed the whole lid and made this whole thing super super super tight, we were able to put in an air handler and what we might think of as a traditional forced air cooling system that’s providing cooling to the second floor.
Very short duct runs, easy to do, easy to balance. And because our BTU load overall went down, we’re able to put a fairly small air handler from Mitsubishi up there.
This week, we're going back outside in the sun to apply some groovy new WRB that doesn't require cap staples or seam tape. It's important to get the WRB level, so the crew uses a laser to create a level reference line.
This laser level is from the movie Toy Story!
Turns out, though, that sunlight is the enemy of laser levels, so they revert to the old-school method of snapping a line, which always makes for good slo-mo video. Unless it doesn’t. To make up for that, here’s some slo-mo of cleaning up the window openings before the WRB— because that happens, too.
Before installing HydroGap SA, you need to carry the roll over to the wall and Stephen’s on top of that.
PLAN OF ATTACK: The WRB sticks to the framing and sheathing
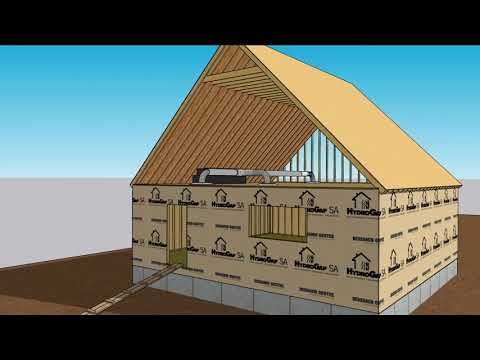
So we are using a very cool product from Benjamin Obdyke called HydroGap SA. And the SA stands for self-adhered, which is pretty self-explanatory, right? It adheres to the substrate.
There’s a release liner, you pull it off the back and it’s sticky and you put it on the OSB or your plywood or whatever you’re using, and you apply some pressure and that then is going to adhere your WRB to your substrate. No staples, no cap nails, we’re done.
There are a bunch of additional benefits that come with it as well. The first is the trademark of HydroGap in general which are these little nubs.
These little nubs provide a little bit of space between the cladding and the WRB and it relieves that hydrostatic pressure that could otherwise pull water that gets behind your cladding or your trims against the building paper and ultimately force it through the building paper, which we want to avoid. So that little break is a big deal, and it also happens to provide very good drainage at the same time.
But there’s a secondary benefit and we really came to understand it after we started installing this. Typically, when we have a paper or a non-woven fabric WRB and we get to the edge right here where the sheeting meets framing, we typically want to cut that and tape it so that we seal it so we get that air seal between our building paper and our framing.
With the HydroGap SA, it is the tape. So we literally just get to the edge, cut it, bring it around, apply some pressure, and now we are fully air sealed at the framing so my sheeting, my framing, they’re all encapsulated. And I have no way for air to get behind my building paper across my sheathing to my window flanges.
At window or door openings, it is important to create a seal from the outer WRB across all of the layers to the framing.
In this case, there is a seam between the WRB and the OSB, and between the OSB and the stud.
This is usually sealed with flashing tape, but because HydroGap SA is self-adhered, you can wrap the WRB into the opening and seal all of the layers.
Of course, the top of the opening and the door sill still need to be detailed, but the two sides are done as soon as you install the HydroGap.
JOBSITE KNOWHOW: Installing Hydrogap SA WRB
Once Sol finishes cleaning up that rough opening, they start peeling the backing layer off the HydroGap and sticking it to the wall.
Stephen puts it on the line and sticks it.
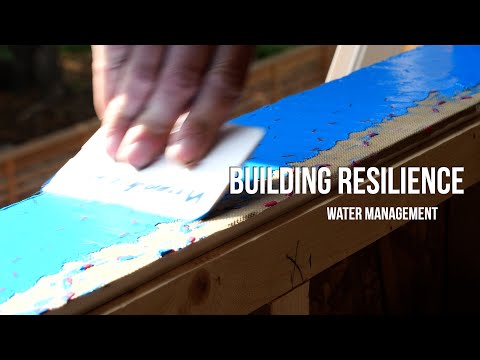
And then he uses his handy Benjamin Obdyke squeegee to apply pressure to the adhesive to wet it into the substrate.
The acrylic adhesive is easy to reposition before it completely wets into the substrate, so it’s easy to get the wrinkles out if the camera is rolling.
With the top of the sheet where it wants to be, they turn to the corner.
They roll out enough to get to the opposite end—again, removing that top release sheet— and then they cut the sheet about eight inches past the corner, tooling the WRB into the wall sheathing all the way.
Because HydroGap is self-adhering, it acts as a flashing tape, so they go back to the 1990’s method of WRB window detailing, cutting 45-degree slits at the bottom corners and folding it over the framing.
If the WRB does not stick to the framing, this detail is a bad idea because it creates another layer for air to leak through.
The second row is a lot like the first row, only higher on the house.
They stick the top to the line, peel the backing, stick the HydroGap to the house, peel off the bottom release sheet, and cut out the window opening.
The top of the window opening is not wrapped into the framing because it needs to overlap the top flange of the window. To keep it sticky until the window is installed, they stick a piece of release sheet to the upper flap. And then they move on to the whole rest of the wall. Peeling, sticking, and removing the wrinkles as they go.
Even though the upper section of the house will get Invisiwrap UV to go behind the open cladding, they cover the sheathing with the sticky wrap for a tight air barrier.
Sol works it into the corners and around the obstacles — like this rafter tail and the kickout flashing above it, which too many people do not believe exists.
And that’s a pretty good setup for next time when we’ll flash the window openings, stick the windows in the holes, and seal up some tiny holes, too... on Building Resilience.
More on PTC about WRBs:
- Airtight Walls in the Real World (PTC's Continuing Education Tour, Part 2)
- WRB and House Wrap Installation Guide
- Weatherization Nation 4: The WRB is a BFD
Building America Solutions Center:
- Building Enclosure: Exterior House Wrap Installation
- Moisture Management in Residential Construction - Exterior House Wrap Installation
- Install the house wrap. Cut house wrap to fit over diverter and tape top of cut wrap
Building Resilience is a production of the SGC Horizon media network. See all of season two here.
