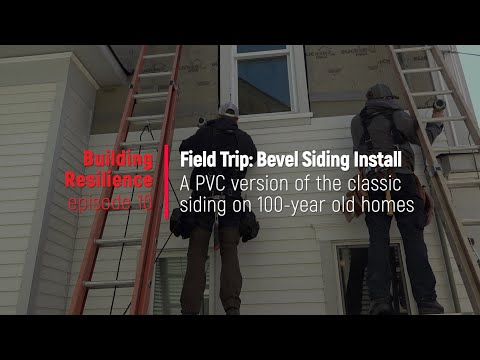
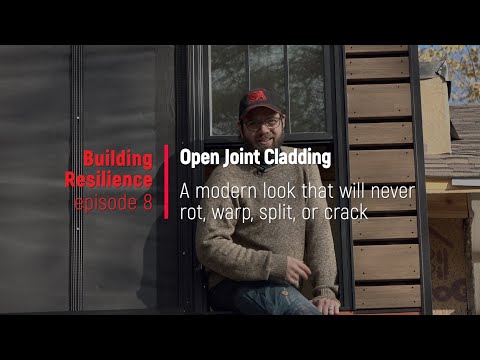
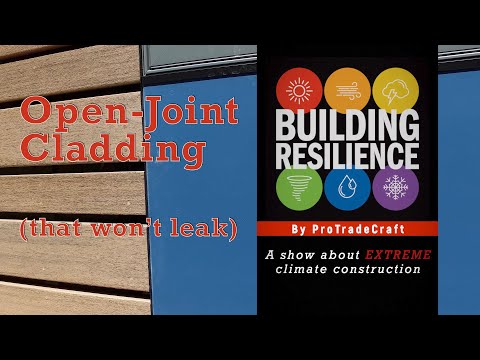
This episode of Building Resilience examines vinyl siding and two types of wall cladding: vinyl siding from Variform, some Ply Gem panels and site-bent channels, and an open-joint cladding system with PVC deck boards and more site-bent channels.
Show Transcript:
Last time on Building Resilience, we were carrying windows around the shed, lifting them onto the ladder, and sticking them in the hole.
We were also talking about why we like vinyl windows.
MA: “Windows are made out of all kinds of materials, including vinyl. And there are a few reasons why vinyl windows are worth considering.
Well, the first is They don't rot. Vinyl doesn't rot, and if we're putting a window on the outside of a structure where it's exposed to all the elements, having something that doesn't rot easily or at all is probably a good idea. The other is vinyl is a poor conductor. It doesn't transfer energy very well, which makes it very energy efficient for a fairly low price point.
And that same property also means that it's very condensation-resistant. Both our bonuses. The other is that vinyl is a fairly resource-efficient material, and it is also very lightweight. And on the install side, having a lightweight frame, well, that's a good thing. Now, windows can also be made, uh, poorly.
So whether it's wood, fiberglass, or vinyl, selecting a high-quality, well-made unit is really what matters most.”
Panel and channel cladding is modern-looking and durable
This time, we're going to install several types of siding on that shed, which is what makes it stylish. One of those cladding types is a panel and channel design that we've used in the past.
MA: “You've seen us use panel and channel in the past and I've got to admit I really do love this stuff. There's a whole bunch of reasons why. Uh, It's the cellular PVC. This one is from Ply Gem. It's three quarter inches thick. It's very lightweight. It's easy to use. It's easy to cut. It's easy to install. It's also incredibly resilient.
It's not going to rot. Uh, when water sits on one of these channel pieces next to it, it's not going to soak in and bust out. And it's also rated for ground contact like we have right there. So we can take our finishes straight into the dirt. The other part of the system is the channel. In the past, we've used architectural extruded aluminum channels, but this year we decided to try something a little different.
We also took a stab at bending our own channel using coil stock, which is a lot more affordable and a lot of fun. We were able to make all the parts and pieces that we could imagine for the space at the exact sizes that we wanted. Another cladding you've seen from us quite a bit is the open joint cladding.
Vinyl siding that tucks behind PVC trim
This is a PVC deck board that we put over Benjamin Obdyke's InvisiWrap UV and their Batten UV product. It's a really great system. We love it quite a bit. Something you haven't seen as much from us will be vinyl siding. This is Variform from Ply Gem And it's pretty impressive. It's much more rigid than traditional vinyl siding.
It's hurricane-resistant and looks pretty sharp. We start it with a J channel over here. Then, it travels along, and it meets another Ply Gem product. This is their cellular PVC trim, which we love for all the same reasons we love PVC panels. It's durable, it tanks paint well, and it's very easy to use. This comes pre-rabbeted so that the vinyl siding tucks in behind it.
It's very nicely done and gives really crisp lines, and it looks pretty sharp. We decided to dress this one up with a stool and apron detail, uh, which hides the transition between the materials. And then over here on their corner, they've done something that I also like, which is to build up this front edge. It adds a little bit of stiffness.
And resilience to the corner, and provides, uh, the other receiving side of our vinyl siding as it dies away.”
Vinyl siding installation begins with a starter strip, but before we nail it to the wall, let’s look at the system as a whole.
How to install vinyl siding
Because part of the wall will have the panel and channel, we need to plumb down from the window, where the siding will end, to determine where the starter strip will start.
We also need to determine the correct elevation for the starter strip, which involves the width of the siding panels and the height of the wall. Ideally, we’d be able to use a full or half strip at the top of the wall.
The bottom of the sheathing is a little wonky, so they pick the low corner as a benchmark for establishing a level reference line. They dial that in with a laser and snap a line the old-fashioned way.
Now we can nail in the starter strip.
As always, with vinyl siding, do not set the nails; leave them proud of the panel to allow movement during the seasons.
This starter strip establishes the siding placement because the first panel of siding clips into the strip at the bottom.
Place the panel, slip it into the starter strip, and nail it. Again, do not set the nails so the panel can slide.
It’s easy to cover the animated wall with siding because there are no electrical penetrations.
In real life, though, there are penetrations.
And electricians who do not understand flashing, rainscreens, or water management.
This box was applied outside the rainscreen, meaning that any water getting behind the siding—and a lot of water getting behind the siding— will drain behind this box. If the hole in the wall is not sealed, then the water will drain directly into the wall cavity.
Lo and behold, there is no flashing or water management.
So, we’re going to put the box behind the rainscreen and seal it into the wall with flashing tape and liquid flashing.
Beginning at the bottom of the box and moving up. All of those holes must be covered because they create channels for water to drip into.
When David seals this up, he wraps the flashing tape around the box frame because a seam exists between the flange and the box.
Seams are, by definition, leaks until they are sealed.
Most of the worry at the bottom is in air sealing, not really water sealing and that’s another important thing to keep in mind when sealing holes. You’re stopping water AND air leaks.
As usual, roll the tape. Even if you’re a wise guy.
The sides are applied, and the top covers the sides.
As a final layer of protection, they seal the seams with liquid flashing.
The rainscreen goes over the flashing, and Joseph boxes out the junction box with J-channel.
Now he gets back to running siding up the wall.
They’ve been cutting it with a grinding wheel, which seems to work pretty well.
Running up the side of the window, they can skip the J channel because the trim is rabbeted to accept the siding ends.
Under the window is a receiver channel, but they’re not wild about that look, so they spice it up with an apron and stool detail made from Ply Gem trim stock.
Head casing is applied first, then side casings, and finally, the stool and apron.
Now, we can slap up some of that panel and channel, which we’ve covered in the past, but this time, we are bending our own channels instead of buying them.
Bending channels from coil stock using a siding brake
MA: So we make this out of three parts. There's a receiver part in the back that's shaped like a corner with two little receiver ends. Then there's this J channel and that J channel, which slides into that, and then the panel is recessed behind it.
Let me show you what he's talking about because there are a couple of scraps still lying on the work table.
The first piece is a simple 90-degree corner with a wide hem on either end. These hems are called receivers. Two J channels slip into those receivers and the panels slip into the J channels.
Lemme show you what he’s talking about because there are a couple of scraps still sitting on the work table.
The first piece is a simple 90-degree corner with a wide hem on either end. These hems are called receivers. Two J channels slip into those receivers, and the panels slip into the j channels.
MA: “This is our, we, I, I refer this to, uh, to this as our H channel. This is our panel-to-panel connection. And it gives us a really beautiful shadow line where the two panels come together.
We built this one in one piece as our J channel with a long leg and a receiver. Then, this is a second J channel that slides in and is received by the first unit, so they lock in together.“
And that locks this episode of Building Resilience. Next time we are going up on the roof with peel-and-stick underlayment and standing seam metal roofing.
We’re also going to give a whole new meaning to the term “rolled roofing.”You’re not gonna get any of that stuff anywhere else on YouTube; you can ONLY find it on Building Resilience.
