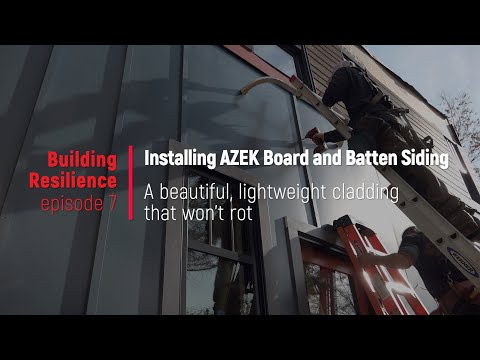
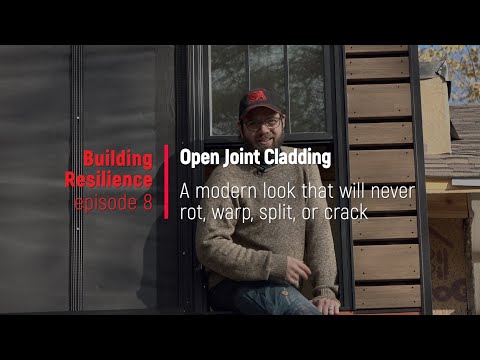
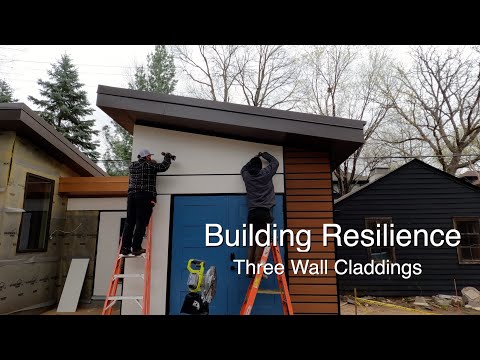
Last time we covered a special WRB with an Open Joint Cladding system from AZEK. Usually, cladding is supposed to be the first defense against rain, wind, and snow. But this system is different.
We’re using the AZEK cladding. Which is a PVC, it’s 100% PVC decking that has a vinyl wrap.
This time we’re going to step back and have a look and pat ourselves on the back. Nice job, guys.
Guys?
Wait a minute. Where is everyone?
It looks like they packed up and went to a different job today.
Found them. They’re out behind the main office.
“OK, so at the beginning of Building Resilience season 2 we said we were going to look at a couple of projects, and up until now, we've been focused on the one. But here we are, finally at last, at the international headquarters of OA Design + Build + Architecture—this beautiful building built in 1904.
Let's take a look. We've got some of our old friends here, we've got Slicker Max from Benjamin Obdyke, this creates our ventilated rainscreen. Underneath that, we've got self-adheared WRB, Hydrogap SA, whgich you alrerady know about and then we have the hydroflash tape.
You can also see some evidence that we've been using the liquid-applied hydroflash as well, and that's now tucked up behind this AZEK trim. This is where, you know, old house, weird pieces of wood, things coming together—we really wanted to get those openings flashed nicely.
Over here is our open-joint cladding, of course under it is the InvisiWrap UV and Batten UV. This is a little bit more of a contemporary detail, but what are we going to put over this?
This is a brand new product from AZEK, this is their beveled lap siding. PVC again, and it looks just like smooth cedar—you can see we've installed it on our building here.
You might be thinking, that in order to do resilient design you need to do panel and channel, or some of the more contemporary designs we've been doing, but on this house we wanted to pay homage to the period it was built, and to get to use this brand new product.
You might then say, "if you're trying to make it look like smooth cedar, why not just use smooth cedar?"
Right here, our neighbor's building, which still has wood, you can see here, the paint has released, here it's rotting...
All of the challenges that come with wood, which is a great material and its beautiful, but let's face it, when it comes to our cladding, something that is really, really weather-resistant is probably our best bet.”
Plan of attack: order of operations for bevel siding installation
The first step is snapping lines on the slicker max to indicate stud placement.
Next is to rip the top 1-½ inches from a siding board and use the top as a starter strip. Tack the starter strip between the studs and 1/4-inch above any horizontal trim or flashing.
If you can’t fill a course with a single piece, break siding joints over a stud and use a butt flashing behind the joints.
You can either face-caulk the ends or back caulk them. Either way, leave a slight gap at the end to allow the caulk to make the connection.
Either way, leave a ¼-inch gap between any horizontal trim or flashing and the bottom of the starter strip.
AZEK recommends staggering the joints every 32 inches. Nail the siding in the thick part of the bottom, about ⅝ -inch above the bottom and two inches from the ends.
Then all you have to do is keep doing the same thing until the wall is covered.
Jobsite know-how: installing bevel siding
Stephen begins by drawing lines to indicate studs,
And be places a spacer block to keep the starter strip off the metal flashing.
Rather than tack the starter strip on and then nail the first course of siding on, they guys do it all in one step.
Because this is a short run next to the door, they can fill the space with single pieces.
The gap below the first course also affords an opportunity to adjust the level if, for some reason, the flashing and trim below are not perfectly level.
It turns out, that these guys are pretty good at their job, so they go about nailing it. About ⅝ above the bottom, through the thick part of the siding…
…and two inches from the end.
Now we decide to place the spacer blocks differently on the other side of the door.
And speaking of spacer blocks, Sol made up a couple for this task. The first ones are just small blocks that are 4-inches wide, which is the amount of reveal they are looking for on this project.
As he slides the block along, he uses the straight edge to square up from the nails below, assuring a straight line of fasteners.
For all of the following courses, he had different blocks: they hook under the lower course of siding and extend up enough to set the 4-inch reveal.
Sliding the butt flashing behind the joint directs any water leaks out before it can get in.
And just when Sol is looking like Super Sol, he fumbles the block.
Courses are staggered 32-inches, and again, he uses the edge of the block to keep the fasteners consistent.
The blocks also have lines 2-inches from either end to guide fastener placement for end nails.
That’s pretty much the basics of Bevel siding installation using AZEK’s new bevel siding product.
The tricky parts come up during the tricky parts. Like this head casing, Sol had to cope with.
Advanced bevel siding installation: jigsaw puzzle pieces
Or worse, the next course of siding, which has about a zillion cuts, notches, and curved profiles.
The process begins with a map. It doesn’t have to be pretty; it has to be accurate.
So Sol draws the shape and then starts filling in the numbers.
And then transferring the map to the terrain.
He marks the notches, draws the lines, and traces the profile of the head casing — which is worth a slightly closer look.
In addition to our PVC cladding, we also have our trims—fascia, belly band, and whatnot. Those are also being made out of cellular PVC. When we get to some of our more traditional details, like our casings and head casings—lucky for us, there's a whole series of extrusions out there including this one. This is a ram's head detail and it's fun to show because it's got this built-in bevel on the top as well as a kerfed side underneath to relieve surface tension for water so it doesn't roll back down the face of it and drip off.
Of course, this is cellular PVC, it's not like water could take it apart, but I still love the attention to detail that we're seeing here.
And when it's up on the house itself, it really gives it that classic period look.”
It also gives you an excuse to break out the coping saw because, yeah. Good old classic profiles!
Sol copes the profiles, cuts the horizontal lines with a Skilsaw, hits the notches with a chop saw, and cleans up the ends with a multi-tool.
Finally, he cleans up the cut edges with a utility knife, and they see how close it is to a perfect fit.
Darned close. With a little adjusting at the head casing, they slip it back into place—being very careful not to break it accidentally.
Sol checks the reveal and nails that puppy home. Above the door, where the siding is very narrow, he switches fasteners to s smaller finish nail.
And that wall is finished, too.
Now the guys work their way up the rest of the wall while we look forward to what we’re going to look at next time: crazy details inside the house we’ve been looking at the outside of all this time.
Look at that fireplace and the tilework. And the beam with recessed light strips and more beautiful cabinetry and countertops.
We’ll be walking through the whole project and peeping deeper at the details next time…
On Building Resilience.
Building Resilience is a production of the SGC Horizon media network. See all of season two here.


