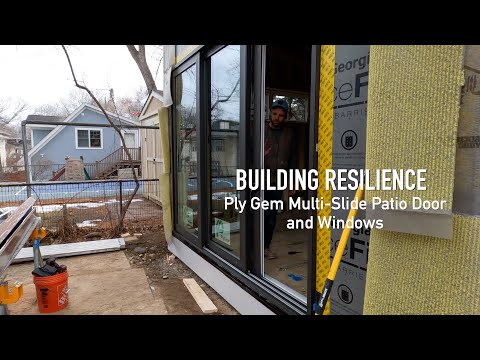
When installing multi-slide patio doors, begin by clearing away space to work and laying the frame parts on the floor. Lay out the frame parts on the floor and assemble them as indicated. Apply sealant to the joints before screwing the parts together.
Flash the door sill with a flashing membrane
Before inserting the frame into the opening, flash the sill with flexible flashing tape. Extend about six inches up the jambs with the sill flashing. This is for water protection.
Use regular flashing tape to cover all of the wall layers. This is an airtightness step, sealing all of the layers to connect the outer WRB back to the framing. We add a second piece of flashing tape to the face to ensure we have a solid seal from WRB to framing. I suppose we could have used wider tape, but you know, we forgot to pick some up on the way to work.
Seal the bottom of the door frame against air leaks
On the sill flashing, spread three beads of exterior grade sealant. The instructions call for skip sealing it, leaving gaps here and there for emergency drainage paths. Hopefully, you have verified that the opening is ½” wider and ¼” taller than the door frame.
Install the frame, and then slip in the patio doors
Insert the frame in the opening, ensuring the face is flush with the outer face of the wall, and screw it in place. Doors are popped into place like so. Actually, you have to tilt in the top of the door, slide in the bottom, and drop it into place. Well, don’t drop it. Set it into place so the rollers rest on the roller track. Adjust the rollers through the holes in the front of the doors. Slip the other doors in, and you’re ready to break for lunch.


