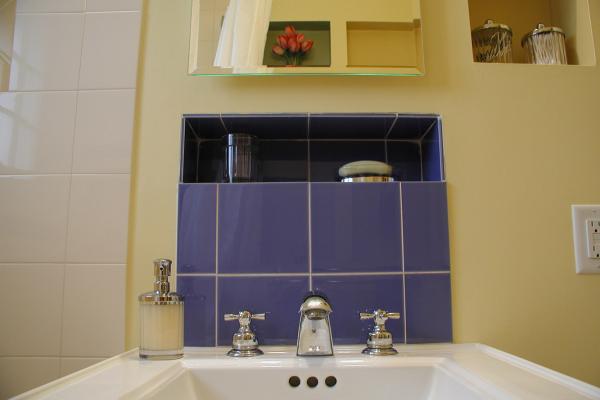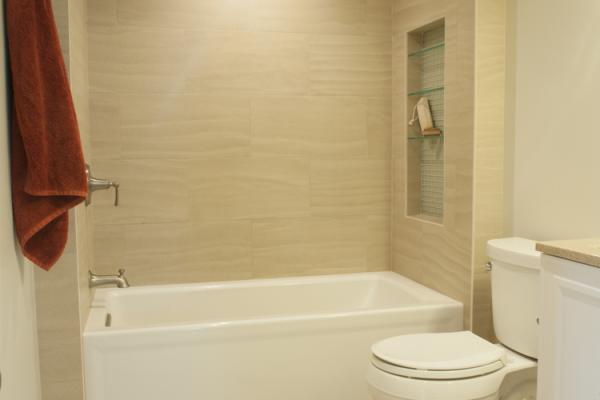
Keep them dry, slope the flat parts, and let the dimensions follow the grout lines
We asked some of our design-oriented technical team members for some tips on niches.
Mike Maines, a designer, master carpenter, and remodeler and Michael Anschel, owner of Otogawa-Anschel Design+Build let us know what they really think about niche design, construction, and material selection.
Spoiler alert: the advice changes if they are doing the work in their own bathroom rather than specifying the work for a subcontractor or customer.
Shampoo niche dimensions:
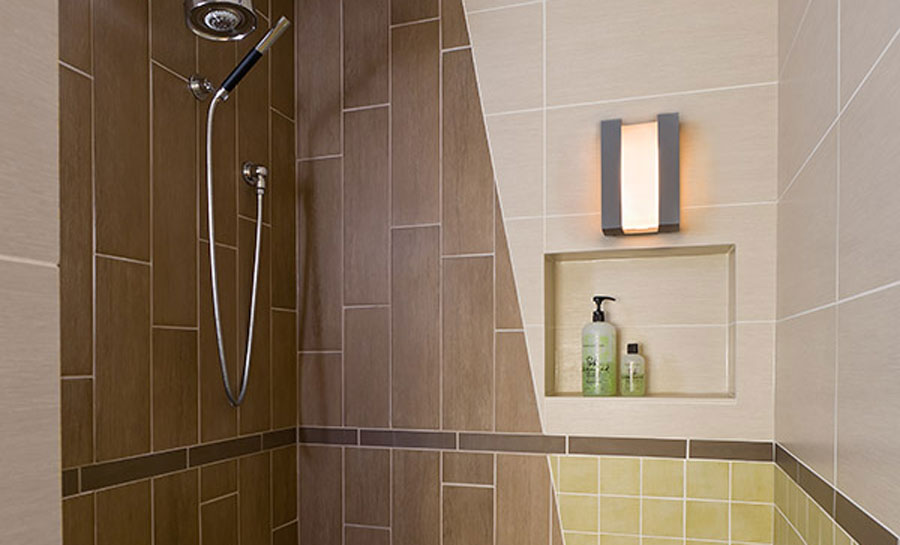
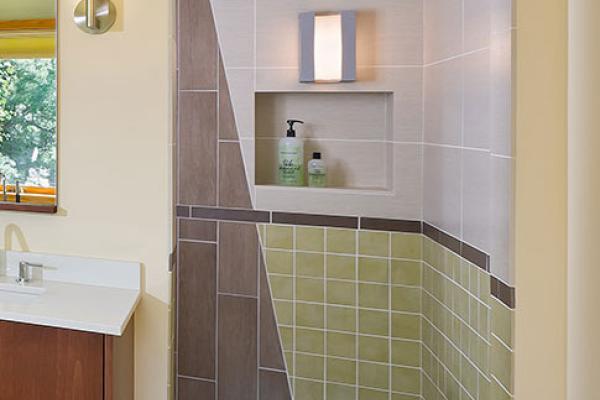
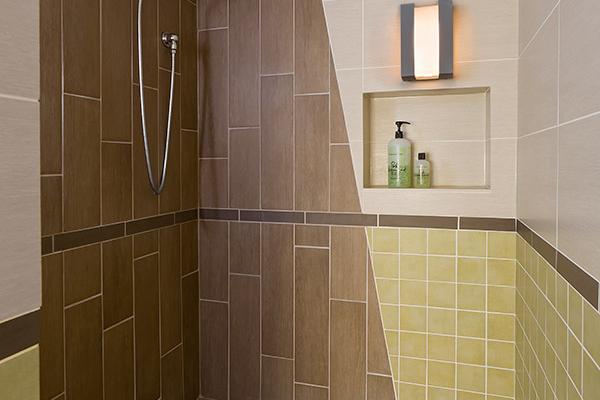
Mike Maines jumped in with sizing advice: "For proportions, the golden rectangle always looks good, either vertical or horizontal, although other shapes can work too."
"You need about 12 inches to fit a pump-style shampoo bottle. Much more than that looks odd."
Bottom Line: 1:1.6 works every time.
Shampoo niche waterproofing system:
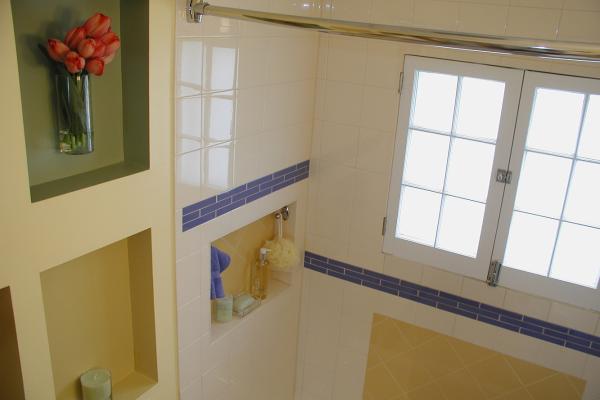
Both Mikes agree niche should be located on the dry wall (the one opposite the shower head) and never (when possible) on the wet (plumbing) wall. And they agree how to waterproof it (in someone else's house).
- The entire niche should receive 1-2 coatings of liquid applied waterproofing. Michael Anschel likes Red Guard.
- Mike Maines: "I flash the niche with Vycor when doing the work at my house, but when specifying projects I call for liquid-applied waterproofing (or the full Kerdi system)."
Verdict: Design your way out of needing a bulletproof waterproofing membrane. And then use one.
Prefab niche or not? The Mikes have differing views:
"There are prefab niche units but I don't think they are necessary, as the niche should be located to minimize the amount of water it sees anyway." —MM
"When possible purchase a prefabricated molded plastic niche insert since it cannot leak." —MA
Verdict: Tossup
Backer board options for tile showers:
"If I am doing it myself, I use a cementitious backer board with and paint-on waterproofing, because I am not trained in installing Kerdi or similar." —MM
"Fiberglass faced gypsum board with a factory applied waterproofing is the ideal tile backer board. It carries a rock-solid warranty and a ridiculous exposure rating. The stuff is tough as nails, doesn’t delaminate, can’t rot, can’t grow mold. Cement crumbles, is absorbent, is heavy, but mostly because it is absorbent.
Since most people don’t put a drainage plane behind their tile installations, the surface of the backer board is the drainage plane. All grout fails, and as soon as water hits cement board it migrates into the board and then into the wall cavity. It is bad building science to encourage its use." —MA
Verdict: Fiberglas-faced backer board or systems like Kerdi, or Laticrete are best; cement board works, but you need to do a little extra detailing.
Shelf, floor, and side: tile and stone choices
"Soap scum builds up so, it is nice to have solid material on the floor of the niche. It can match whatever you use for the shelf but it doesn't have to.
Tempered glass or synthetic stone (quartz etc.) make nice shelves but other materials can work, too. Most of them require a bit of lead time.
Solid materials (quartz etc.) can make good niche sides and top, if the budget allows." —MM
Slope the flat surfaces
Install the floor first, the walls second, and the 'roof' third. The walls sit atop the floor, and the roof sits atop the walls.
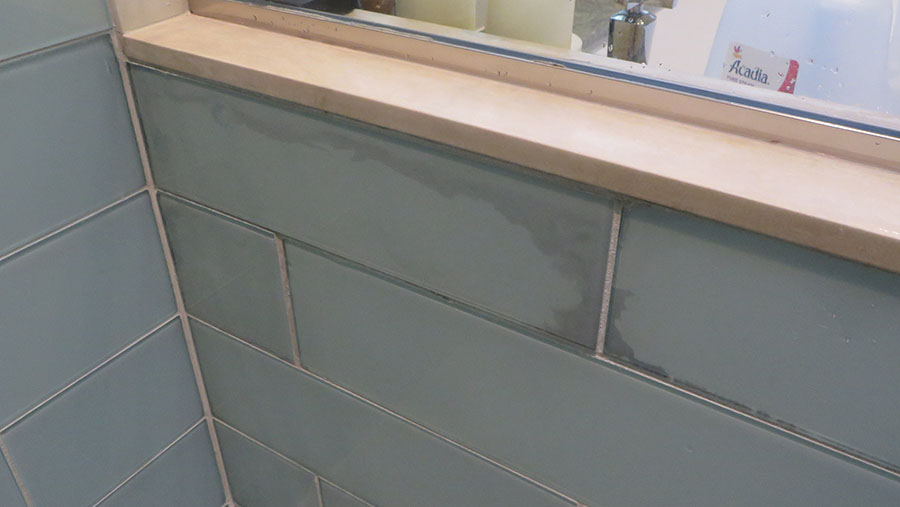
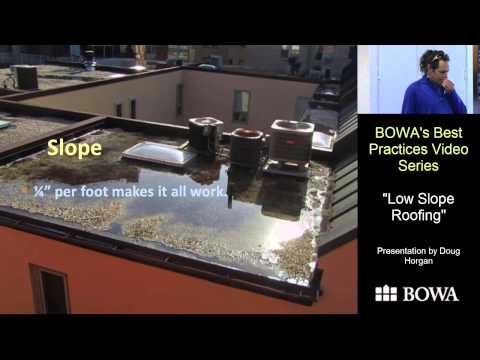
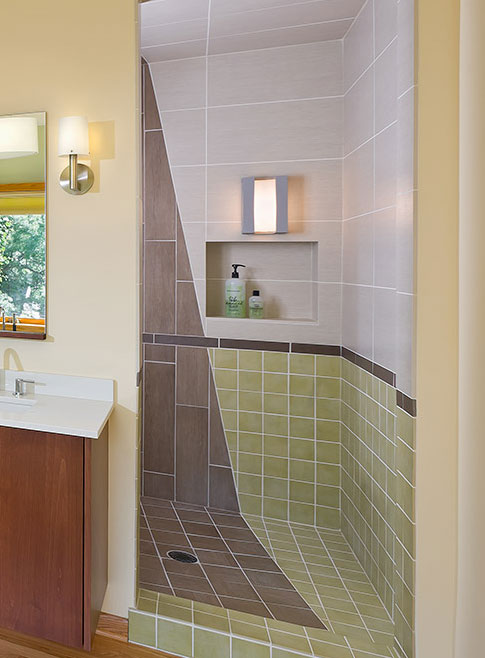
The shelf and floor should be sloped for drainage, but not too much—about 1/8 inch is enough. This goes for windows, too—they should be tiled with a pitched sill that extends from side to side.
The floor of the niche should extend beyond the face of the field tile on the wall, instead of the wall tile extending up to the top of the floor. Water should drain out of the niche onto tile, not onto a grout joint.
Verdict: Don't be a dope, slope.
Three ways to tie in the sides the field tile
A related question is how will you treat the outside corners of the niche? "One way is to run bullnose tile around the inside "jambs" of the niche, with the bullnose facing out (obviously), and bring the field tile to meet the bullnose.
The problem with this method is that often the bullnose isn't wide enough to span the distance without a grout joint mid-jamb.
Another option is to frame the opening with bullnose, almost like window casing, with the bullnose facing into the opening. This can work, but usually requires some cuts in the field tile, which I try to avoid, especially with cheap ceramic tile.
Good quality porcelain tile or natural stone are more forgiving because the color goes all the way through the tile.
Schluter makes metal or plastic tile edging that can solve problems but I usually try to design my way out of having to use it." —MM
Construction tip: Don't finalize the size until you tile up to the niche
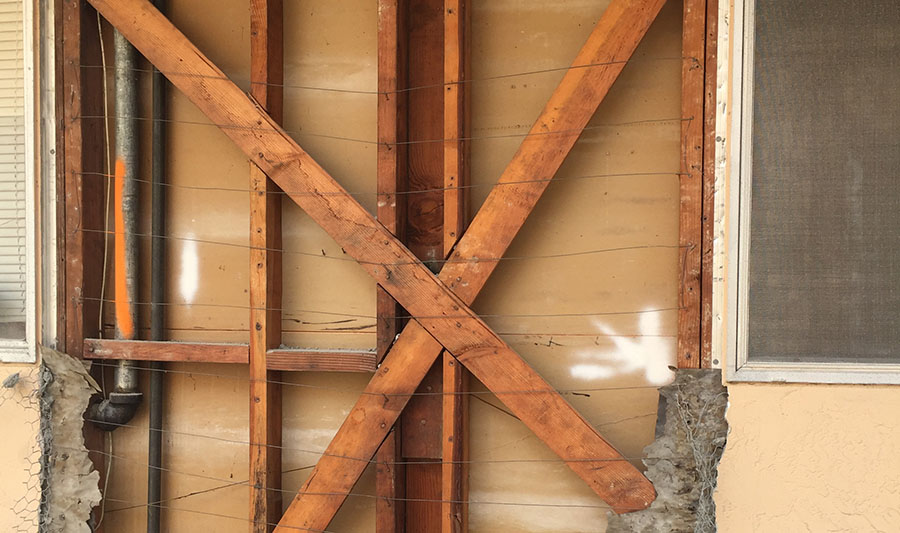
"If you frame the niche and line it with backer board so it's exactly the size you want before you start setting tile, even if you are careful with layout, you can end up with some tiny slivers of tile around the niche, which is ugly.
I frame the niche so that it is 1- 2 inches bigger in all directions than necessary. Once I am confident about the tile layout (for me that's when I have tiled almost to the niche), I add extra backer board and/or build up a coat of mud to fine-tune the size of the opening.
Sometimes I even leave out the top and bottom framing of the niche until this point. Then I line the niche with backer board, mesh tape, thinset, and waterproofing with some sort of flashing behind the backer.
When using Kerdi, you can still adjust the size of the opening with Ditra, backer board, or thinset, depending on how much you need to build it up.
I always discuss this with the foreman on site, and it almost never fails that they skip this step and end up with some ugly cuts around the niche." —MM
—Michael Maines and Michael Anschel contributed to this article through a long email chain about an emergency tile 'situation.' Mike and Mike are both members in good standing on the ProTradeCraft Technical Committee.
