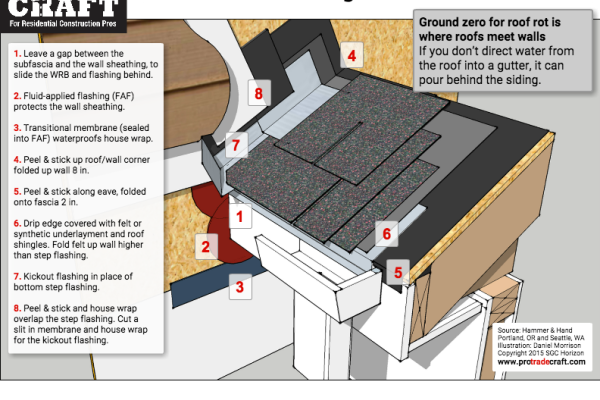
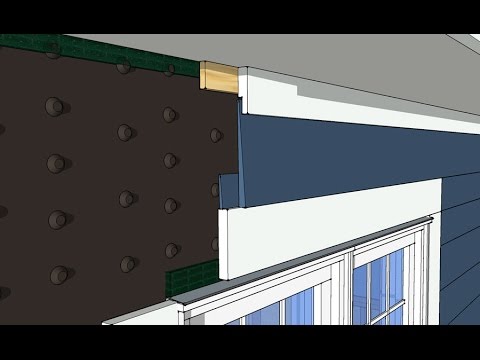
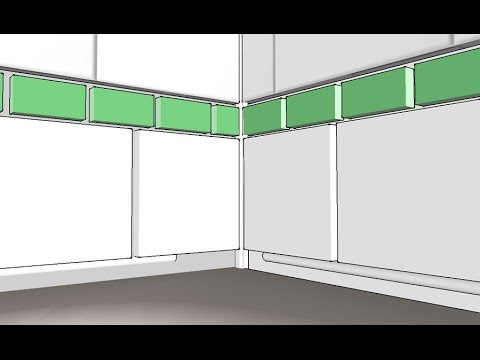
Ground zero for roof rot is often where roofs meet walls.
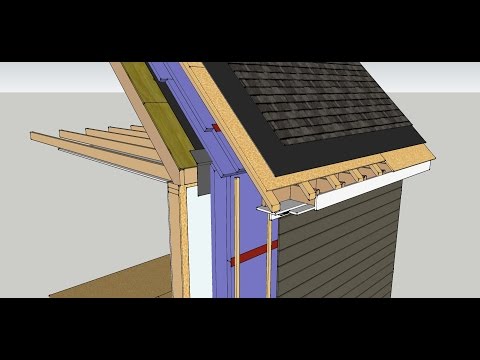
If you don’t direct water from the roof into a gutter, it can pour into the wall. Avoiding problems begins at the beginning—with a gap between the subfascia and the wall sheathing, to slide the WRB and flashing behind.
Step by step:
- Apply paint-on waterproofing membrane where the bottom of the roof meets the wall.
- The membrane should be about 8 inches wide and extend below the fascia about four inches.
- As you apply this paint-on membrane, seal it into a transitional membrane, like flashing tape to house wrap, to integrate with house wrap later. It should extend at least 10 inches past the fascia.
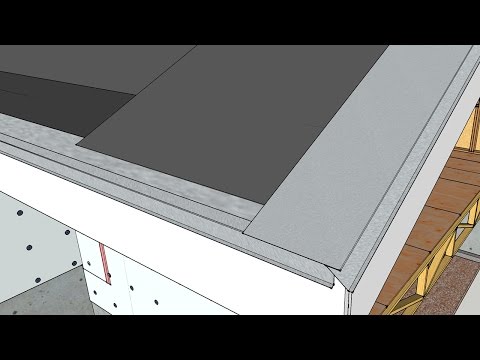
- On the roof, install a row of roofing membrane along the eave, folding over the bottom two inches onto the fascia.
- Install drip edge metal along the eave and then run a strip of peel-and-stick membrane up the roof/wall corner.
- Fold the membrane up the wall about 8 inches.
- Install roofing felt or synthetic roofing underlayment over the roof, running it up the wall at least as high as the step flashing will be
- A starter strip of roofing is installed along the bottom of the roof and
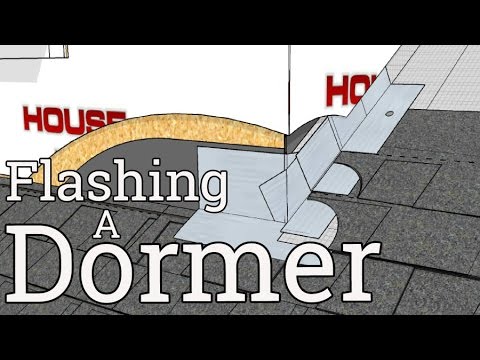
- Kickout flashing is installed in place of the bottom piece of the step flashing.
- The first course of shingles is installed, and so is the step flashing, which should overlap the previous piece by about two inches, and its top should align with the top of the shingle.
- Install another strip of peel-and-stick membrane over the top of the step flashing, cutting a slit for the kickout flashing. Leave a 2-inch gap between the membrane and the roofing.
- Below the roof, Install house wrap, integrating the top with the strip of peel-and-stick tape already in place.
- Add another course of house wrap, overlapping the lower course and making a slit for the kickout flashing.
- Keep the house wrap about 2 inches off the roofing, too.
- Install siding as normal, and keep the bottom a couple of inches above the roofing—regardless of siding type.
Install a gutter behind the drip edge to collect the water, and you can channel all of the water off the roof and into the downspout.
—Hammer & Hand is a general contractor that specializes in high-performance building with offices in Portland and Seattle.
