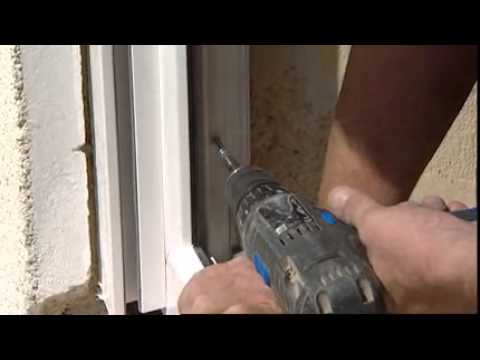
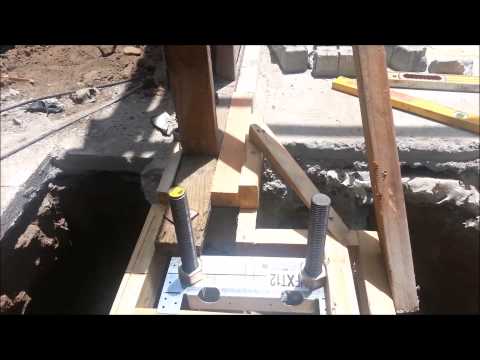
A split riser allows you to remove the forms without damaging wet concrete.
In the video above David Odell of Odell Complete Concrete shows how he forms and places concrete stairs between walls on a project in the Los Angeles area.
A set of stairs already exist but an electrical upgrade triggered the requirement for three feet of standing space in front of the new panel. The only way to get it was by extending the landing and pouring new stairs over the old ones—which is what Odell was hired to do.
How he does it:
(2:30) Odell uses a level to draw new treads and risers on the wall and levels across to transfer layout to the other side.
(4:00) The form is made from simple materials: 2x8 ripped to the height of the riser, plywood “nailers”, plywood gussets, Tapcon screws, and a 2x4 brace.
Odell doesn’t bevel the bottom of the 2x8 because the knife edge is easily buried in concrete.
The part of the step under the riser form is trowelled smooth after the form is removed.
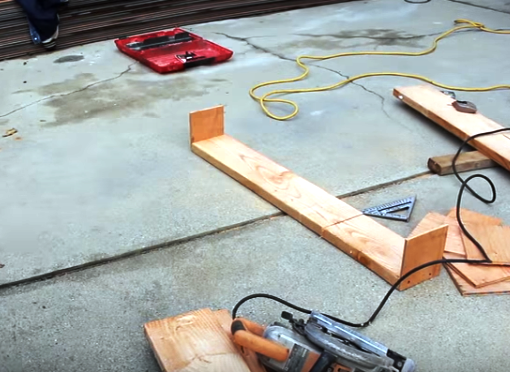
(5:57) The risers are size to fit between walls with plywood and nailers on either side. Odell cuts them in two (6:12) to make them easier to remove when it’s time to trowel the concrete.
Dowels (short lengths of rebar) are driven into holes drilled in the surface of each tread. The dowels will support rebar that runs the length and width of the new stair. Odell doesn’t use much rebar because the stairs underneath are structurally sound.
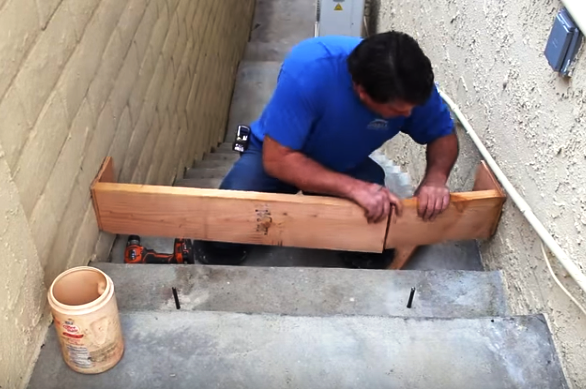
(6:25) The split risers are joined in place with a screwed gusset and fastened on layout to the adjoining walls with short Tapcon screws.
(9:27) To keep the concrete from sticking the forms are oiled—not with form oil but with used motor oil that Odell saves for this purpose.
(10:42) The rebar and existing stairs are coated with a bonding adhesive before concrete is placed.
(11:10) Working from bottom to top, concrete is pumped into the forms. Odell uses 4” slump 3,000 PSI concrete that contains an accelerant and Fiber mesh reinforcing.
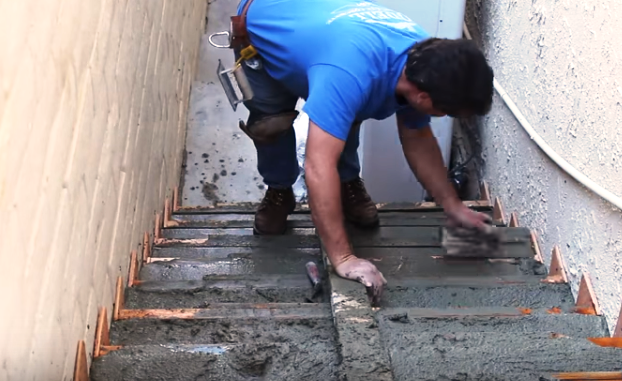
(11:45) He floats the top of each treat flat and to just below the edge of the riser form—to create approximately 1/8 inch of downward slope.
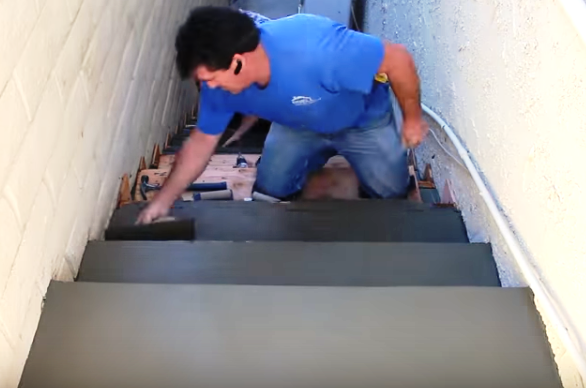
(12:50) When the concrete has set enough to hold its shape he works top to bottom removing forms and towelling the surface of each tread and riser. He uses an edger at nosings and a cove at the intersection between treads and risers. The riser forms are easily removed because they were made in two pieces and joined with gussets and screws.
After finish trowelling the stairs Odell uses a stiff brush to create a nonskid surface on the treads.
—David Frane is a freelance editor and a good buddy of ours. Formerly, he was editor of Tools of the Trade magazine and website. He lives in Northern California.
