It takes unusual tools and techniques to replace European-style windows in masonry walls.
In this video from Armin Reischl two Zimmerers (a German word for carpenter) replace an old wood window in a masonry wall with one made from vinyl. The materials and techniques differ from those used in the U.S., where most homes have wood-framed walls. In Germany, it is far more common for walls to be solid masonry.
Here’s a step by step description of what's happening (as near as I can tell because I don't speak German).
(0:16) Remove metal sill…
(1:03) Remove Sash…
(1:10) Cut through existing side jambs and pry them out of the wall. It’s interesting to see them using a Makita recip saw and DeWalt vac—I guess not every carpenter in Germany can afford German tools.
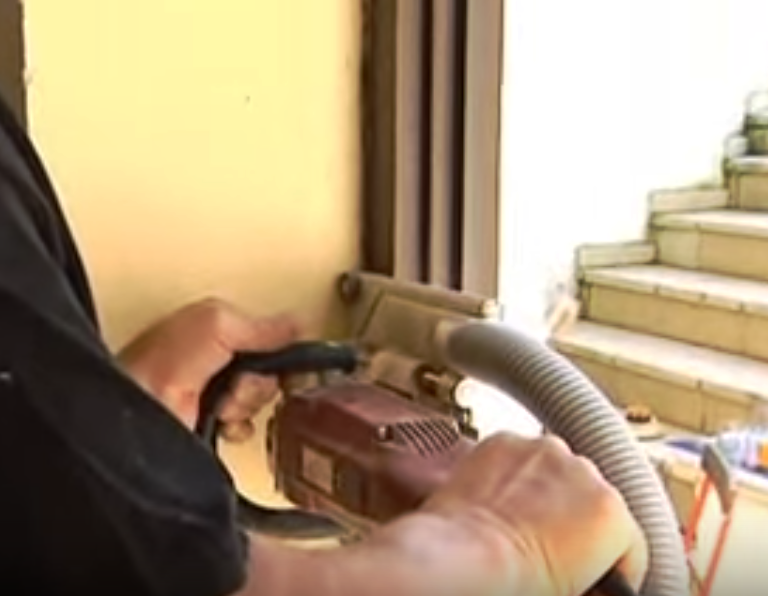
(1:43) They use a Lamello tool (Tanga Delta S2) specifically designed for plunge cutting into the wall surrounding a window. A few years back I saw one of these in a German tool store. From a distance it looked like a giant plate joiner but the photo on the display indicated its actual use. The Tanga Delta can be connected to a dust collector and equipped with either a wood or masonry blade. On this job it is used to cut a clean line between the plaster return and inside edge of the jamb.
(2:12) The fiberglass insulation surrounding the old jamb suggests this house was built within the last 50 years or so.
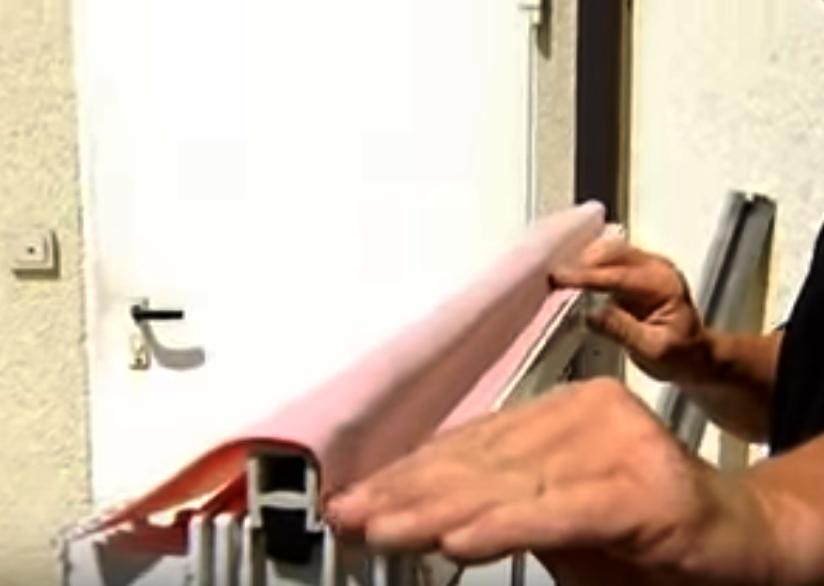
(2:45) The Zimmerers apply a peel and stick flashing to the bottom of the jamb. I can’t tell what it’s made from but it resembles the waterproof fabric used in a Schluter Kerdi System shower.
(2:58) Place the window into the opening. I assume the head tucks behind an existing flashing. That floppy piece at the top is a rouladen—not the kind you eat but a an exterior roller shutter. More in it later…
(3:12) Plumb and level the jamb, shim it in place, and screw it to the masonry behind…
(3:38) The gaps around the interior of the jamb are too large to caulk as they are so the carpenter stuffs a foam backer rod in from behind. Backer rod makes for a longer lasting joint; it allows the caulk to stretch by insuring it adheres to two surfaces only and is wider across than it is deep. That it reduces the amount of caulk it takes to fill the joint is icing on the cake.
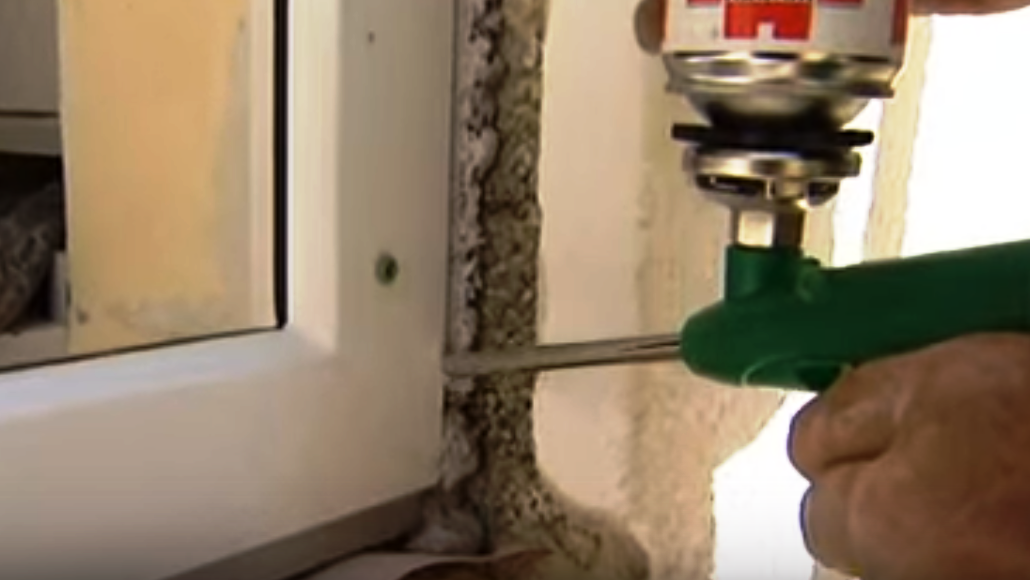
(4:00) Fill around the side jambs with spray foam…
(4:12) Lift the sill flashing and fill the voids below with foam…
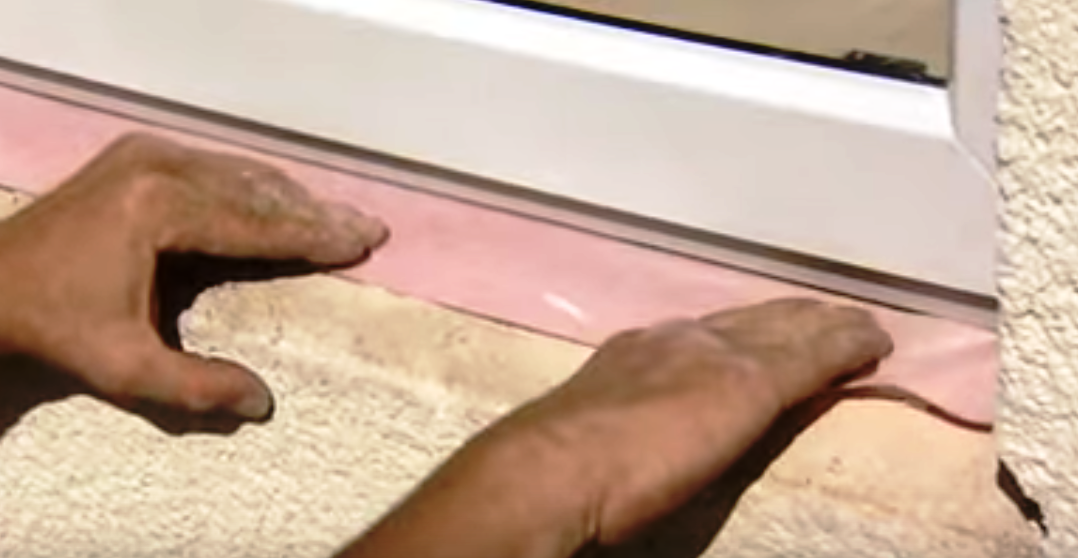
(4:23) Use a caulking gun to apply an adhesive sealant under the sill flashing—to adhere it to the existing masonry “sub sill”.
(4:39) Adhere a secondary sill flashing over the first and install a metal sill on top of it. This exterior sill is screwed to the lower jamb.
(5:30) These exterior “jamb extensions” are guides for an existing roller shade (more on it later). They fill the gap between stucco and jamb and are snapped into place.
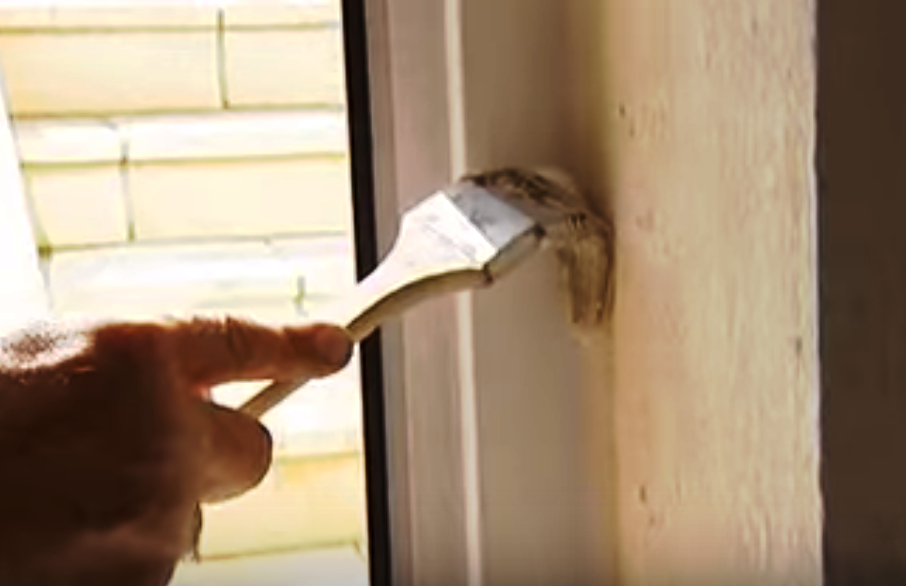
(5:53) The gap between plaster and jamb is caulked and the caulk smoothed with a wet paintbrush.
(6:20) The strap on the wall to the right of the window opening controls the rouladen, an exterior rolling shutter that drops down to cover the window. The removable panel at the top of the opening provides access to the mechanism.
(6:57) The Zimmerer uses joint compound to smooth the interior jamb returns…
(7:32) Caulk the gap between the stucco and exterior “jamb extension”
(8:00) Install the sash and test for fit and operation. European windows have an interesting type of hardware that allows them to swing like a door or pivot in from the top like a hopper.
For a look at how German carpenters install windows in new masonry construction see Window Installation in Germany using Compressed Foam Tape.


