Watertight membranes and flashings that lock into roof panels mean a durable roof in extreme weather conditions
Episode 13: A Forever Roof
Last time on the Model Remodel Show, we were looking back at the smart energy detailing we did on the roof, windows, and ventilation system.
We also installed with a combination of Grayne siding and Kleer Konceal trim to button up most of the outside of Professional Remodeler’s 2017 Model Remodel.
This week, we’re jumping up on the roof to install the last roofing this house will ever need.
"I really like metal roofs, especially as we're seeing more intense winters around here. They stand up better, they resist ice dams better and end up being more durable.
I was really impressed with the quality of these panels, as far as the finish goes on them. Some panels that we've used in the past will scratch if you look at them wrong. This is a really durable finish.
Installs nicely, and stands up to the abuse of being installed, no matter how ginger you try to be on them.
All in all, I'm very happy with Valspar coming through on this project for this beautiful metal roof."
—Ben Bogie, remodeler
Peel and stick membrane is the waterproof base
That process begins with laying eaves membrane along the lower edge and installing metal drip edge flashing around the perimeter of the roof.
In the valleys, Ben ran a strip of membrane below the valley metal.
One nice feature of a metal roof is that the roofing panels lock into the flashings below.
It is not by accident, either. The panels are tailored to do this, and Ben is the lead tailor.
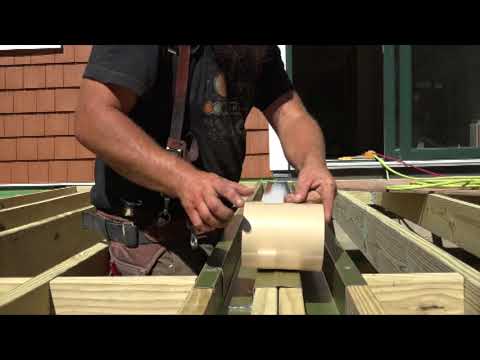
He begins by hemming the bottoms of all of the sheets, and then trimming them to length, detailing the top to fit under the ridge cap.
"Here you go right into the crook, the corner.
He cuts an inch off the standing seams and bends the flat section under itself.
The bend is left relatively open, to slip onto the edge metal.
Now he cuts the panels to length.
BEN: Once I find out what my length is on the roof, I come over here, mark what my length need to be on here, and then I can set a combination square right to it.
Again, the flat section will be cut an inch longer than the standing seams so that it can be folded up, to block windblown rain or snow getting under the ridge cap.
He cuts the ribs, and then cuts off the excess panel, and folds the end up, with his portable bending buddy and hemming pliers.
This is not visible finish work …
BEN: They don't have to be the prettiest things, because they're buried up under the ridge cap.
And they’re ready for installation on the roof.
The panels lock together and seam into the flashings
The seams lock together, the left one clasping over the right one, and Ben slides the panel up the roof to tightly lock into the drip edge.
He crimps the joint with hemming pliers, and Rick anchors the panel at the top with a screw so that he can fasten the clips to the roof without fear of the panel moving.
The clips lock onto the standing seam and are spaced 18 inches apart.
With the easy panels installed, they fill in the valleys. Valley panels are similar to the commons, but the bottom hem is angled to lock into the valley flashing.
Because the hemming pliers won’t fit under this tight seam, the hem is executed with a rubber mallet.
Ben also uses a scrap of roofing as a scratch guard during installation. When the panel is in place, Rick sets a screw at the top and installs the clips while he waits for another panel.
And they begin at the beginning again.
Next week, we’ll go back inside to install insulation in the walls and attic before doing a little blower-door-directed air sealing at Professional Remodeler’s Model Remodel.


