In this episode, we are joined by Sarah Gray, an engineer with RDH Building Science Labs, to shed some light on stucco's role in construction—and it's dark side.
“Stucco is an exterior finish, and more specifically, we tend to think of it as an exterior plaster finish.
In some of the literature and in architectural dictionaries, stucco can be used for both exterior and interior finish work, but really in this day and age, we talk about plaster, particularly in North America, for interior work.”
Other words that are often used interchangeably with stucco could be parging or render, particularly in Great Britain, but we are not really talking about that today.
So today we are going to talk about exterior stucco.
Parging, rendering, and stucco has been used for centuries to cover the structural elements of a building.
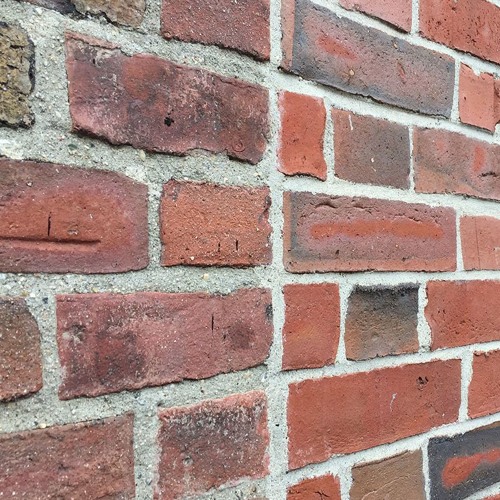
Not just brick and block
In the very old days, stucco was applied to log cabins as that outer finish to make it more water resistant, to improve the appearance, or give it a better general aesthetic appeal.
So stucco can really be applied to anything, and that’s really the grey area between a stucco and a parging, but stucco really is that traditional multi-coat mix.
Traditional stucco is a mixture of lime, sand—or fine aggregate, and water; so its sort of a cementitious mortar-type mix.
In today’s modern stuccos, Portland cement often replaces the lime.
In the old days, there was usually a binder added to the mix. And that binder could be straw, grass, or animal hair. And that binder helped to control shrinkage and also give the stucco a bit of bulk.
Nowadays, there are admixtures and additives to control shrinkage.
Even with high-tech additives, stucco mixes are hyper-local, drawing on whatever building materials are in the ground, near the jobsite.
In the American south and the southwest, stucco can contain clay and earthen mixtures to give it the “adobe-look.”
How stucco works
The main job of stucco is the same as for any siding: shed water, look good, and don’t fall apart.
So coating brick with stucco would give it a water-shedding or improved moisture resistance.
Improved, but not perfect.
It’s more improved, but stucco is not meant to be a waterproofing layer. It’s still a natural mortar-type material that does have a water-absorption property to it.
Stucco is what’s called reservoir cladding, a siding material that can absorb water and store it.
In the old country, stucco parging is used as a sacrificial layer that protects old brick and mortar buildings from efflorescence and subflorescence.
The stucco is naturally absorbing; it would wick up water. With that water, it would wick up salts. So the preference would be for the stucco to absorb the water, to absorb the salts, eventually through freeze-thaw deteriorations, subflorescence, efflorescence, the stucco would fall off the wall
As long as you only had a parging problem, you didn’t have a hidden structural one.
And pretty easy to mix up a small batch of stucco and reapply the stucco to the brick or stone.
That gets to an important point, too with older buildings. Why is stucco used in the first place?
Was it applied as a moisture-shedding layer, to make the building more durable? Was the stucco applied strictly to be an ornamental upgrade?
Of course, these questions assume positive intent and forethought. Sometimes stucco has a dark side.
However in some cases, throughout the building’s history, stucco may have been applied to the substrate because the brick or stone was deteriorated. So instead of replacing the bricks or stone, repairing the building, they basically just coated over it.
Like installing vinyl siding over lead paint or asbestos shingles, stucco can be part of a deep-state cover-up.
And that’s when I would get concerned as a building scientist.
So I typically like to seek the understanding of why was the building was covered with stucco, and if none of those reasons can be confirmed through history, through old photographs, old specifications, I may want to do a small test opening in the stucco.
To understand how thick it is, to understand what type of stucco it is and to see the brick or stone under the stucco.
So watch your back when you’re around old stucco.
How to do stucco right
New stucco, on the other hand, is a little more upfront about its constitution.
Sometimes you’ll see a two-coat system, the first coat or the bottom coat would be called the rendering and the outer coat would be called a setting coat.
Three-coat stucco systems, and really that’s what we see over the last 200 years or so, the first coat of that system would be called a scratch coat
Because the tradesman would scratch the surface to give it tooth for the next layer.
The second coat of stucco would be called a brown coat,
Probably because no costly colorings would be added to the mix, so the color would match that of the earthen aggregate, which is brown.
The outermost layer, the third coat would be called the setting coat or a finish coat.
Because after you install that layer, you’re finished!
So, multiple layers, each layer has a bit of a different mix
Like a book of pancake recipes, each recipe has roughly the same ingredients, but you get a slightly different pancake. So, stucco is like a pancake sandwich or a multi-layer pancake.
That is exactly right. Stucco is a multi-layer pancake.
Peeking into that pancake recipe, Sarah suggests that the best first step you can do is to get a skilled chef. A professional ...
... that knows stucco, that works with stucco, and that’s sort of their livelihood.
You know, any Joe Schmoe with a bucket of cement probably should not be applying or repairing stucco. There are an art and a science to it.
New stucco systems are usually about ½ inch to an inch thick, applied to metal lath.
Because stucco does swell and expand with temperature, stucco can crack. As stucco cracks, it leaves the metal lath vulnerable, so we typically want to see a stainless steel or galvanized or some other corrosion-resistant metal lath used.
Also, control joints or expansion joints are used to allow panels of stucco to move independently and reduce large-scale cracking.
The cement handbooks specify expansion joints every 144 sq.ft., or between 12-ft. by 12-ft. areas.
There is art and science behind where to place the control joints, too. They can be used as vertical and horizontal design elements as well as engineering solutions.
Window corners induce stress in stucco, so you will often see control joints lining up with the sides of windows.
The control joint can relieve the stress and it can also accentuate a bank of vertical windows such as on a multistory building.
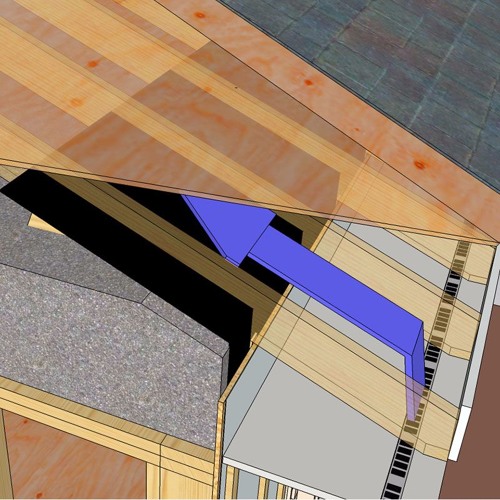
Horizontally its probably best to do it at every floor line for a modern stucco, that way you can also drain the drainage cavity or air gap behind the stucco at the floor lines to weep any water outward.
This way, a leaky window on the third floor won’t dump water into the walls of the second and first floors.
Curing the surface properly is the next critical condition. If not properly cured, stucco can de-bond from its surface.
So we want to have the right curing conditions, not too hot, not too cold, keep the surface damp so the cement can hydrate and cure properly so that all layers of the stucco maintain the bond during the curing process.
This usually means spending a lot of time wetting the surface of the stucco. If the surface dries out too fast, it will crack
The curing period is usually at least 48 hours, if it’s a lime-based, I would continue curing the surface for at least a week.
Rather than paying someone to hose down the wall every twenty minutes for a week, many stucco professionals cover a wall with wet burlap to keep the surface moist. Depending on the weather and wind, you may not need to hose down the burlap more than a couple of times a day.
If you are working in southern California and it is really hot, really dry, and there’s wind, you may have to wet it every hour or two hours as that surface dries off.
So while you’re hosing down the stucco, hose down this: you get paid for what you do and what you know. And not only are you hosing down stucco, but you know why you’re doing it, buddy.
Next, do this: subscribe to this podcast via iTunes, SoundCloud, or The Google. And while you’re there, give us a thumb’s up and a positive review. It helps us get found in the algorithms.
We want to thank Sarah Gray and RDH Building Science for continuing to participate in this award-winning podcast.
—7 Minutes of BS is a production of the SGC Horizon Media Network.
