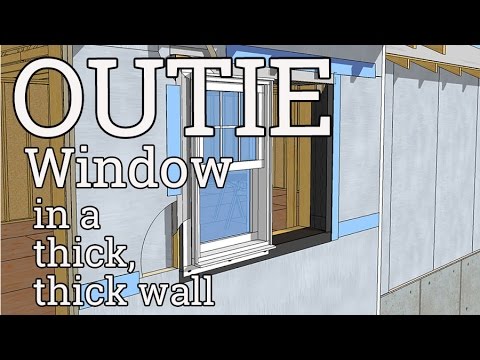
Window banks need to line up neatly for the trim to work out. Foam walls add the extra possibility of compressing the backing. So there's that.
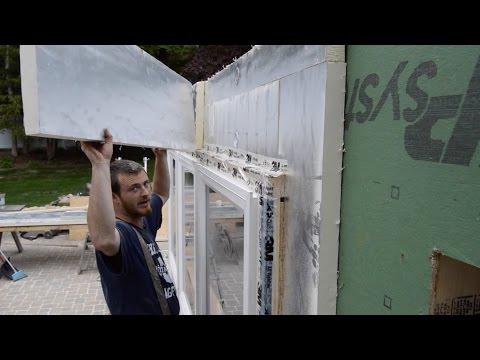
In the first video of this superinsulated sunroom series, we covered prepping and installing the first layer of foam.
"What we accomplished... is a thermal break between the frame and everything else. Now we're going to install this (backing) so we can attach the window to it properly".
—David Joyce
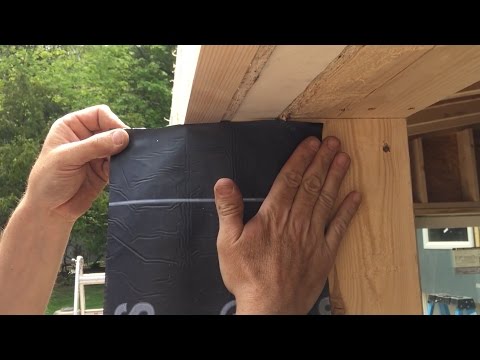
In this video, David and the guys will buck out the window openings as nailing for the window flanges. The layers of foam are 2 inches and so are the window bucks: a 2x4 and a strip og half inch plywood. Six-inch screws are countersunk with a spade bit.
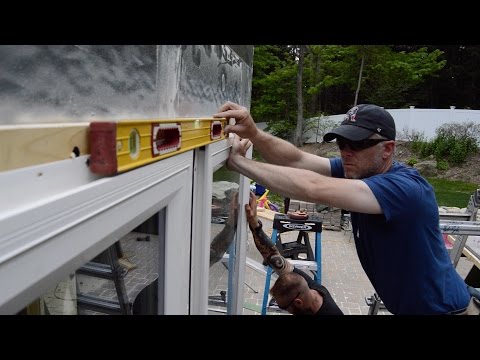
First to go up is the top piece that spans all the windows. David and Calvin work hard to install it level and bend it into being straight.
With the top span level, they fill in the sides—double-checking as they go along.
When installing banks of windows like this, an even reveal is going to be really important when it comes time to trim out the windows, so David marks where the bucks should be centered, to make sure that they are evenly distributed and not competing for space.
In this case, David forgot about the steel post behind the sheathing, so he has to re-set his fastening strategy.
Then it is back to normal. As they work along the sides, they are careful to keep them pretty close to plumb and straight.
The other important dimension to keep in mind is the compression dimension. Make sure you do not bow the window bucks in by compressing the foam around the windows.
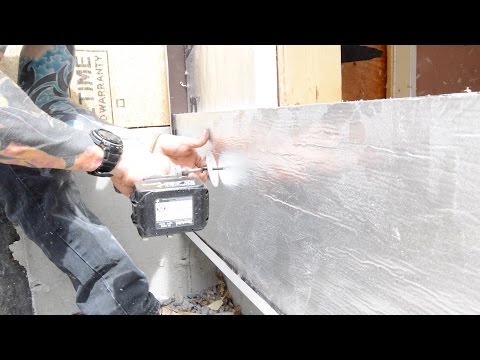
Finally, cut back that bottom layer of the foam to create a sloped sill for when it comes time to flash, in the next video.
—Thanks to David Joyce for opening his jobsite to our film crews. Thanks also to Calvin, PJ, Damien, and John for working with us and playing through the pain.
