Exterior insulation is an effective way to insulate buildings, offering numerous benefits such as improved energy efficiency, thermal performance, and moisture control. Here's how to install EPS insulation over masonry with a silicone "stucco-like" coating outside. But first, some basic info on insulation types:
Types of Exterior Insulation
Expanded Polystyrene (EPS): EPS insulation boards are lightweight and easy to install. They have high thermal resistance, excellent moisture resistance, and are resistant to insects and mold. Extruded Polystyrene (XPS): XPS insulation boards have high compressive strength, making them suitable for below-grade applications. They offer good moisture resistance and are commonly used in areas prone to moisture exposure. Mineral Wool: Mineral wool insulation is made from rock or slag fibers and offers excellent fire resistance. It is resistant to moisture and pests and provides good sound insulation properties. Polyisocyanurate (Polyiso): Polyiso insulation has a high R-value per inch, making it a popular choice where space is limited. It provides good thermal performance and is resistant to moisture and insects.
Benefits of Exterior Insulation
Energy Efficiency: Exterior insulation helps reduce heat transfer through walls, minimizing energy consumption for heating and cooling. This leads to lower energy bills and a reduced carbon footprint. Thermal Performance: By adding insulation to the exterior, the building envelope becomes more thermally efficient, reducing heat loss and preventing thermal bridging.Moisture Control: Exterior insulation acts as a barrier, protecting the building from moisture infiltration. It helps prevent condensation, mold growth, and structural damage caused by moisture. Improved Comfort: With enhanced thermal performance and moisture control, exterior insulation contributes to a more comfortable indoor environment by maintaining consistent temperatures and reducing drafts.
Installation Process
When installing exterior insulation over masonry, clean the surface of any organic matter, living or not. It is important to NOT sandwich mold or mildew into the wall system.
- Surface preparation: The exterior surface should be cleaned, repaired, and made ready for the insulation installation. This may involve removing existing cladding and addressing any structural issues.
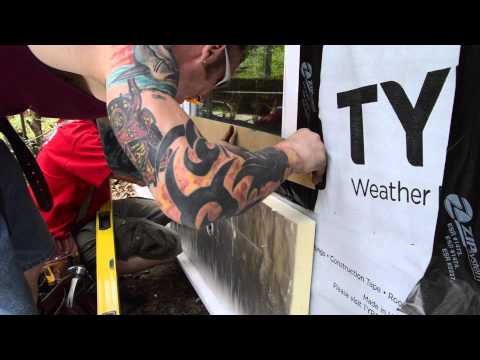
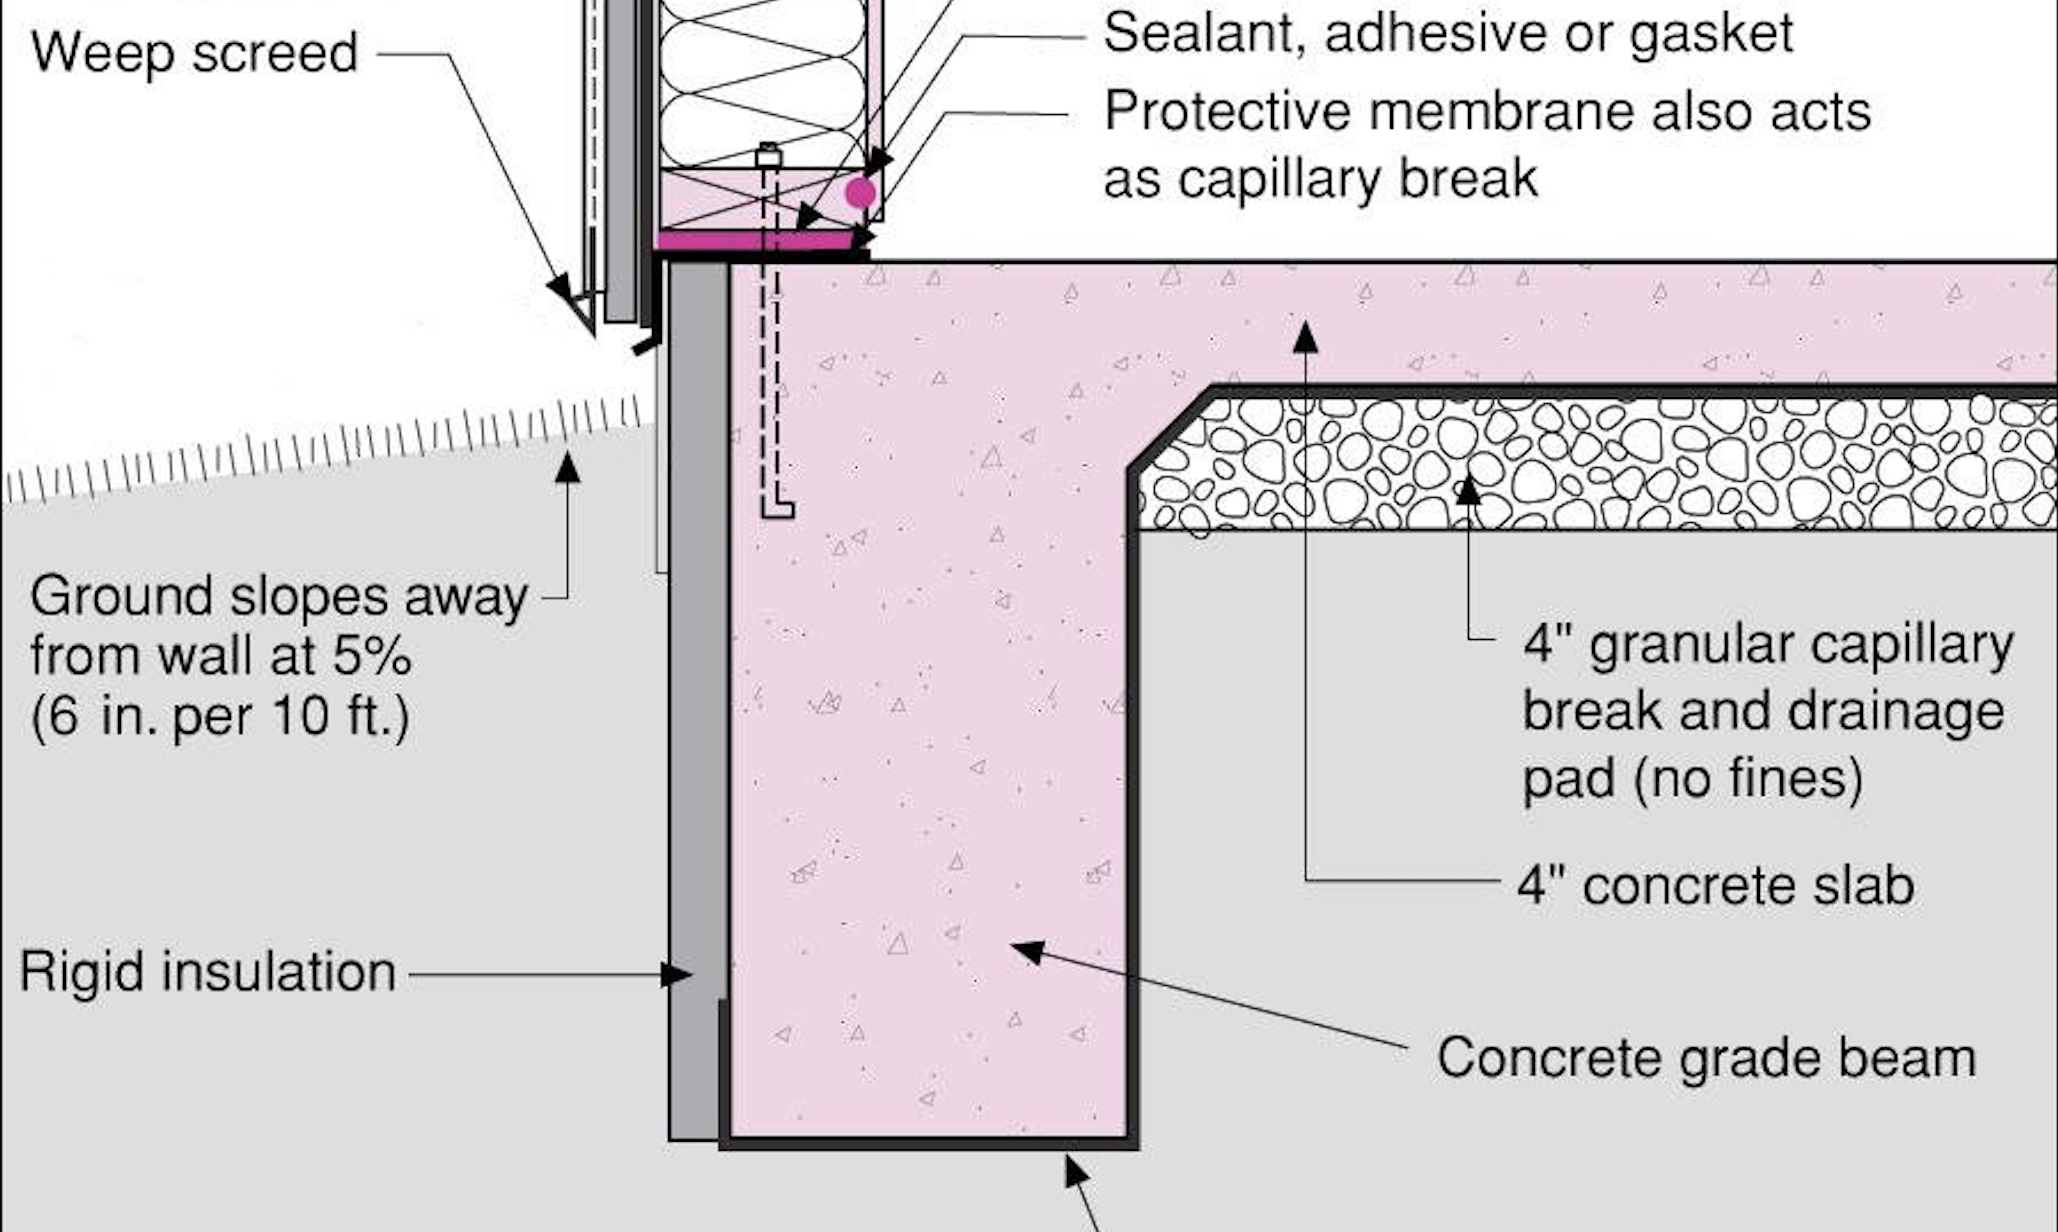
- Insulation attachment: Insulation boards are typically attached to the wall using adhesive or mechanical fasteners. The bottom of the sheets is protected from bugs using a flashing, or premade starter tray, as is being used in the video. We have not seen starter trays in the US, but if you're remodeling in the UK, they seem available. Here in the US, we use coil stock bent on a brake. The adhesive is spread around the perimeter and blobbed in the middle of the sheet. Fasteners should go through the adhesive.
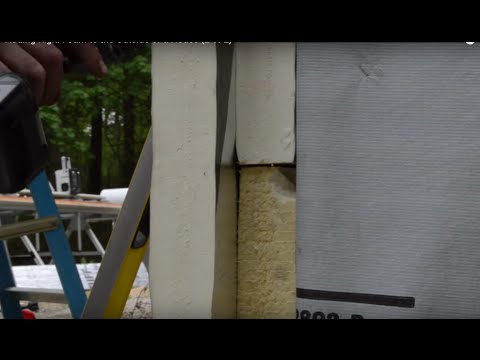
- Smooth the surface of the EPS. The author uses a large rasp to smooth the surface of the eps, partly to plane it flat and to remove the exterior coating, which may inhibit the finish coat from. sticking as well. He fills the gap at the top where the EPS meets OSB using an expanding foam tape.
- Fasten the EPS sheets: The author drills holes for fasteners, which are plastic instead of metal, to reduce thermal bridge effects, and the fastener is covered with an EPS plug to eliminate thermal bridging through the fasteners.
- Surface finish: He applies a three-coat stucco finish over the EPS, installing a scratch coat and base coat before applying a primer tinted the same color that the top coat will be.
