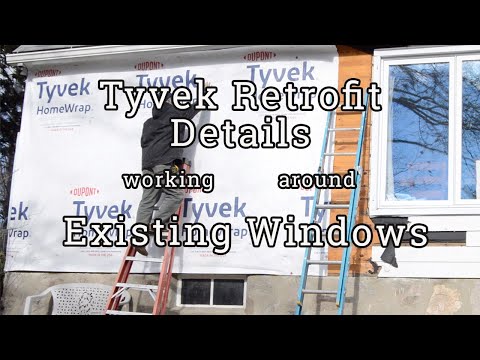
Last time on ptc@home, I retrofitted Tyvek on the walls with existing windows, which included an apron at the bottom, taped to the Tyvek, and the Tyvek sealed to the window flashing. That makes layer one of the air barrier system.
Now it’s time to wrap the home with Styrofoam insulation and Drainvent rainscreen.
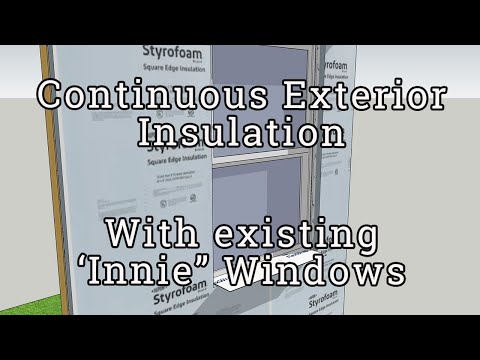
Before covering the house with layers of styrofoam and Drainvent, I had a local insulator blow cellulose into the stud cavities, which added about R-13. Two inches of Styrofoam on the outside will bring R-value to around R-23, which is a pretty respectable upgrade for a sixty-year-old house in climate zone 5.
Beyond the extra R’s in the wall, the airtightness will be significantly better.
Exterior insulation should be continuous and airtight
I began installing Styrofoam at the corner with full sheets. It doesn’t matter if the sheets are vertical or horizontal; just make sure to offset the seams in the layers.
You don’t need to tape the seams on the first layer; at least, that’s what veterans of the process tell me because taping the second layer’s offset seams will stop air movement. It’s also OK to use up scraps on that first layer, as long as they are tight.
The bottom detail uses coil stock bent in a j-channel shape to keep bugs out. Tyvel overlaps the upturned lag, and the front is sealed to the foam with Tyvek tape.
The second layer of foam is offset from the first, and the outer seams are taped. Again, it is important to tool the tape into the substrate to improve the adhesion.
At the top of the wall, I pieced in skinny rips to fill in tight to the soffit. When I tear off the roof next year, I’ll cut off the rafter tails and seal the roof/wall intersection with peel and stick membrane, sealing it to the Tyvek. The soffit and fascia will then be boxed out, as illustrated in other Protradecraft videos and animations.
Under the window, I also had to piece in some smaller parts because whoever framed this house didn’t predict that I’d be using full 4x8 sheets.
I trimmed the edges under the window on an angle so that the sill flashing would slope outward.
Speaking of sill flashing,
The window sill flashing should extend outside the foam to kick any water getting into the outside of the wall.
This outer face of styrofoam is effectively the WRB and drainage plane for leaks, so overlap the tapes and flashings correctly.
And wet the adhesive into the substrate with a squeegee or J-roller
You can see that I goofed up and forgot to tape that far corner before sticking the flashing tape to the foam, but I was able to recover and tuck the tape behind the FlexWrap.
As always, it is important to tool construction tapes and flashing tapes to the substrate because the adhesives work best when mashed into the 3-dimensional topography of the substrate.
Rainscreen allows water that gets past the siding to drain out
With the foam installed and taped tight, I can add the layer of DrainVent rainscreen to the outside.
Rainscreen creates a drainage space for liquid water to drop through so that it is not held tight between the siding and the WRB. This extends the life of the siding and improves the durability of the wall system.
Drainvent is an entangled mesh product that allows air movement in all directions, unlike using furring strips, which restrict air movement to up and down.
Again, with this sheet product, I tack the corners until I have the whole piece where I want it, and then I add additional fasteners. Also, like the Tyvek, I want to align the bottom of the sheet exactly where I want it to be and smooth the rest tight.
I run the Drainvent over the window and cut out the excess afterward.
I am still using the minimum number of fasteners because the siding nails will still penetrate all of the layers, too.
The second-row stacks atop the first with the mesh butting the previous course. There is no overlap.
The outer fabric-y layer is protection against stucco or mortar from blocking the mesh. It is not a water barrier or an air barrier—all of that stuff is detailed already; this layer is just a spacer.
Detail the bottom of the wall to keep bugs out
At the bottom of the wall, the flap is tucked under the mesh to provide an insect barrier; the flap doesn’t really do anything in the middle of a wall like this, so just overlap it.. I actually trimmed it off and used it to wrap the edges of window openings for added protection against highly determined bugs.
That’s pretty much all there is to installing the Drainvent rainscreen.
Now we’re ready to put up some TruExterior trim and siding—which I’ll do next time on ptc@home.
