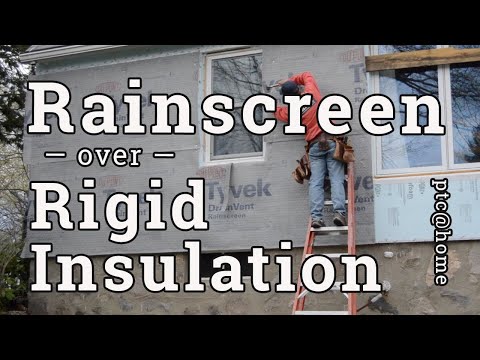
Before I can install new siding on the house that’s featured in the ptc@home video series, I need to remove all of the existing siding. After that, I’ll need to add a new WRB, Tyvek Home Wrap in this case, and some exterior insulation.
I’m also going to install Tyvek’s new rainscreen product called Drainvent.
This episode of the series looks at retrofitting Tyvek Homewrap with that stuff in mind.
Installing Tyvek single-handed
Most of the installation process is the same as for a new construction project with the key difference being that you usually have a helper in new construction and that the windows are usually not installed before the Tyvek.
So those are the limitations I am working with in this video: Installing Tyvek alone and integrating the WRB into existing windows on a 65-year-old house.
I guess another limitation of this is that I was working in sections that I could strip, cover, and insulate in a single day to minimize energy bills and maximize comfort inside the home, where my family lives.
I have replaced most of the windows already, but the one here has not been replaced, so there is a triple-track storm window screwed onto the outside.
I’ll be installing the Tyvek in such a way that it will be easy to reintegrate when I replace the window. I guess the other limitation is the weather, daylight, and my day job—making stuff for ProTradeCraft. If it’s a sunny day, I’m outside working on the house. I can do video editing at night, and I can replace windows from the inside on cruddy days because:
And here’s a good tip
If you leave the triple tracks on until the window is replaced, the room doesn’t get that uncomfortable with the ginormous hole in it.
WRB controls air and liquid water movement
Back to the WRB. The point is to seal against air leaks and water leaks at these giant holes in the walls that we call windows.
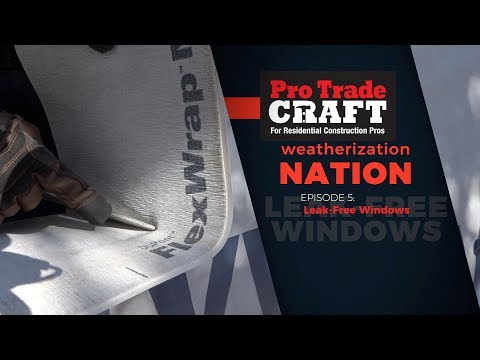
Begin at the bottom of the window with an apron tacked in place with a couple of cap nails and sealed to the sill with flexible peel and stick flashing membrane, such as Dupont’s FlexWrap.
Tool the tape into the substrate with a squeegee or j-roller to make sure you get a solid bond.
The Tyvek apron should extend past the window 10 inches on either side and be at least 12 inches below the window sill.
Now, seal the window frame to the wall sheathing using peel and stick flashing tape, beginning with the bottom piece, then the sides, and finally the top, overlapping the seams as if you understand that water flows downhill.
When you have a buddy, it is easy for one person to handle the Tyvek roll and the other go move behind, smoothing and fastening. When you’re working solo, it’s easiest to cut the piece first and install it from corner to corner.
Here, I tack the bottom corner where I know I will want it to end up.
Next, I tack the top corner on that same edge, mostly just to keep the bulk of the WRB up in the air and away from my feet.
Next, I move to the opposite bottom corner, again to make sure it lands where I want it to land: at the bottom of the wall sheathing.
Now it’s time to fasten the top corners. You can move back to that first corner and refit it or you can begin with the opposite corner. I think it is cleaner to go back to that first corner and tighten up the sheet and then hit the last corner last.
Regardless of which order of corners you do, don’t fasten anywhere except those corners yet. It is important to get a tight, smooth fit before riddling the WRB with staples or nails.
Bottom of wall WRB detailing
Tyvek recommends sealing the bottom of the Tyvek to the foundation or wall sheathing to improve the air barrier properties.
I did not do this for a number of reasons.
The foundation is a stone foundation, so there is no regular flat surface to tape Tyvek to.
The Tyvek is not the final WRB—the foam will be—so I will need to be able to tuck some metal coil stock behind it to protect the bottom edge of the foam from bugs.
Install the Tyvek over the wall, covering the window, and then cut out the window perimeter.
The window cut-out should be an inch back from the sides and top and six inches below the sill.
Keep the cap staples away from where flashing tapes will go, roughly four inches away from the window sides and top, and at least 12 inches away from the bottom, to avoid stapling the flap prematurely.
Now you can cut horizontal slits wide enough to extend a couple of inches past the underlying apron.
Bring the apron through the slits so that it is overlapping the Tyvek below it.
Now you can tape off all the edges, beginning at the bottom.
Tape the apron to the Tyvek, and then tape the Tyvek edges and top to the window flashing.
Fastener specifications
Again, this Tyvek is going to be covered with two layers of Styrofoam insulation and Drainvent before I nail siding to the wall, so I am using the bare minimum of fasteners—because every layer I add will get more fasteners penetrating every layer.
A few extra holes from staples or nails probably won’t ever be a water problem, but if you’re aiming for airtightness, all of those holes can add up.
Next time, I’m going to install two layers of styrofoam and cover it with Drainvent, a rainscreen product from Tyvek that will allow clear and quick drainage behind the siding.
I’ll also detail the exposed edges to prevent an unwanted insect invasion. ptc@home is a video series in which you can watch the editor of protradecraft remodel his house and heckle him on social media. This is the second segment of the series.


