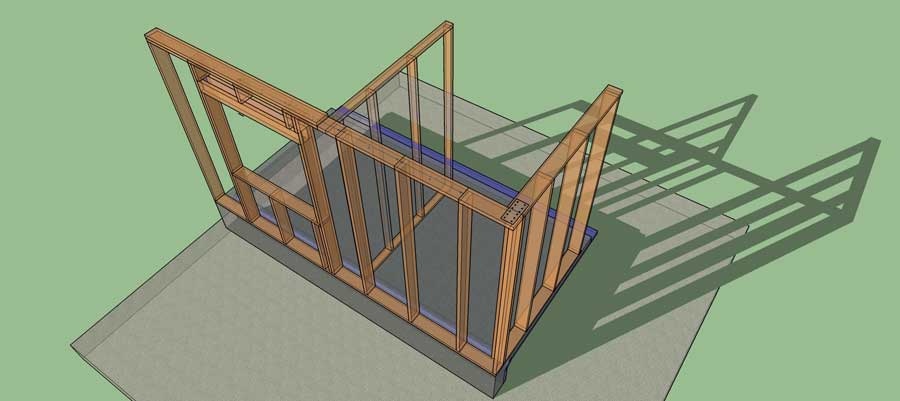
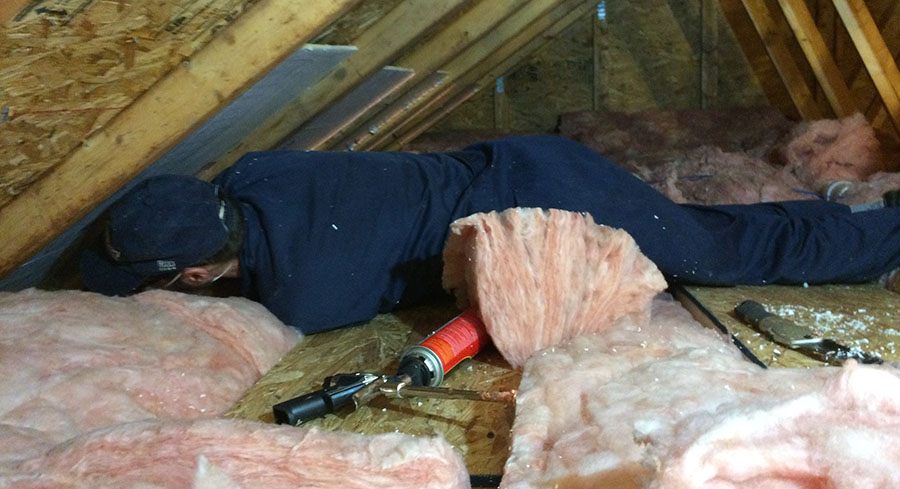
Pipes and wires in stud cavities make it difficult to keep the insulation fluffy and fully contacting all six sides of the cavity
Some do's, don'ts, tips, and tricks on how to overcome these obstructions
What to do about wires (1:10)
Don’t: Tuck insulation behind the wire
Do: Split the insulation or filet the insulation to accommodate the wire
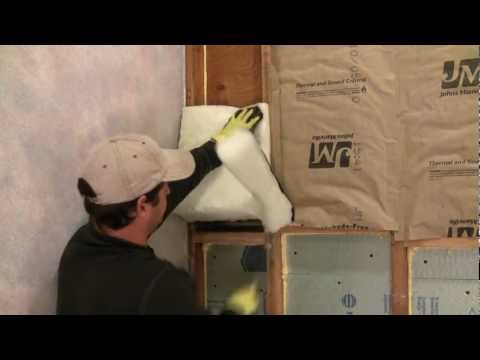
- To split the insulation, Install from the top, making sure the top is tight down to the wire. From the bottom, split the batt in half and tuck the back section behind the wire. Make sure it comes into contact with the bottom plate and let the front section lie in front of the wire.
- To filet the insulation, install the batt from the bottom of the cavity up to the wire (make sure the insulation is in good contact with the bottom plate. Fold the insulation over so that you can see the wire and make a slit in the back of the insulation—about half way through the batt—right where the wire is. Fold the batt up over the wire, into the rest of the cavity, and fluff the face of the batt where the wire is.
3 Ways to seal behind electrical work boxes, like light switches and wall outlets (3:23)
- Canned foam. Fill the space between work box and wall sheathing with successive applications of high expansion canned foam.
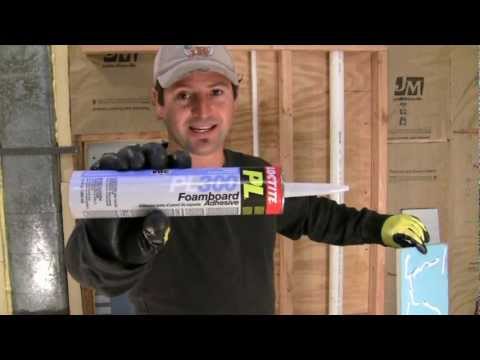
- Rigid foam chunk. Fill the space between the work box and wall sheathing with a piece of rigid foam board cut to fit (for a one in space, use one inch rigid foam). Glue the foam in place with foam board adhesive, such as PL300 from LocTite.
- Full size rigid foam board. Install rigid foam board against the wall sheathing the full width and height of the cavity, seal the edges with canned foam.
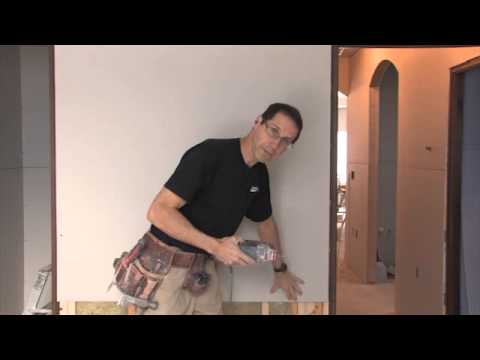
To notch the batts around the work box, make a jig (4:42)
- Cory has a line drawn across his 1x4 straight edge. The line is 2-1/2 inches in from the end of the 1x4, which defines the shape of the box (2-1/2 " x 3-1/2").
- Hold the batt in place and mark the top and bottom of the box with a Sharpie.
- Lay the jig between the two marks with the solid line aligned to the edge of the batt. Use the 1x4 jig as an edge to cut against.
The result is a pretty clean notch for outlets and switch boxes.
