Lead flashing, British style
Gary, from Aspect Maintenance demonstrates how to install a roof to wall counterflashing cut into a brick wall, using rolled lead flashing.
Step by step counterflashing:
- Cut a chase in the brickwork 6 inches above the flat of the roof wall intersection. Grind the channel about an inch to an inch and a half deep into the brick mortar joint.
- Use sections of lead about a meter or a meter and a half long top work with.
- Bend along the length, about an inch, to make a leg to tuck into the channel.
- Cut 1 inch by 6 inch strips, and roll them into bungs.
- Flatten one rounded edge of the bung with a hammer so that it will slide into the chase more easily.
- Use a hammer to pound the bung into the channel and then use a chisel to pound it in tightly.
- Space the bungs every 12 inches or so.
- Overlap the next piece of lead about 6 inches over the previous piece.
- Use a lead dresser to dress the lead to the wall.
- When the lead is installed, bunged, and dressed, point the joint with mortar to deflect water away and out.
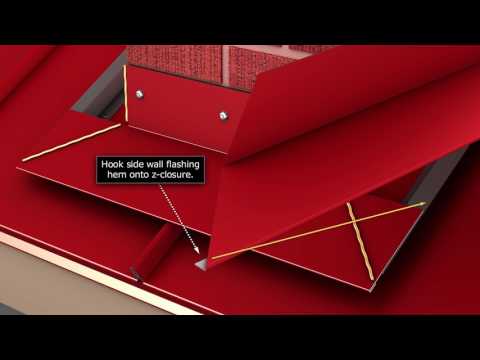
How to cut step flashing into a long piece of lead flashing
Step-by-step step flashing
- Mark the cuts in the brick courses with a straight edge and a pencil.
- Cut perpendicular to the edge of the lead flashing, from the end of one mark down to the beginning of the next one.
- Cut parallel to the marks, an inch above each mark, to remove a right triangle of lead flashing.
- Slide the flashing into place and dress the lead against the wall.
- Bend each saw-toothed in the lead flashing 90 degrees, at the scribe lines. These bends will insert into the brick cuts.
Slide the flashing into the cut channels, bung, dress, and point.


