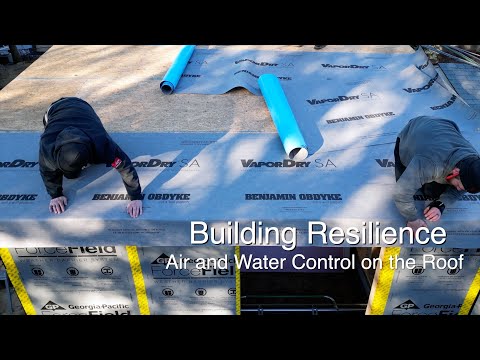
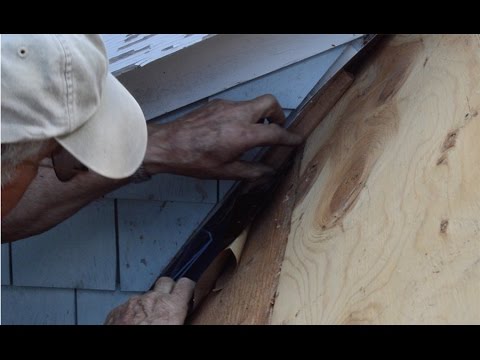
A couple of ways the pros rollout peel and stick, getting it to stick where they want it to
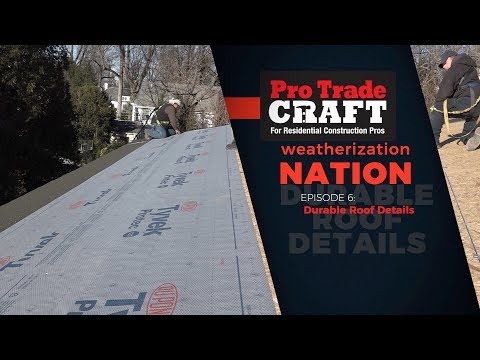
There are many ways to install peel and stick membrane with a split-release sheet. The release sheets can be paper or plastic.
It is tempting to say that there are as many ways to install peel and stick roofing membranes as there are roofers, but it is simply not true. There are WAAAYYY fewer methods.
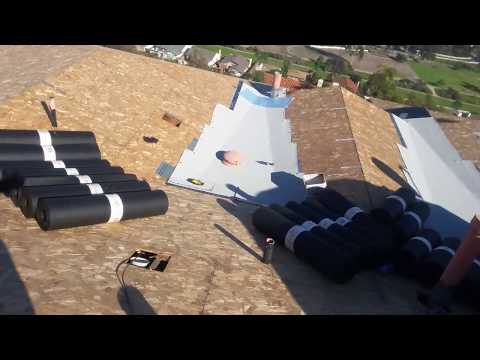
Here are two ways to unroll and install peel and stick roofing membrane on a new or renovated roof.
Unroll the membrane first, peel the release sheet later:
- Place the end of the sheet according to instructions to allow the correct overlap.
- Pull back some of the release sheet from the upper half of the membrane.
- Lay the membrane back down and tack the top corner.
- Roll out the membrane to the end of the roof run.
- Align the roll for the correct overlap and continue removing the upper half of the release sheet.
- Nail along the top edge of the membrane to hold it in place while the adhesive sets up.
- Peel the bottom release sheet from the membrane. Pull at about a 90-degree angle to avoid tearing the release sheet.
Peel the release sheet as you unroll the roofing membrane:
- Place the roll for correct overlap and peel back the top corner.
- Tack the top corner with a button-cap nail
- Unroll the membrane by peeling the release paper as you walk.
- When the roll is unrolled, pull the sheet tight by lifting slightly and tugging.
- Position the sheet for correct overlap and nail the top edge.
- Remove the release sheet from the bottom portion of the roll, pulling at about 90-degrees from the membrane to avoid tearing the release sheet.
This method is a fast and efficient way to unroll the roofing membrane, especially on the second course, but on a hot day, it forces you to unroll precisely.
