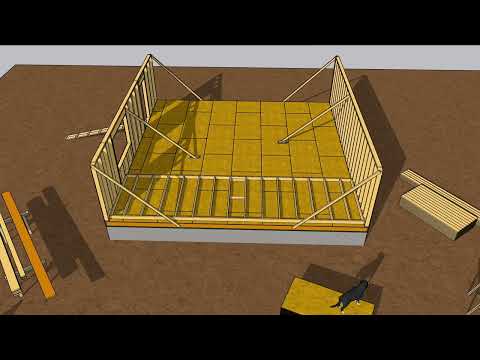
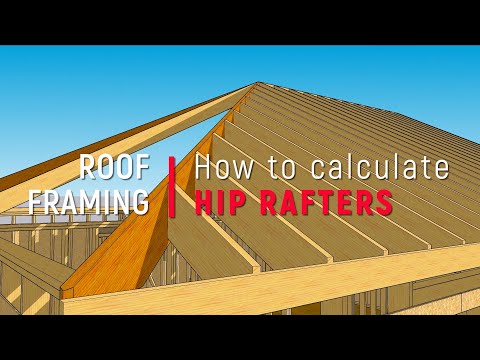
In this short video, Tim Uhler explains how he calculates stud placement for rake walls—walls with angled top plates that fit into the gable ends.
Before getting into the exact steps of the process, here's what Tim has to say about it:
I find it much more productive and safer to build rake walls on the deck and lift them into place. For many years we framed in the gables after the roof was framed and sheathed.
This meant that we had to frame and sheathe the gables, build over hangs, install lookouts, add flyrafters (barge board), etc all up in the air. This is slower and more dangerous.
For most of the last decade we were a framing crew of two. So we developed a method that works very well for 2 people, is easy and efficient. Generally it also means we don’t have to snap lay out.
In our rainy area, snapping lines on a wet floor is almost a non starter.
Basically it boils down to layout. After the bottom plate is layed out, we need to transfer that lay out to the sloped or angled top plate. This is very easy to do.
I prefer to cut everything to the long point of the bevel, so that means all layout on the bottom late is on the “uphill” side of the framing members. Once that plate is layed out, we measure and lay out the king stud and transfer that to the top plate. Then we do the same for the stud layout.
I always figure a middle stud and then layout “up” and “down” from that one.
Now you might ask, couldn’t you just figure it all out, precut it and then assemble it? Absolutely yes. What I have found is that I can’t necessarily trust the framing lumber to be as perfect as the math. So ultimately this is more productive for us.
This is a simple nine-foot wall with a 4/12 pitch.
Layout studs on the shart point of the bevel, so the line represents the long point and the X goes to the short point side.
In this case, the center of the wall can get a stud because there is solid material below.
Rather than use a framing square, or snapping lines on the deck every 24-inches, Tim uses a construction calculator to calculate the diagonal measurement.
Measure the run, which is the distance from the end of the wall to the first stud (24-3/4 in this case), and then punch in the pitch (4/12 in this case) and push the button to learn what the hypotenuse (diagonal) measurement is.
Usually, Tim's crew will layout a middle stud and then calculate the diagonal to go in each direction.
So, if it is 6-feet to the long point of the stud, then punch in 6 feet, 4/12, and get the number.
"Math Never Lies"
Step by step:
- Punch [6] and then [Feet] and then [Run]
- Next, punch [4] [Inch] [Pitch] and then [Diagonal]
- The resulting number is 75-7/8 inches along the underside of the sloped top plate to the long point of the stud.
- To get the amount of space between studs, punch in
- [24] [Run]
- [4] [Inch] [Pitch] [Diagonal]
- That will calculate a rake measurement of 25-5/8 inches.
Click [Store] and you can keep adding to it to get every stud long point number.
They lay out the King studs first and then fill in the standard studs.
