Old-school framing meets new-age materials
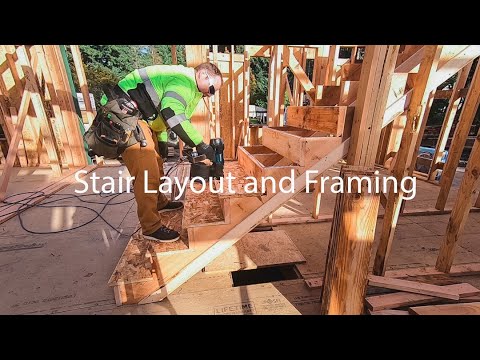
In this video, Dave Osland shows his method for framing carpeted stairs. Most of the details will be familiar to anyone who has framed or finished stairs. What’s different is how he omits the center stringer and uses LVL (laminated veneer lumber) for the stringers and treads.
LVL material is strong and stable so the points won’t break off and the treads will remain level because the material doesn’t shrink and cause treads to slope to the nose.
There’s an interesting discussion in the YouTube comments to this video about terminology and other things related to stair building. I spent my carpentry career in the East and Midwest and what I call a stringer or carriage Osland, who lives in California, refers to as a jack. Same item—different name.
Here are some things that stood out to me:
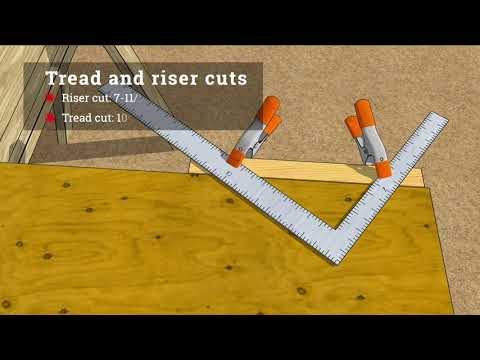
- (0:40) If you look carefully at the stringer you can see that the treads and risers were laid out square and then the riser cut was changed to an angle. This stair is clearly intended to be carpeted; angling the riser creates the effect of a tread overhang without actually having one.
- (1:35) This is what is often referred to as a dogleg stair, one that comes up to a landing and then turns 180 degrees.
- (2:15) He frames the stairs as soon as the first floor walls are in place so there’s no need to climb ladders while framing the second floor.
- (4:20) Here you can see the angled cut for the risers, which lean forward to meet the “overhanging” tread.
- (4:51) According to Osland, there’s no need for a center stringer when stairs are built this way. That’s because the rough treads are made from LVL and the risers from 2-by material. Looks to me like this should be a rock-solid stair.
- (7:20) Not sure if this is a mistake or if I’m missing something, but the tread risers lean forward while the platform risers appear to be plumb.
- (7:58) Installing the code-mandated fire blocking. The idea is to prevent a fire that starts below the stairs from getting into the walls on either side of it.
- (8:40) Because there is no central stringer 2x4 cross blocking is needed to support the drywall below.
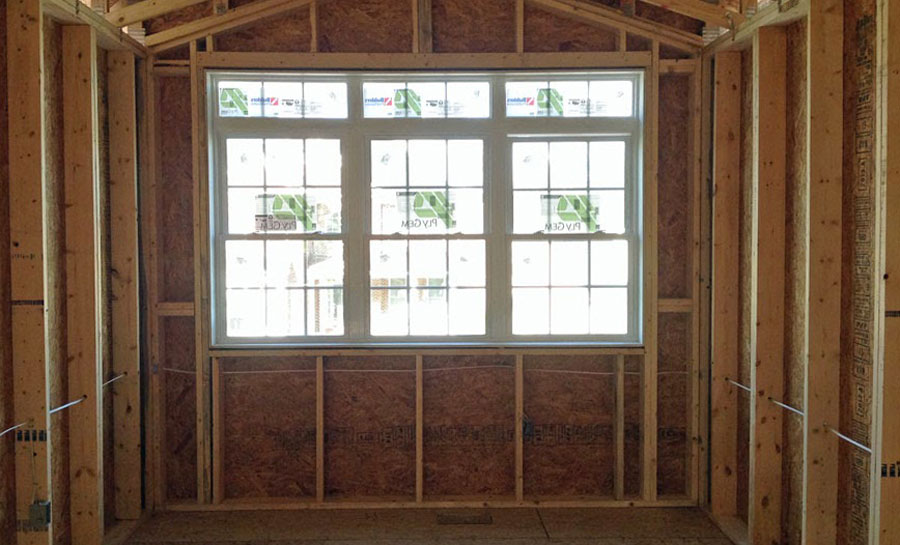
- (9:55) The hold-down hardware on the double stud at the second tread indicates that this will be a shear wall. There’s a second hold-down at a double stud at the other end of the wall—which will be clad with drywall or OSB fastened with a specified nailing pattern prior to the installation of drywall. You don’t see shear walls in all parts of the country but they are common where wind and seismic forces are a concern.
—David Frane is a freelance writer and a good buddy of ours. A former carpenter, he has covered tools and construction for JLC, Tools of the Trade, Core77, and other publications. He lives in Northern California.
