A plastering contractor upgrades an ugly exterior in Northern California.
Kirk Giordano is a contractor in Alameda, California who has produced a lot of interesting video about the plastering (stucco) trade. In this one he shows stucco being applied to a house that was originally clad with T1-11 siding.
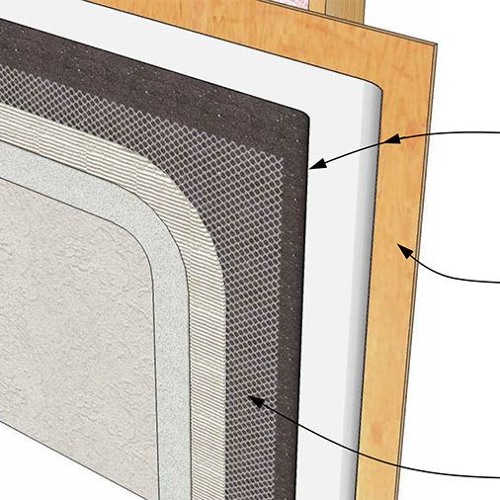
The siding is left in place and covered with building paper, lath, and traditional 3-coat stucco with color coat. This type of exterior finish requires no paint and is common in California and other parts of the West. Newer ways of doing stucco exist but this one has withstood the test of time.
Here’s how he does it:
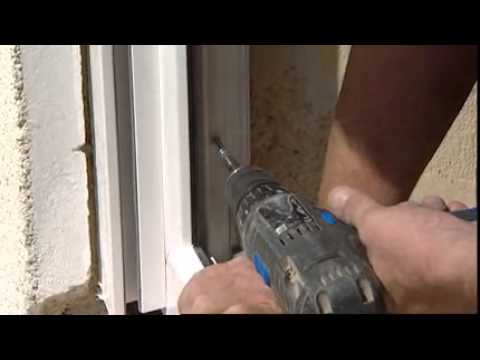
(0:38) Giordano begins by installing drip screed along the bottom edge of the wall and new vents in existing foundation vent holes.The original windows—which were probably aluminum—have been replaced with vinyl units that have been clad with some crude looking casings. The windows will stay. The casings will go.
(1:04) The video skips ahead to the point where the casings have been removed and wire lath installed over a double layer of building paper that has been carefully detailed to prevent water intrusion.
(1:39) Giordano applies the scratch coat, the first of three layers of stucco. The buildup should be approximately 7/8 of an inch thick: a 3/8-inch scratch coat, a 3/8-inch brown coat, and a 1/8-inch color coat.
(3:28) After the scratch coat has been applied you need to hydrate it (spray it with water) every so often for at least two days—otherwise it won’t cure properly and will crack. After the second coat (the brown coat) is applied it too must be hydrated for a period of time.
(4:48) Before the scratch coat sets it should be scarified with a scratch coat rake. This leaves horizontal indentations in the cured material and allows the second (brown) coat to mechanically bond to it.
(5:13) The absolute most important thing to a good three-coat stucco job is hydrating the material as it cures. This means spraying it with water until it’s dripping wet.
(7:10) As his crew applies the brown-coat material Giordano follows behind and uses a darby to screed it flat.
(8:40) Use a hard rubber float to compress the brown coat and smooth where it comes into the windows.
(10:40) Giordano’s crew trowels the color coat material onto the wall and he follows behind and floats it to the desired texture. The color is integral so the wall should never have to be painted.
(11:30) The finished stucco wall is far more attractive than the T-111 we saw at the beginning of the video. Once cured the stucco is cured the color coat will have a mottled appearance with subtle areas of light and dark.
