Biggest crack in the house
It's easy to air seal the middle of the wall where there are no gaps, cracks, or joints—just try to blow through a piece of plywood. The edges are a different story, especially when one edge is wood and the other is concrete.
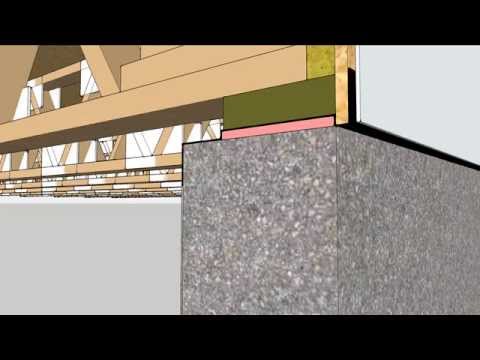
The joint between walls and foundation runs the perimeter of a house. According to Building America, this is an especially important joint, for two reasons:
... because the concrete surface is sometimes rough, preventing a smooth seam between the foundation and the sill plate, and because of the stack effect, which naturally pulls air in through the lower part of the building, where the sill plate is located.
Some suggestions from our technical committee ...
- Upgrade from off-the-shelf sill seal to a high performance sill gasket and seal it to the foundation and the mudsill.
- Use EPDM gaskets for structural members
- Use a peel-and-stick high performance sill gasket
- Use a sealant, such as acoustical sealant, to ensure long life.
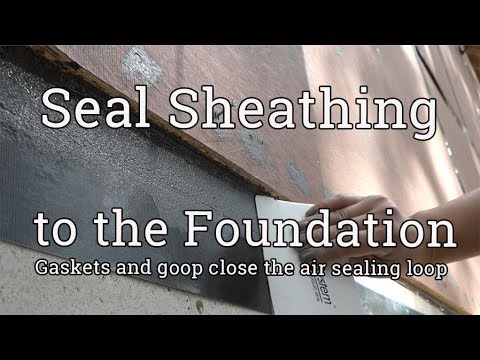
- Seal the wall sheathing to the bottom plate. Subfloor adhesive is usually close at hand, so run a bead along the bottom plate before sheathing the walls.
- Overhang the wall sheathing a couple of inches below the mudsill. Why leave all of those cracks exposed?
- Seal the wall sheathing to the foundation. Acoustical sealant or something that will stick to both wood and masonry is best. If the wall plates are not flush with the foundation—meaning that the foundation is not square and the walls are—use low-expanding canned foam to seal the big gaps.
The bottom line: The multiple layers of sealing will substantially reduce air leaks along this important part of a house. This will improve comfort, durability, and energy efficiency.
<code>
- 2009 IECC: Section 402.4.1 Building Thermal Envelope
- 2012 IECC: Section 402, TABLE R402.1.1
