Interior membranes can be part of a high-performance wall assembly as a vapor retarder or as part of an air barrier system
For them to work, though, they must be installed carefully.
The first step of installation is carrying the roll into the room, and rolling it out.
Ben cuts the sheet with scissors.
Begin in one corner of the room, staple the heck out of that corner, and stretch the sheet to the other end of the room.
“What I do is, when I tuck myself into the corner here, so it leaves me a couple of inches… a couple of inches down there. And then I’m using this plate line here as my reference point.” —Ben Bogie, remodeler
Begin in one corner, staple the heck out of that corner, and then stretch the sheet to the other end of the room. He keeps the first edge even with the line between the top plates as a guide.
He also staples up into the drywall backing in the ceiling.
With the first edge secured, they stretch the sheet across the room and pull it up tight to the framing. When the sheet it up, Rick staples the field into the ceiling framing.
They fill in the additional strips needed to cover the ceiling, overlapping the strips onto framing, which will give solid backing for tape. Finally, they trim the edges of any long ends so that they can tape the edges to the framing. Ben uses six-foot lengths of tape rather than rolling it in a continuous piece.
“Instead of having to try and move my ladder and have to juggle the tape at the same time, I pull off a length of my arm span.”
You can hear Beasley in the background looking for someone to chuck her tennis ball.
Ben has a tip for taping tight corners:
“Cut a little piece about three or four inches, and stick it over my squeegee like this, with the end up past the top of the squeegee a little bit, and tuck it right into the inside corner and squeegee it over.”
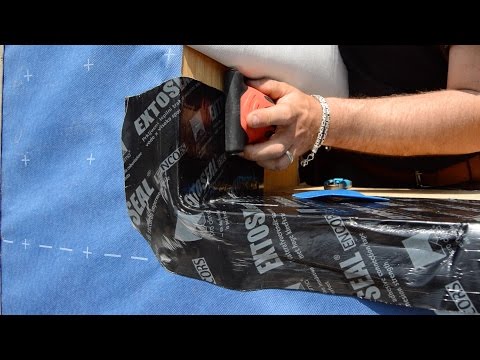
Most of these flashing tapes are pressure sensitive, so they require rolling or some other way to mash the adhesive into the substrate. Ben uses a plastic squeegee here, but he also has various rollers.
To tape seams in the ceiling, he uses his squeegee-placement tip again, to get the strip started, he rolls along the seam to the end, and then he squeegees his way back.
With the ceiling stapled and taped, they’re going to turn to walls tomorrow morning.
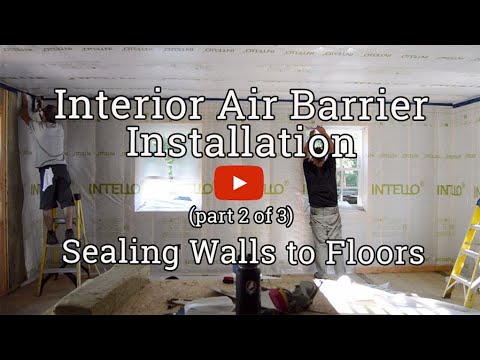
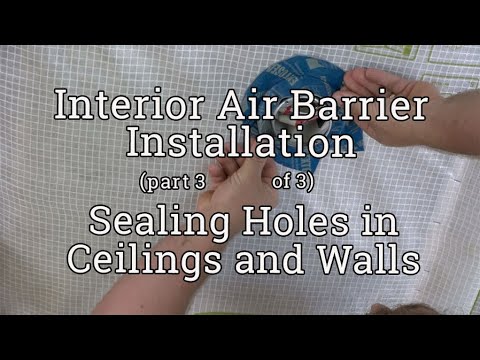
This is the first part of a three-part series on installing interior air barrier/vapor retarder membranes. Also see part 2, Walls and part 3, Holes.
