Two ways to spice up stock cabinets
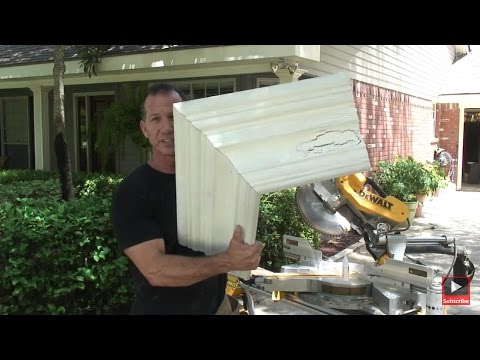
As a way to improve the appearance of his kitchen cabinets, @PaulRicalde adds a wrap-around valence made with scrap baseboard trim. And then he matches that trim piece with his table saw—to illustrate that anyone can do this.
Step 1: Miter the valence corners
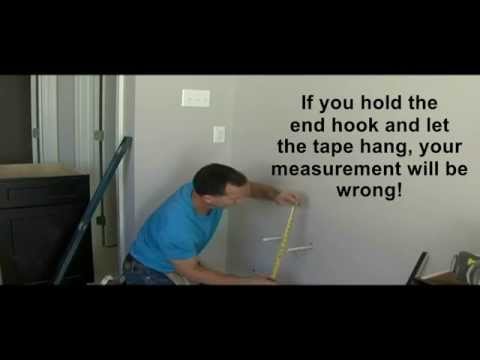
The front piece is mitered on both ends, to return to the cabinet. To get accurate short point measurements for this, clamp the work piece to your miter saw's table, aligning the short point with the end of the saw's fence.
Hook the fence with your tape, mark the board.
Step 2: Cut the arch
- Mark the center of the board.
- Center the board on your work table.
- Clamp the board in place.
- Swing an arc along the board from the center of the table. You can use string, wire, a rod, or a tape measure, as Paul does.
- Cut the arc—
Paul's tool tip: Spyder blades are amazing for both reciprocating saw or jig saw. Check out the scroll saw abilities at about 7:30 in the video
Step 3: Prime and paint
- Knock down the finish with 220 grit sandpaper.
- Wipe the work pieces with denatured alcohol to remove saw dust.
- Paul likes automotive primer, so that is what he uses; you can use whatever primer you like.
- Glue the parts with 2-part instant adhesive. Tip: do not put your finger on it because it WILL stick to your fingers.
Alternative to an arc on the valence: cut a profile on either end of the board, connect with a straight line cutout.
- Trace a shape on a scrap of wood.
- Cut it out.
- Draw the shadows link each end, flipping the template over to assure identical profiles.
- Connect the profiles with s line and city out the excess.
Step 4: Mount the valence
- Paul mounts the valence to the face of the face frame, so he drills pilot holes through the face frame to allow screwing through the back into the valence.
- Clamp valence in place.
- Screw through the back into the valence.
—Paul Ricalde is a home improvement contractor and fireman in New Orleans, LA. His YouTube channel is rich with construction/remodeling videos.
