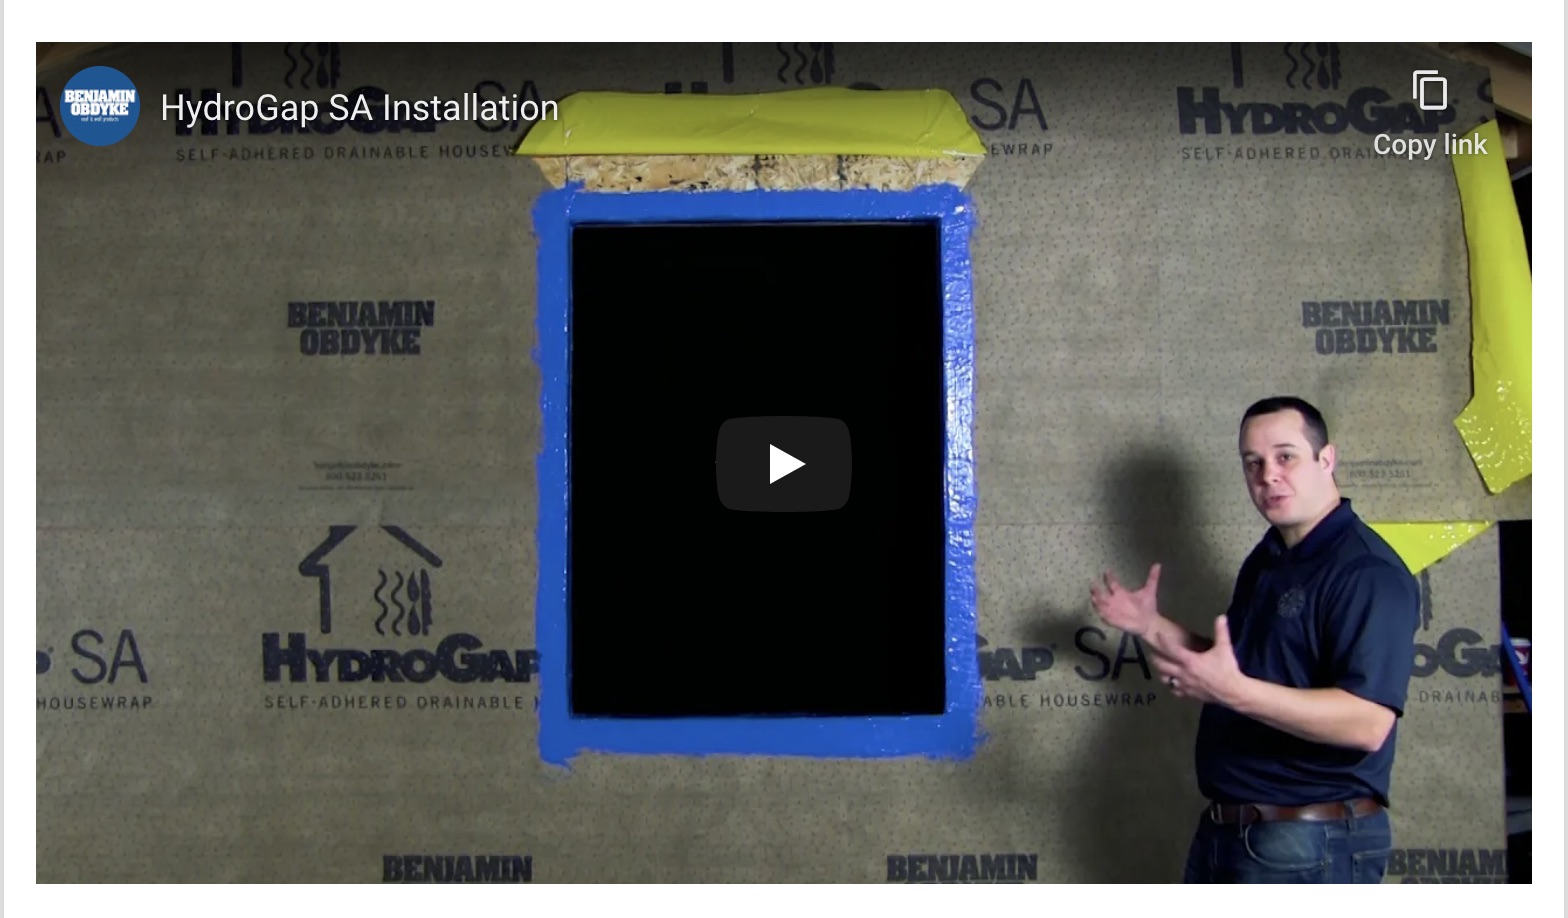
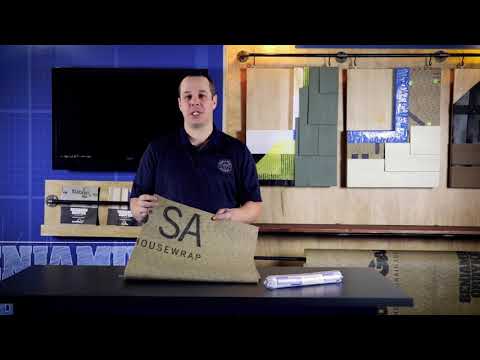
Welcome to Benjamin Obdyke's test house. Today we're going to be showing the features and benefits of Hydrogap SA
This is the first self-adhered drainable house wrap on the market, and we will be integrating it with our Hydroflash LA.
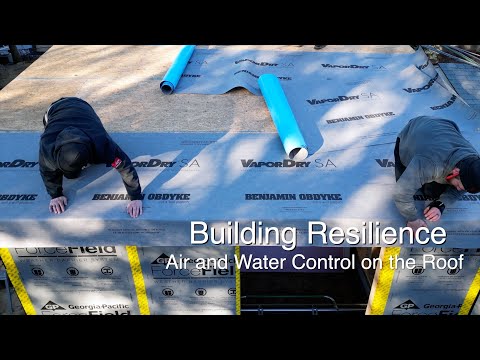
So as we are looking at the installation, we want to make sure that we are going to chalk our control lines because we want to keep the product as tight and wrinkle-free as possible. That way, we can get good adhesion.
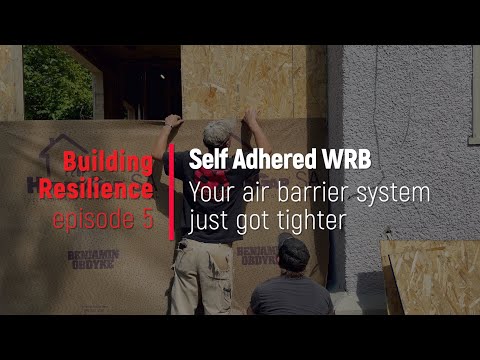
With the self-adhered product, there is a release liner that is on the backside. So as we're installing it we're going to be removing the release liner, and with any self-adhered product is extremely important to make sure that we are putting pressure on the surface at the time of installation. One of the recommendations is applying pressure with a push broom, so with this, we're actually going to be able to put heavy pressure on the surface in order to get that good adhesion.
With Hydrogap SA, we're creating a great air control layer. And with that, we want to make sure that we can integrate that into our rough opening and transfer that air control layer into the window.
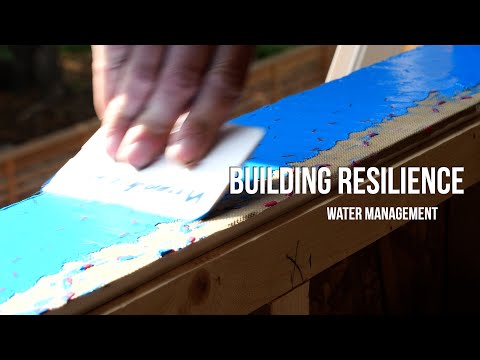
With this, we're going to be using our Hydroflash LA or liquid-applied flashing; this has a permanence of about 4, depending on the mill thickness, and creates a great monolithic seal around the entire rough opening and continues that air barrier into the rough opening detail.
Window head flashing detail
There are many different configurations when we're looking at integrating our window with our Hydrogap SA. We could have continued the Hydroflash LA around the nailing fin. However, we chose to use our Hydroflash UV+.
This product has our continuous acrylic adhesive that is breathable. So it has a vapor perm rating of about four which will allow any moisture or vapor to dry through the product and safely to the exterior.
In planning the installation of Hydrogap SA, it's extremely important to look at the details. One, in particular, is the top of the window. With the installation of a traditional self-adhered product, it's normally wrapped into the rough opening jam, and then a reverse-flash head flashing is installed.
However, as we're always striving to build to a higher standard, we want to incorporate the proper mechanical overlap with the self-adhered product. You can see here that we installed a piece of the release liner on the back of the SA product when we rolled it out. This way, we can properly integrate the window. Install the flashing, and now we can remove that release liner and have our proper shingle overlapped, and have our air barrier and water control layer properly intact
Exterior foam: Innie window detail
For this install, we're going to be looking at two inches of XPS rigid foam, and we are going to configure our window as in any detail.
So now we have the final details on our innie installation of our window: we have our basic trim detail, and our furring strips over the top of our XPS foam.
This is becoming more and more popular in the industry as we're looking at the changing building codes are requiring a lot more continuous exterior insulation. This is a great solution with the hydro gap as a system because now it creates a great air barrier as well as a drainage path behind this exterior foam.
If any water gets behind the foam, it has a quick path to escape to the exterior. Also, any of the fasteners that are penetrating the foam and Hydrogap product will be self-sealed around, keeping that true air barrier intact.
This is vital for a lot of the blower door testing that we're doing now on the whole home structures to make sure that our installation is done properly.
Thank you for joining us at Benjamin Obdyke test house, where we strive to help you build better.
