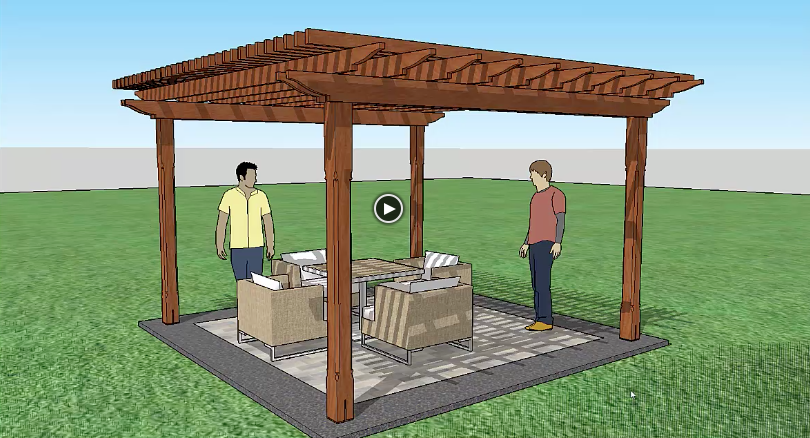
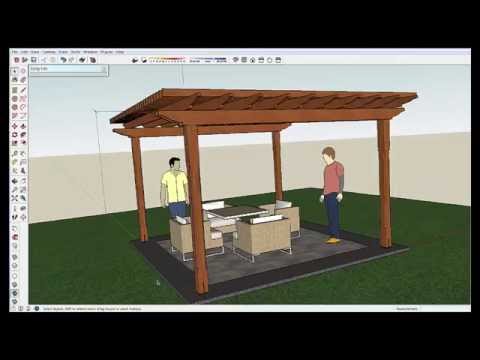
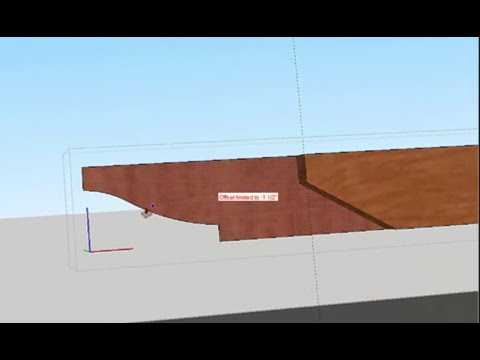
From gravel to final finish, Sketchup is an excellent medium for designing and building a pergola on 'paper'—before making sawdust.
1/ The Layout Rectangle
Create a drawing plane to build on
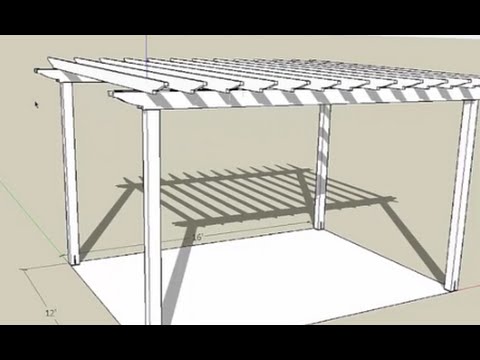
A drawing plane makes it easier for Sketchup to understand which axis you're working in (x, y, z) and it can also define the proportions of the pergola. This particular pergola will be 12 feet x 16 feet, so the rectangle is drawn to that size.
Reversing the faces allows you to see the rectangle better and making the rectangle a 'group' keeps it safe from edits when working on all of the other parts that will sit on top of this rectangle.
This layout rectangle will become a slab, pavers, gravel, or grass in the future.
2/ Draw the posts
Using components and groups, draw a set of pergola posts that are clones of one another.
- Draw the four posts to be 5.5 inches x 5.5 inches using the rectangle tool. You can try to drag the exact size, but specifying the size in the status box in the bottom right of the screen is much faster and easier.
- Make the post into a component. This allows you to edit all four posts by editing one single post. (Cheap labor.)
- Selecting the move tool (keystroke M) allows you to move the selection; holding control (option for Mac) down while you move, makes a copy of the selection and places it where you move the cursor.
- Select the two posts, make a copy of them, and place them on the opposite side of the layout rectangle.
- Next, select all four posts and make them a group. This will keep them out of the line of fire of future edits.
- At this point the posts are still 2 dimensional squares. click into the group, then double-click into the component and grab the board stretcher tool (push/pull, keystroke P). Pull the post up and specify the height (10 feet) in the status box.
Now we’ve got the patio rectangle and the four support posts safely isolated from each other’s edits and future edits.
3/ Notch the Posts
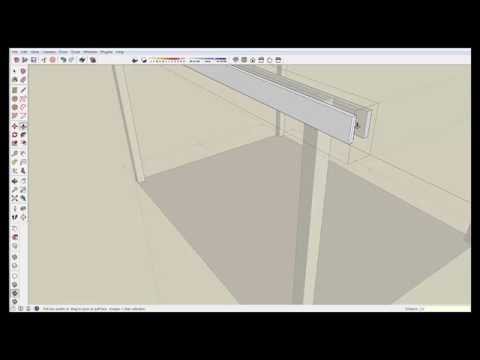
To carry support beams, notch the top of the posts
Because the posts are components, notching one post notches all four. Not like the real world.
The beams will be 2x8, so the notches will be 3/4 inch x 7-1/4 inch, which will give the beams a 3/4 inch seat, and create a 3/4 inch shadow line.
With the post component still open for editing, draw a rectangle with the rectangle tool (R). Dragging down and specifying the size in the status box.
With one notch drawn, choose the move tool (M) and hold down Ctrl key (option for Mac) to make a copy and move it into position. Grabbing the rectangle from its corner and moving it to the corner of the second post automatically indexes it correctly.
Because the posts are components, these edits show up on all four posts, not just the one you’re working on.
Highlight one of the notches and use the push/pull tool (P) as a board shrinker to push the notch through itself. This deletes the notch.
Double clicking the other notch deletes the wood there because the action is stored in Sketchup’s memory.
4/ Make the post base brackets
Finishing the posts means notching for a bracket
This is easier on the digital jobsite than the real world where we can notch the post and then make a bracket to fit.
- Draw a 6 inch x 3/8 inch box on the post. If you try to draw it off the post, with infinity as a background, Sketchup won’t know where to place it. Things can get messy and complicated without a drawing plane.
- Grab the bottom of the rectangle at its midpoint, not its corner. Hover the move tool over the bottom and look for the blue dot.
- Drag down to the midpoint of the post and drop it into position. This centers the rectangle on the post.
- Use the push/pull tool to delete the wood inside the rectangle. Double-clicking is all you should need to do because 'delete this wood’ is still in Sketchup’s memory from notching the posts in the previous video.
- With the bracket notched, draw a bracket.
To make the bracket, click out of the component edit mode, but stay in the group. It is easier to draw in the group mode than in the component mode.
- Draw a rectangle the same size as the notch, then draw another rectangle perpendicular to it. The length is easily indexed with the post, but the depth should be specified as ‘, 3/8’ in the dimensions box.
- Use the eraser tool to erase one line at the intersection of these two rectangles.
- Select both rectangles and make them a group.
Now, the bracket is a group, but it is a single bracket sitting under a single post. To incorporate the bracket into all four posts,
- Select the group
- Copy it
- Delete the bracket group
- Double-click into the post component
- Select 'Paste in place' from the 'Edit' menu
This makes the bracket group part of the post component.
To peek at the finished product, slide it out from the post. To make it easy to replace, slide it out an exact distance, 10 inches in this case.
To replace it exactly, slide it back 10 inches, or hit the back arrow, as in this video.
Download:
- Window>Components
- Entering text: 'perfect pergola planning model'
—Matt Jackson is a master carpenter, remodeler, SketchUp Wiz, YouTuber, and contributing editor to ProTradeCraft. He lives and works in Rapid City, South Dakota.
