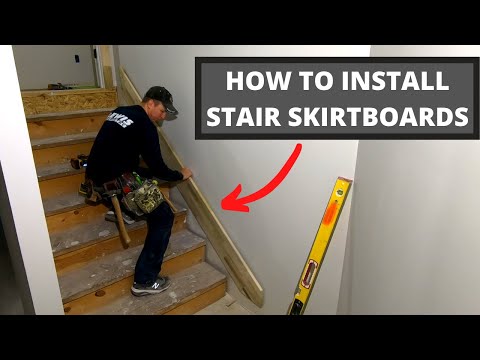
This is the third part of a series of articles on Stair Trim-Out.
Because these stairs are made up of multiple short runs, an 8-foot rip of prefinished fir plywood is all the length needed for each section of stairs.
The risers will not be mitered into the skirts but instead will extend 1/4 in. beyond the stringer for a Craftsman look.
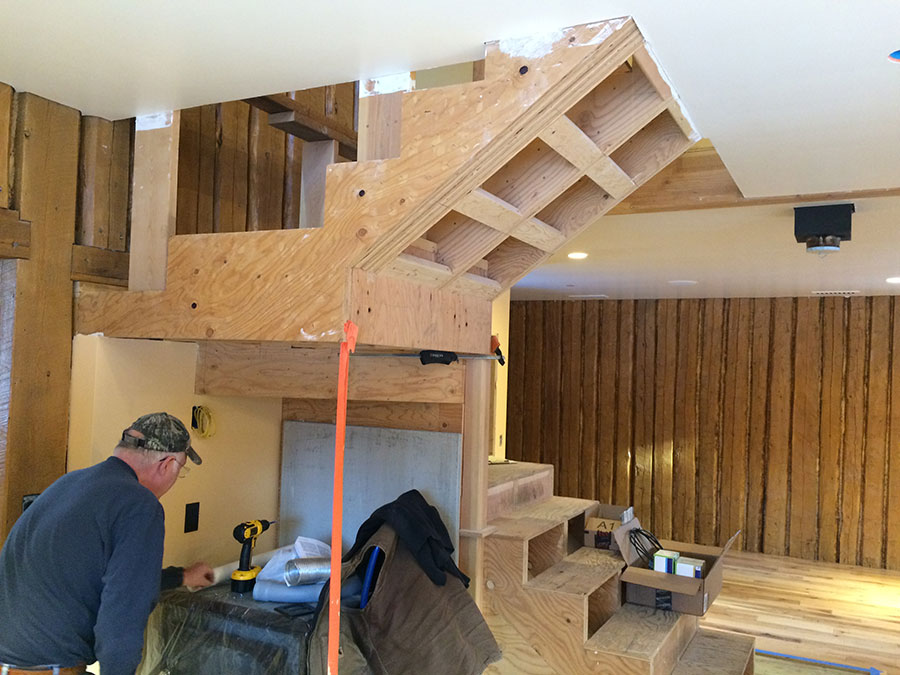
Cut prefinished plywood down to rough stringers and find the angles
First, I decided to cover just the stair stringer and landing framing with the skirt, so I ripped the sheets of fir plywood to a width slightly larger than needed and sent them to the painter to stain and seal.
I determined the angle of the staircase to the floor, ceiling, and wall using a protractor.
The drawing shows the angle I was looking for—the stairs are at about 30 degrees from the floor, so the cut for the bottom of the stringer is the complement to 30 degrees, or 60 degrees.
I cut the bottom of the skirt for the right side (the side with the access door) and held it in position with a couple of 5d finish nails so that I could check the fit to the floor.
The top of the skirt needed to miter into the horizontal skirt covering the stair landing. This joint was 30 degrees, so the miter angle was 15 degrees on each side.
Translate the treads and risers onto the skirt
I used a compass designed for scribing to scribe a line where each tread and riser would meet the skirt, making sure that my marks were at least 1/32 inch in front of the risers and above the treads to ensure a tight fit.
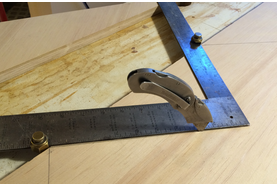
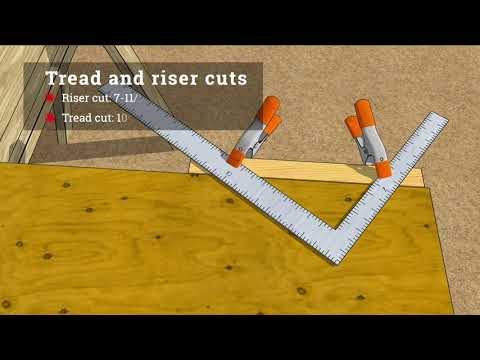
I removed the skirt and put it on a pair of sawhorses with the marked side up, set stair gauges on a framing square to the rise and run of the stringers, and checked the straightness of the scribe marks.
Using a utility knife, made new marks that were straight, square, and slightly more than flush with the treads and risers.
I made the riser cuts with my glide saw, but the angle of the tread cuts was so steep that I needed to use a 4-1/2 in. trim saw and a homemade saw guide.
Where the two cuts met I used a small pull saw and a rasp to clean the corner.
I reattached the skirt using the original nail holes, so it was back in exactly the same position as it was when I scribed it.
Now, keep doing what you just did
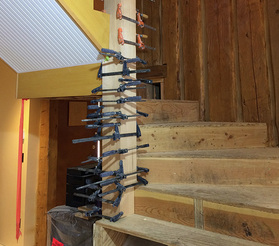
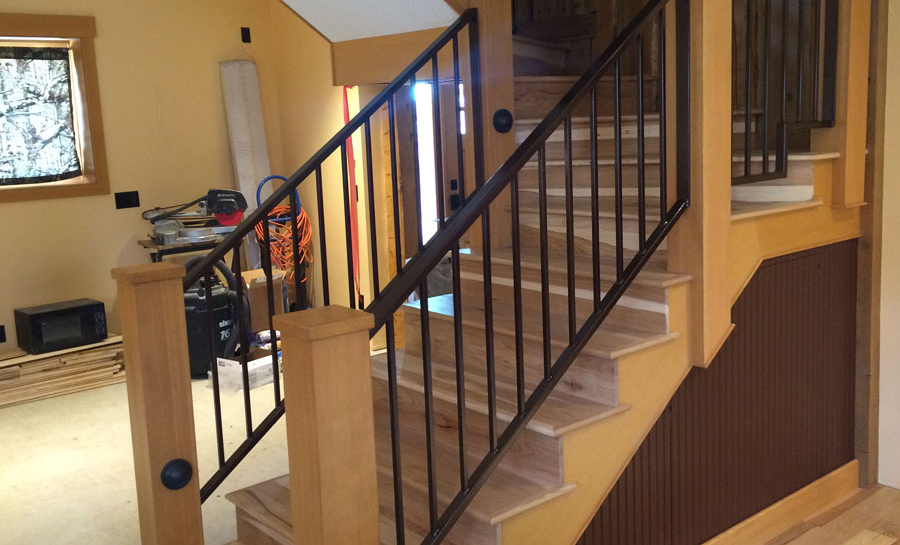
I repeated this process for all of the pieces of skirting on the stair stringers, as you can see in the photos. Where two pieces of skirting met at a miter, I used biscuits to align and strengthen the joint.
The skirting around the stairwell opening was much simpler to cut and install, because it was all the same width and the cuts were all 90 degrees. I back-beveled the ends about 5 degrees and cut each piece a little long so that the butt joints were very tight.
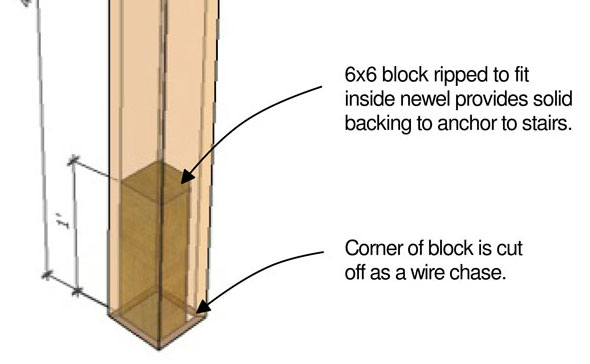
Next, I'll wrap that newel post.
