How to Set Up and Use the Tapco Sheet Metal Brake Tool: A Step-by-Step Guide
This video demonstrates the setup and usage of the Tapco sheet metal brake tool. The video begins by explaining how to set up the Tapco snap stand, emphasizing its quick and easy assembly.
Setting up the Tapco Snap Stand
- Quick and easy assembly
- Release the lock buttons on the legs and spread them apart
- Adjust the height of the stand by releasing the lock buttons and extending the legs
Attaching Cross Braces for a Sturdy Leg Assembly
- Orient legs so that C-channel is at the back of the brake
- Attach the cross brace to the leg set from the inside of the legs
- Install one brace on both sides of one leg
- Attach cross braces to the second set of legs to form a sturdy leg assembly
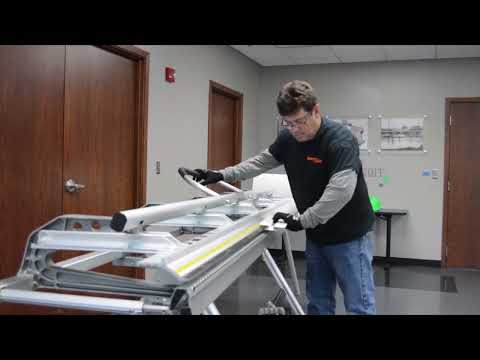
Installing the Brake onto the Stand
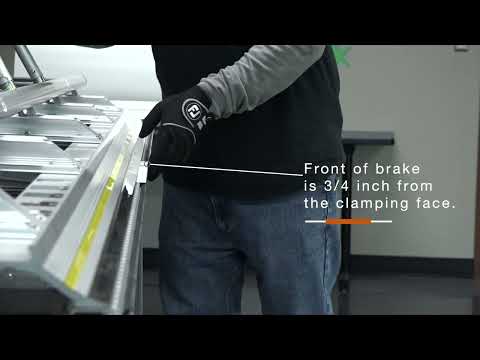
- Slide the brake towards the U-channel receiver on the back of the brake
- Engage snap locks at the front to secure the brake
- Verify that the snap lock has popped up to indicate that brake is securely in place before use
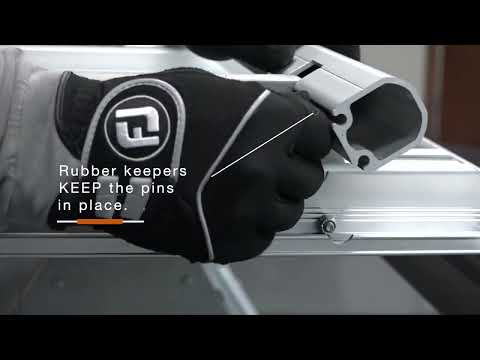
- Hinge handles double as lifting handles; remove the fast pin to relocate the handle to the hinge
Attaching Optional Side Binder
- Four points of attachment
- Insert front and larger C-clips into front railLarger rail clip slides over rear channelTighten front clip wing nut and install C-clip and fast pin on right rear side channel
Installing the Coil Roller Assembly
- Remove the center roller assembly by releasing the springs
- Reinsert roller through the center of the coil
- Reattach hold down springs
- Ensure that the appropriate side of the coil is facing up as it is fed through the coil roller
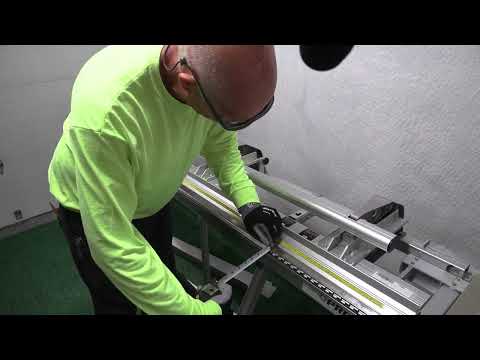
Using the Pro Slitter
- Mount on the clamping rail for a perfectly straight cut approximately 1.5 inches from the edge of the rail
- Using the Bending Handles
- Insert into holders for carrying the brake
- Install a fast pin to secure handles in place
By following these steps, you can easily set up and use the Tapco sheet metal brake tool for efficient metal bending.


