Be economical, direct, and don't get kinky
These Building America videos cover some basics of flexible duct design and installation. Don't let their simplicity fool you, though: Airflow is more complicated than it seems and taking shortcuts can really come back to bite you.
A lot of high-performance ducting comes down to good communication between the designer, framer, HVAC technician, plumber, electrician, and general contractor.
Seal the ducts with mastic
All ducts should be sealed and located within the conditioned space (dropped ceiling, soffit, within a floor system, or in a conditioned crawlspace or attic). It would be nice if this were always true, but the fact is that this is rarely the case. When ducts are outside the conditioned space, they should be heavily insulated in addition to being sealed.
Tip: Always use UL-181 rated duct mastic and tie wraps to make the seal between the ducts and other connectors.
Use only what you need
Extra ductwork means that air has to travel extra distance, which means less airflow. Here are four tips to keep your airflow up:
- Consider duct layout during the initial framing and design stages. Plan for short straight runs wherever possible.
- Inspect before the drywall goes up to make sure that the ducts run directly from air handler to trunk line and from trunk line to supply registers.
- Make sure the flex duct is pulled taut and properly supported.
- Keep the radius of turns to a number larger than the duct diameter. For example, for an 8-inch-diameter duct, keep the centerline of bends to at least an 8-inch radius.
Keep kinks out of the picture
Install ductwork without kinks or sharp bends caused by bending ducts across sharp corners over framing (kinks) or when the bend's radius is smaller than the duct diameter. Here are six tips to eliminate kinks:
- Coordinate between framer, plumber, and electrician to assure straight runs. Each turn or kink reduces airflow, and reduced airflow means more comfort-related complaints from your customers.
- Design in compliance with Manual D.
- Use balancing dampers in flex ducts to control the flow.
- Use metal duct elbows at bends to reduce chances for kinks at these critical locations.
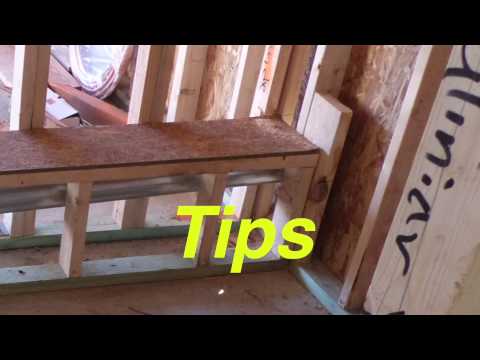
- Webbed floor trusses allow duct installations within a floor system that doesn't compromise the structure.
- Use the Thermal Bypass Inspection as the last chance to assure that your ducts are in a row.
Support your ducts
Use saddles or support straps to hold ducts up, and use enough of them to make sure they don't cause kinks (there are those kinks again) in the flex duct.
Follow the manufacturer's instructions, but in case they "get lost" ...
- Space the supports no more than 4 feet apart.
- Don't let the ducts sag more than 1/2 inch between supports.
- Any connection to a rigid duct or to equipment is considered a support joint.
- Long horizontal runs with sharp bends should have extra supports before and after the bends.
- Supports should be at least 1-1/2 inches wide.
- Straps should not construct the inner core or reduce airflow.
- Supports should not constrict the insulation because that can cause cold spots, which can cause condensation inside the ducts, which can lead to mold growth.
SOURCE:
Building America Solution Center (BASC) YouTube channel
— Building America Solution Center is an online tool that collects best practice recommendations from the country’s top building science and home building experts to help builders and remodelers get to net-zero ENERGY READY homes.
