Crawlspaces offer all of the headaches of a basement and none of the benefits.
Common complaints from homeowners with damp crawlspaces are odor and moisture coming up in summer and cold air sneaking through in winter. That was the case for this crawlspace, too.
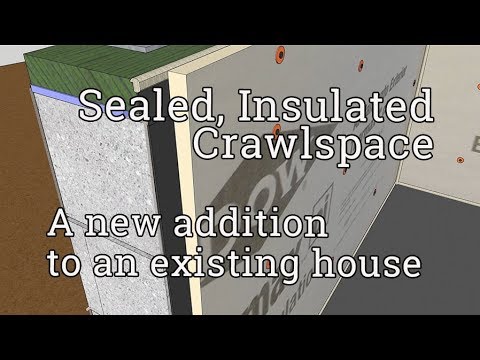
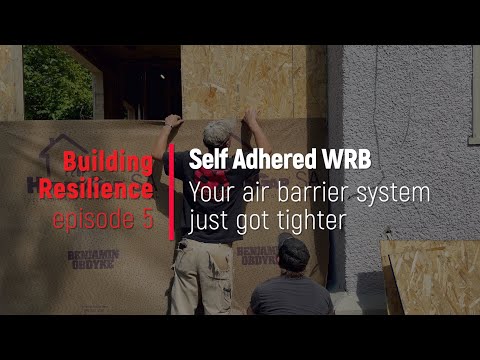
To eliminate moisture, mold, and soil gas issues, seal the crawlspace. These two videos from Building America's Solutions Center can help.
Tape won't stick to dirt and dust
Foundation seal tape bonds very well to block and vapor barrier, but it can only stick as well as the surface it is supposed to stick to.
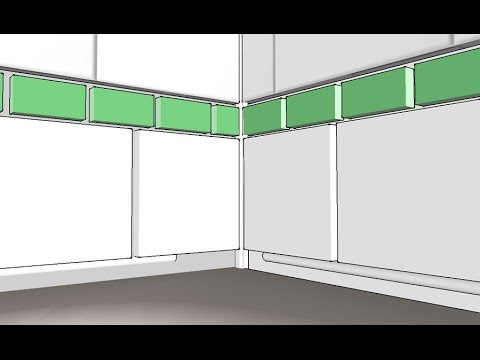
Before installing the foundation seal tape, brush off the top block of the cement wall. Clean off any dust, insulation fibers, and other dirt that is on the wall.
The double-sided tape has a Kraft paper backing that will be peeled off before vapor barrier installation.
With the tape stuck to the perimeter of the crawlspace, peel off the first wall you plan to cover. Don't peel it all off at one time.
Put up the wall plastic
Stick the vapor barrier material to the foundation seal tape and then use mechanical fasteners to hold it forever.
Drill holes through the plastic and through the seal tape into the block. If you drill through the seal tape you will prevent the plastic from peeling off when you remove the drill.
It is a good idea to use a dustpan to catch the large pieces of concrete dust so that they do not fall on and puncture the vapor barrier. At inside corners, drill a hole on either wall tight to the corner.
Plastic foundation pins are hammered into the holes to carry the weight of the vapor barrier. This allows the tape to seal without having the fight gravity as well.
Working around big obstacles, like a bladder tank
Water heaters and pressure tanks are inevitable in a crawlspace. Because it is heavy, it will take two to lift the tank on top of the plastic. First, attach the vapor barrier to the top of the foundation wall against the seal tape, working through the corner.
The installation was planned so that the floor vapor barrier was not to go under the pressure tank, rather a wall piece will fold under it and the floor will overlap the wall pieces, up to the pressure tank.
The plastic on the first wall of the corner folds onto the floor and around the corner about a foot. The wall piece on the adjacent wall will be longer so that it can run under the bladder tank.
The vapor barrier is folded in half, (bottom folded up to the top) so that they can work behind the pressure tank while still achieving a tight installation against the seal tape.
It takes some 'manhandling' of the bladder tank to get it to the right spot—due to the vapor barrier material bunched up behind it—but take the time to get it exactly where it needs to be right now. Don't try to get it close now and come back later to finesse it, or wrinkles and unfastening can occur.
Sewer line coming through the ground and following the wall
Trim the bottom of the wall portion, in a circular form, halfway around the sewer line, lay the remainder against the sewer line, and cut it to fit. The seam will be taped later and the edges will be sealed to the metal sewer line.
Cover the floor
Take your shoes off so as not to damage the ground vapor barrier.
Make sure any cables or phone lines are on top of the vapor barrier so that they can be accessed later for service. It also keeps these things in better condition because on top of the vapor barrier will be warm and dry, below the vapor barrier will be cold and wet.
Wrap support posts about two feet up and overlap the floor layer on the base of the support plastic.
Seal all seams in the vapor barrier with the appropriate tape and call it a day.
