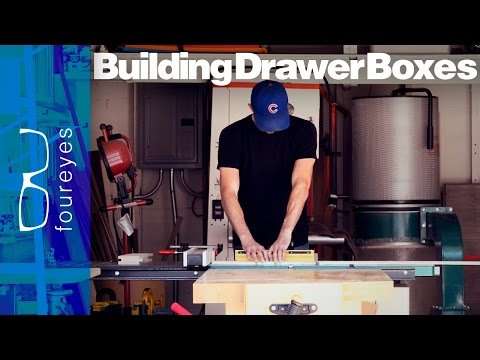
Chris Salomone of FourEyes Furniture is (obviously) a furniture maker. Because ProTradeCraft doesn't really focus on furniture making, we usually only watch Chris' videos rather than promoting them, though we have promoted a few in the past.
This fancy giant L-shaped walnut desk is made with a few simple components:
- A base cabinet
- A top
- Legs
Two legs and a cabinet hold the top up. The corner of the L is supported by a leg assembly. The desktop is 30 inches wide. One leg of the desk is 88 inches long at the back and is supported at the far end by the cabinet. The other leg is 100 inches long at the back and is supported at the end by a leg assembly.
100 inches and 88 inches are a lot of space to span without mid-supports, so the wood must be thick.
General procedural woodworking advice from Chris:
- Use wood efficiently: inspect each piece and choose where it will go.
- Mill the parts for consistent thickness
The desktop
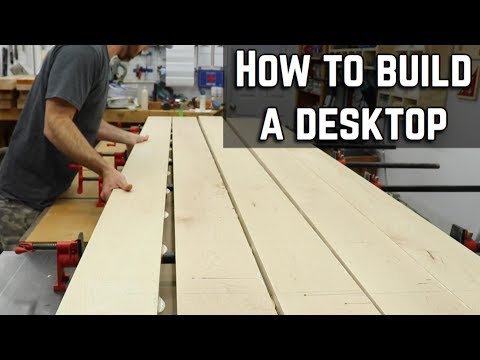
The wide desktop is composed of three full-width boards and one half-width board. Because the boards needed to be wider than Chris' 8-inch jointer, they did not joint the faces before planing them to thickness.
This means that the boards are "pretty wonky." In other words, they are not flat. The solution is "a crap-ton of dominoes." This will pull the boards to be coplanar, and the leg assemblies will act as giant cauls to hold the top in place.
The leg assemblies
The leg assemblies are made from 8/4 material, cut into blocks of leg parts. The leg parts are traced from a template and cut out on a band saw. Mill all the parts to a uniform thickness and then joint a flat edge on each piece.
Use the templates to make final marks and labels on the leg parts establishing which goes where. Chris uses a sharpie to mark them.
Consistency in the design saves a lot of legwork(see what I did there?). Because they are all the same width, all can be ripped on the tablesaw with a single fence adjustment. Also, the joint faces of the leg are parallel to the front and back edges of the assembly, so the joints can be cut with a table saw.
The desk's base cabinet
Cabinets are boxes or collections of boxes. Even the most complicated cabinets are a combination of simple boxes. This box is made from wood that is prepared exactly the same way the other wood was prepared, so he doesn't go into it.
The only difference is a keen eye toward grain direction. It had to flow continuously up one side across the top and down the other side. To keep the flow smooth, the joints connecting the top and sides are miters. Those miters are cut on a table saw. The miters will be held together with dominoes.
A dado is cut into the side panels to house a partition. The dado is held back about two inches from the front so the partition can be notched, and the dado won't be visible.
The Legs, part 2: cleaning out the inside and the end edges
The lags are basically big rectangles with the center cut out. Chris uses a flush-cutting bit, guided by the template, to cut most of the extra stock out, but he does not go too crazy in the corners. He will use an oscillating spindle sander there because it is MUCH cleaner than a router bit.
The top part 2: after the glue-up
With the multiple-piece top muscled into submission and glued, he turns to destroying the evidence. Rough sanding with an orbital sander removes extra glue and smooths the joints.
The inside joint between the legs is a long miter joint cut with a track saw. Because the top is so gigantic, it won't be a glued miter joint—otherwise, the desk would never leave the shop. The joint is secured with Donimno connect hardware.
With the top pieces cut to width and a radius cut in the inside corner, they fill any knot holes in the top with epoxy.
The cabinet part two: doors and drawers
Chris has covered drawer construction multiple times, so he doesn't go deep here. He does say that if you use Blum drawer hardware, you should buy this jig from Rockler.
To make the drawer fronts grain-match, they cut a large panel, big enough to fill the entire space, and then rip it into drawer fronts. This is much more effective and easier than looking for smaller pieces that match up well enough.
Building the cabinet base with an integral toe kick
Toe kicks are things at the bottom of cabinets designed for toes to kick. Not really. They are recesses under a cabinet that make room for toes to sit comfortably so that bodies can be close to the cabinet.
If you choose to kick the toe kick, well, that's a personal choice.
To make a comfortable toe kick, Chris makes the base four inches shorter and two inches shallower than the cabinet. The cabinet box sits atop the toe kick box.
The toe kick has mitered corners with glue blocks inside for strength. Pocket holes are used for attaching the stretchers that hold the toe-kick in shape.
The Assembly
There are a LOT of ways to attach a top to a frame. At the very least, it must be secure. But because wood moves, it is best to allow for the differential movement of these two very different parts.
Chris chose threaded inserts in oversized holes to allow the top to expand and contract while remaining secure and removable from the legs. To cut the holes, he uses a portable drill press.
Attaching the base cabinet to the desktop is similar but slightly trickier. A 'connector' piece connects the base cabinet to the top. It is made from leg scraps and is basically a strip of wood cut back from the front edge, making the top look as it floats above the cabinet. The attachment is the same.
With all of that done, it is time to wrap up the video with marketing language about buying plans from the website.
