Simple upgrades to steps you take anyway can significantly boost the energy performance of a home
Episode 11: That 2-week period where the carpenters mysteriously disappear…
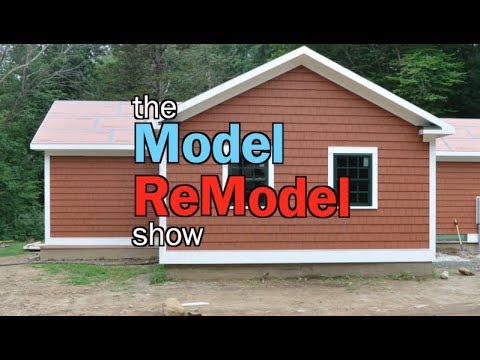
Last time on the Model Remodel Show, we were pulling fans out of boxes and putting them in the house.
First, the bath fan went above the shower unit, and then Ben installed the supply fan in the basement.
He played some Rubik’s elbow ductwork games before sealing the seams in the ducts with mastic.
The Air King QuFresh supply fan pulls in fresh air and pushes it to a distribution box in the attic where it supplies various rooms with fresh air.
The QuFresh fan is wirelessly matched to a constant low-flow exhaust from the range hood giving a balanced ventilation system for the tight little house that is Professional Remodeler’s 2017 Model Remodel.
This week we’re going to jump up on the roof getting out of the basement and … umm…
Hmmm. Seems like no one is around today.
OK.
We’ll take this opportunity to look back at the project from the start and get a sense of some of the smart energy efficient detailing on this tight little house.
We began late, right out of the gate due to a late winter snowstorm.
We were hoping to have this project started about four weeks ago. Initially we had hoped to keep about 2/3 of the structure. The futura bathroom and laundry we knew wopuld be coming off and the section where the new kitchen is going to sit, we thought would be coming down to the foundation.
Over the winter as we came in and did some site surveys, andf looked at the building a little bit closer and started to weigh some costs, um, the amount of time that would have been soaked up in that process quickly began to outweigh the costs of going down to bare foundation.
—Ben Bogie, remodeler
So they methodically cut the house into pieces, chained it to the machine, pulled it apart, and set it aside.
Beginning with the roof, plucking up the walls, and removing the floor. Going down to foundation also means that air sealing is much easier because it is basically new construction above the foundation.
Because of the humpy bumpy foundation, they used extra thick mudsills to span the valleys and corners to provide a rigid base. After the mudsills were shimmed level, the masons filled the gaps with grout and we were ready to begin framing the floor.
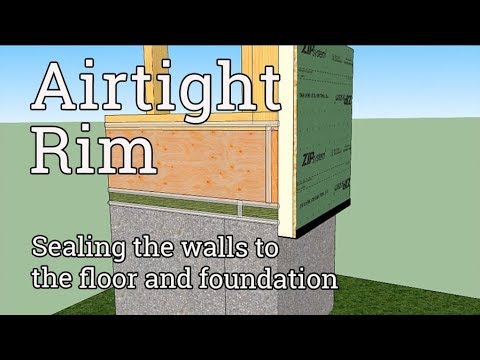
A few steady days of rain set us back again, but Ben showed up anyway to lay out the floor frame. One critical place for air sealing is the floor frame assembly because everywhere that two materials join is a gap that will leak unless it is sealed.
These gaps run the perimeter of the house, many times over, so they really add up.
Ben seals the rim joist to the mudsill with adhesive—and he seals the corners as long as he is at it, bedding the rim in glue.
1/ Seal Rim Joist to Mudsill and corners.
Subfloor adhesive is sometimes left off at the perimeter because the floor won’t squeak under exterior walls, but that creates one of those continuous gaps that leak.
2/ Seal rim joists to subfloor
- So Ben hits the perimeter as well as the field before laying subfloor. Here’s a recap on the airtight assembly of this floor system:
- There is a sill seal gasket between the foundation and the mudsill.
- The rim joist is bedded in glue atop the mudsill and at the corners.
- ZIP’s foaming subfloor adhesive seals the perimeter and the AdvanTech subfloor caps the assembly.
- Next, we’ll frame walls on top using ZIP System’s R-12 sheathing, sealed to the foundation, bridging all the gaps, and taped at the corners and joints.
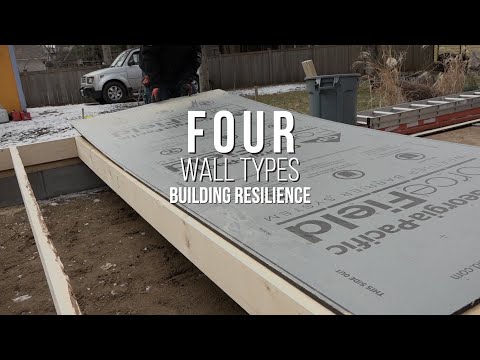
The exterior insulating panels are another smart energy step: they allowed Ben to step down from 2x6 studs to 2x4 with almost no heat loss penalty.
3/ Exterior insulation reduces heat loss
The Zip system Panels go up like any other sheathing except that they require extra long nails, which may need to be special ordered. So make sure you are good friends with your mail carrier.
The panels are located to bridge all of the framing gaps down to the foundation and they are sealed to the framing with silicone.
4/ Extend wall sheathing down to cover floor assembly
Ben is a fan if the thick R Panels.
We've used ZIP's R3 and R6 a number of times on previous projects over the years. we're big believers in exterior insulation; putting the thermal control layer on the outside of the framing makes a lot of sense, sp we're really happy to get our hands on the R12 panels.
—Ben Bogie
So that’s where we’re going to break for this episode and we will come back next time with four more smart energy strategies on the roof, in the windows, and around the ducts.
—The Model Remodel Show is a production of the SGC Horizon Media Network and was shot on location at the 2017 Model Remodel project in southern Connecticut.


