A carpenter's take on less wood in walls
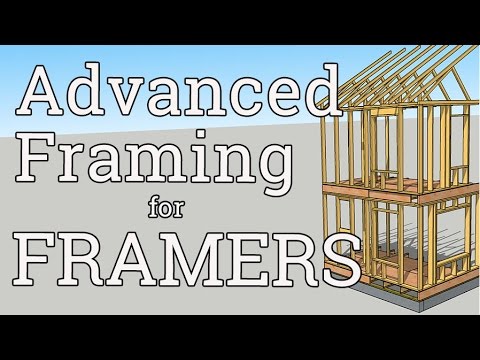
Advanced framing has been a topic that editors in construction media use to provoke clicks, comments, complaints, and quibbles—but rarely does it cause quiet. Advanced Framing, Optimum Value Engineering (OVE), and Energy Efficient Framing has been a reliable topic for us for almost forty years, but somehow, it is still new to some carpenters.
#inertia.
The most recent article we published on the topic is one of the most-visited pages in ProTradeCraft history (yes, our history only dates back to June 2015, but still...).
We decided to ask a builder/remodeler who has done it for more than a decade for his advanced framing 'Do' and 'Don't Bother' lists.
David Joyce is one of our technical advisers for good reason. For more than a decade, he has been building and remodeling houses in association with one of the most progressive architecture and engineering firms in the world (Building Science Corporation), and he has implemented advanced framing in all of the new houses he has built with BSC.
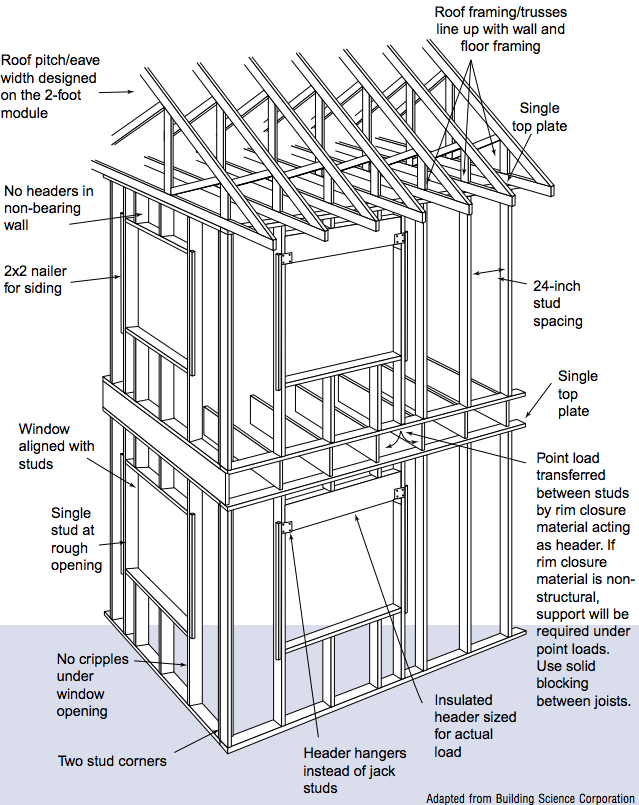
You may have seen some versions of the image above, which Building Science Corporation published waaay back in the 20th century. Using it as a guide, we asked David to identify what to do and what to don't bother doing.
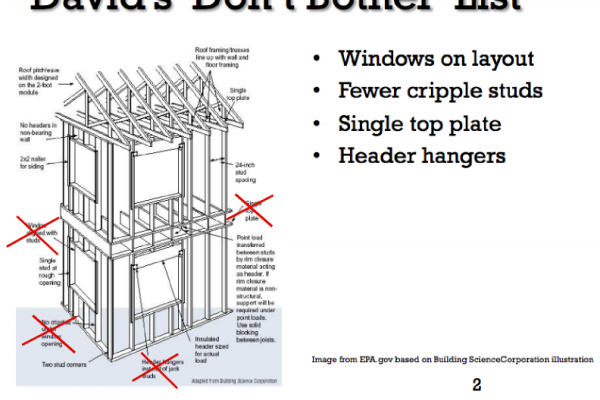
Don't bother doing these advanced framing upgrades:
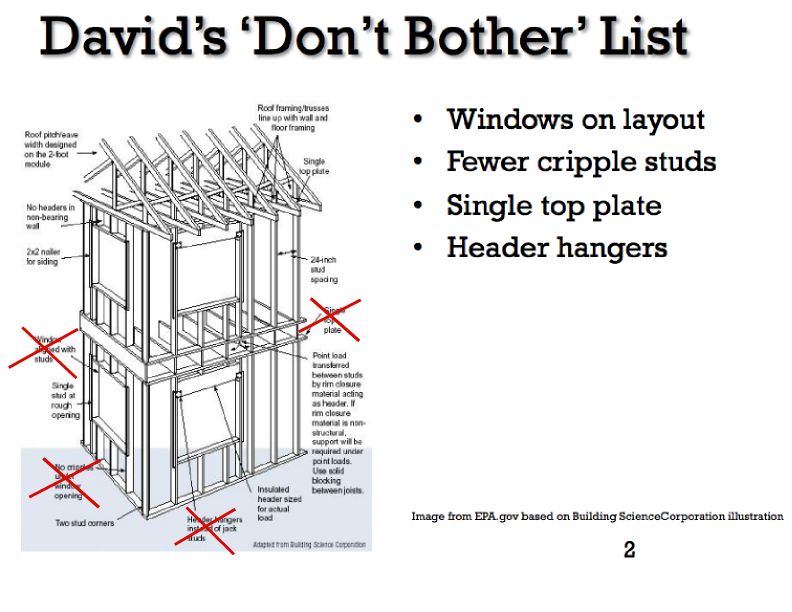
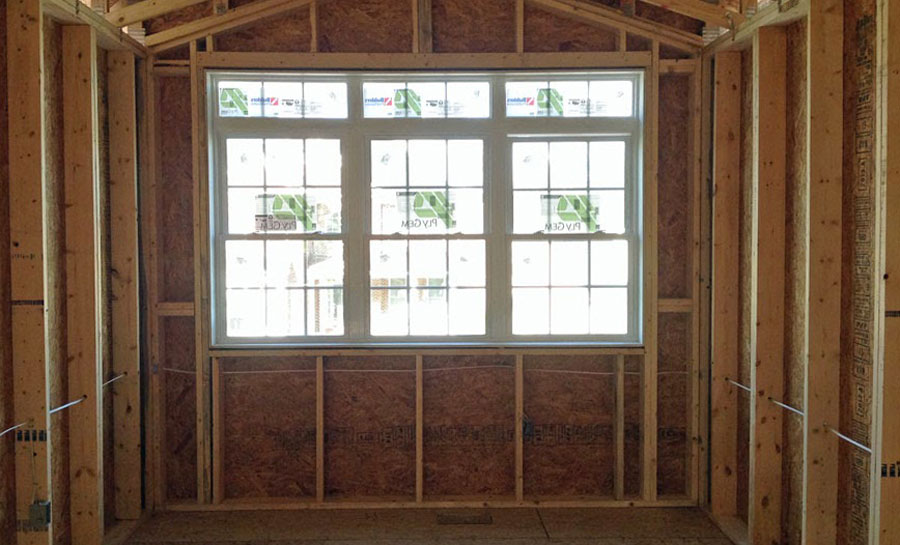
Windows on layout seems like a good idea on paper—and for the simplest of houses, it can be. But it is rarely practical for room layouts, exterior fenestration (the architectural f-word), or the construction sequence.
David: "Architects put windows to line up in the way they want and they don't usually want me to move the window three inches to the left. It CAN be done at the design phase, but it is often impractical because most windows are not sized in two-foot increments."
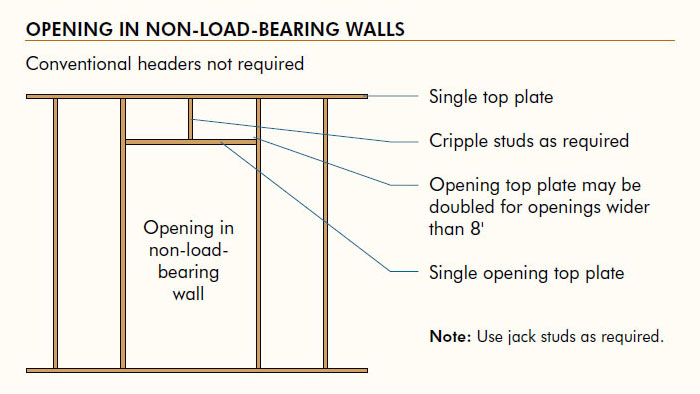
Fewer cripple studs doesn't really save much wood because most cripple studs are cut from scraps of wood anyway.
David: "I usually eliminate cripple studs at the ends of a window opening, because it is a habit, but it is a pain in the neck for many carpenters. Because there is very little to gain, I don't think it is worth doing if you find it inconvenient."
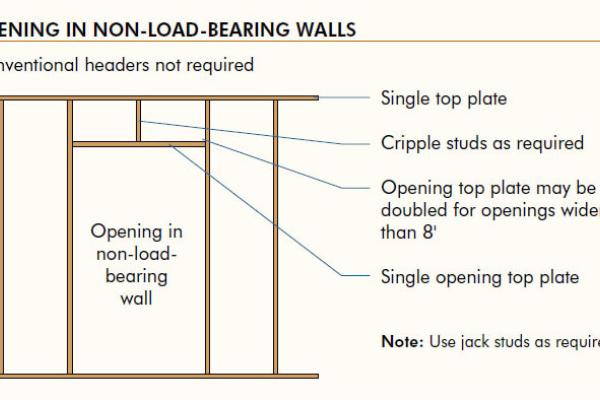
Single top plate: it seems like reducing plate stock by one third is a good idea, but it also shortens the walls, which means the drywall may be too tall (if you use precut studs). Also, a double top plate is a faster way to lock walls together than the alternative: metal gussets.
David: "If you frame with 92-5/8 inch studs, the math works out easier to not eliminate one of the top plates. The drywall will need to be cut, which is a pain. Also, we strap the ceilings with 1x3s, so If I use a double top plate on exterior walls, and put strapping on the ceiling, I can use a 1x as the second top plate on an interior wall to get the right height.
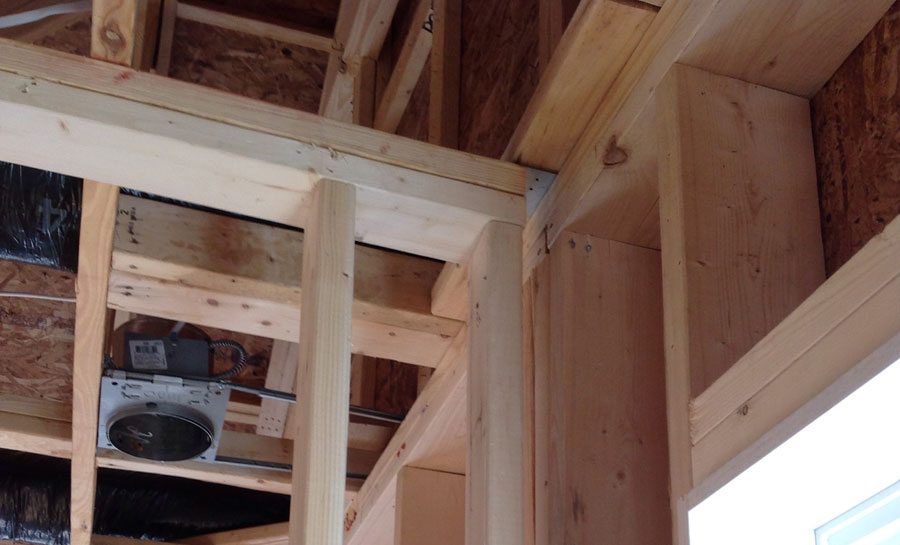
Header hangers: Because most carpenters add window trim to windows—and because nails hold better in wood than drywall—reducing lumber waste by eliminating trimmer/jack studs from windows is a bad strategy. A lot of carpenters actually add extra wood at windows to accommodate wide trim.
There are better ways to eliminate thermal bridging, reduce your lumber bill, and speed up construction.
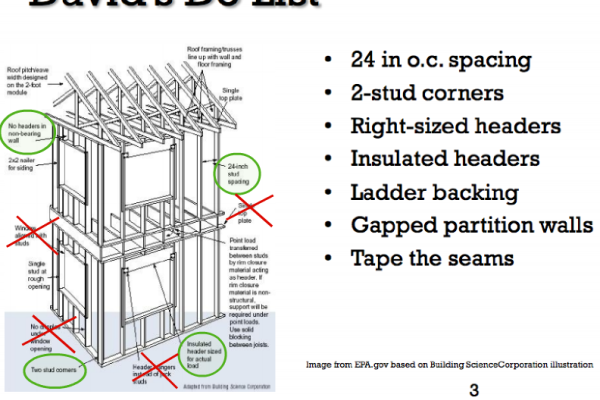
Do bother doing these advanced framing upgrades:
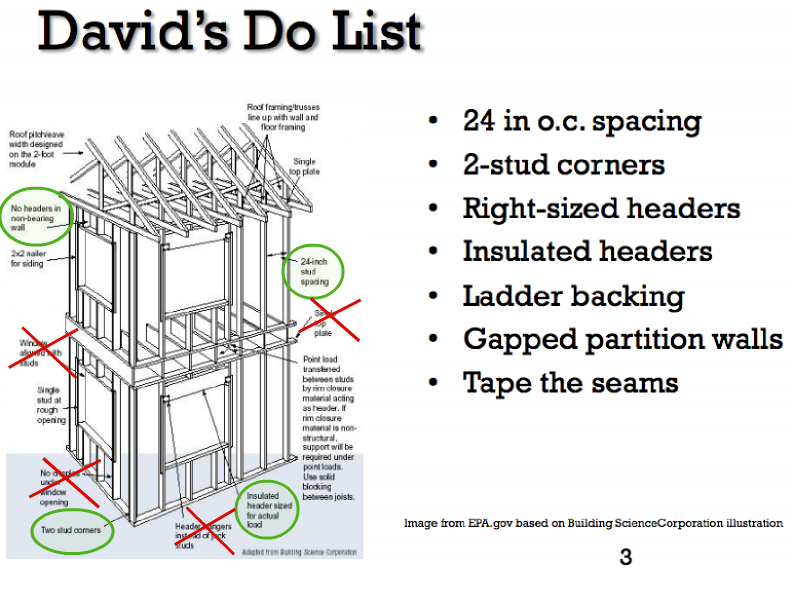
 24-inch on-center spacing eliminates a stud for every four feet of wall when compared to 16-inch on-center framing. For a 35 x 40 house, this amounts to 40 studs in the exterior walls and probably twice that on the interior walls.
But it's not just about the money you save, eliminating these studs in exterior walls makes more room for insulation—about 60 inches of insulation in the above example—that would otherwise not be there.
David: "I use standard 5/8 inch drywall on the lids and 1/2 inch drywall on the walls and have never had a problem with wavy walls or quilting ceilings due to 24 inch spacing. If the wider stud spacing is a problem with your vinyl siding, then step up to a higher grade of vinyl."
It is also easier to walk between the studs during framing while you're wearing nail bags. #Lagniappe
Right-sized headers/insulated headers save wood, eliminate cold spots, and make walls lighter to lift (#oldpeopleproblems).
David: "Your lumber yard will size all of your headers for you so you don't have to use more wood than needed. I like a sandwich approach to insulated headers, which gives me solid backing both inside and out. Two LVLs and a 2-inch slab of foam flush out perfectly in a 2x6 framed wall."
2-stud corners make room for insulation. When corners are framed with three or four studs, room for insulation is replaced by a huge thermal bridge. These cold spots often become mold spots due to condensation and air leaks.
David: "Two-stud corners are fully accessible for air sealing and insulation. Two-stud corners are also great for electricians who need to snake wire around corners. "
Ladder backing: The same infliction found in three- or four-stud corners attacks partition walls that intersect with exterior walls. Three-stud wall bucks create an uninsulated thermal overpass that injects the outside deep into the house through an intersecting interior wall.
Because there are holes in the top and bottom plates with wires and pipes in them, the outside leaking inside leaks up and down, too.
Ladder backing is exactly what it sounds like: a series of blocks spanning a stud bay, inset on the flat between studs. This leaves room for insulation between the interior wall and the exterior sheathing.
Gapped partition walls represent an even better (thermally) way to treat intersecting walls. Gap the wall off the exterior wall enough to let drywall slide between the partition wall and the exterior wall.
Not only does this improve the insulation's consistency, but it drastically reduces air leaks at this leaky, leaky spot.
David: "Ladder backing or gapping the wall makes the whole stud bay accessible—again, for air sealing and insulation. I like gapping the wall A LOT because of so many benefits. It may be difficult for some to build, but we've built it into our system of framing. We use a piece of 1x stock to space the walls."
One more bonus 'better-framing' tip:
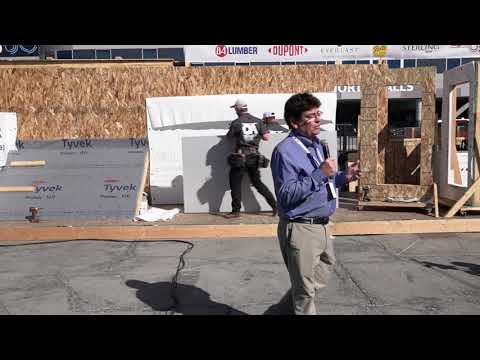
Tape the seams in the exterior sheathing. To further improve the air barrier of a house (or addition), tape the seams in the exterior sheathing before installing the WRB (for CDX or OSB sheathing David uses 3M's flashing tape) or use Zip System sheathing and tape.
More advanced framing resources 4U to explore:
Building Science Corp:
Home Innovation Labs:
- System Evaluations & Specifications: Advanced Header Framing Design for High-R Wall Systems
- TechSpec: Advanced Framing Techniques
- Advanced Framing: An Examination of its Practical Use in Residential Construction
APA: The Engineered Wood Association:
