In the United States, the Surgeon General has warned radon is the second leading cause of lung cancer. Radon can be found all across the US and can get into any type of building.
As awareness of this hazard continues to spread, more and more homes, offices and schools are installing radon mitigation systems.
As a member of National Radon Defense, we will take you through one of our standard installations.
Please note this is not the same as testing for radon measurements. This is a look at how to install the system, which helps reduce the levels of radon in an environment that may have high levels and be at risk. The testing aspect would come before these steps.
In this example, it’s important to note the radon mitigation system was installed in a new home, so there were a few steps that were required for installation that we did not need to complete.
Mainly, there was already a PVC pipe installed and running from beneath the basement floor and extending up through the roof.
For older homes that may not have this setup already in place, installing this PVC pipe will be necessary for the entire process and, of course, increase the amount of time it takes to complete the installation.
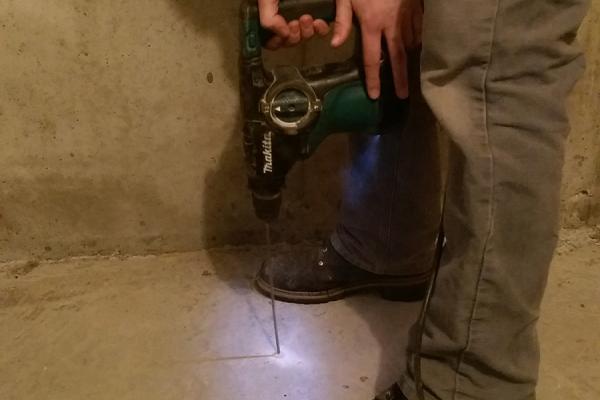
1. Test the sub-slab communication to assure radon mitigation
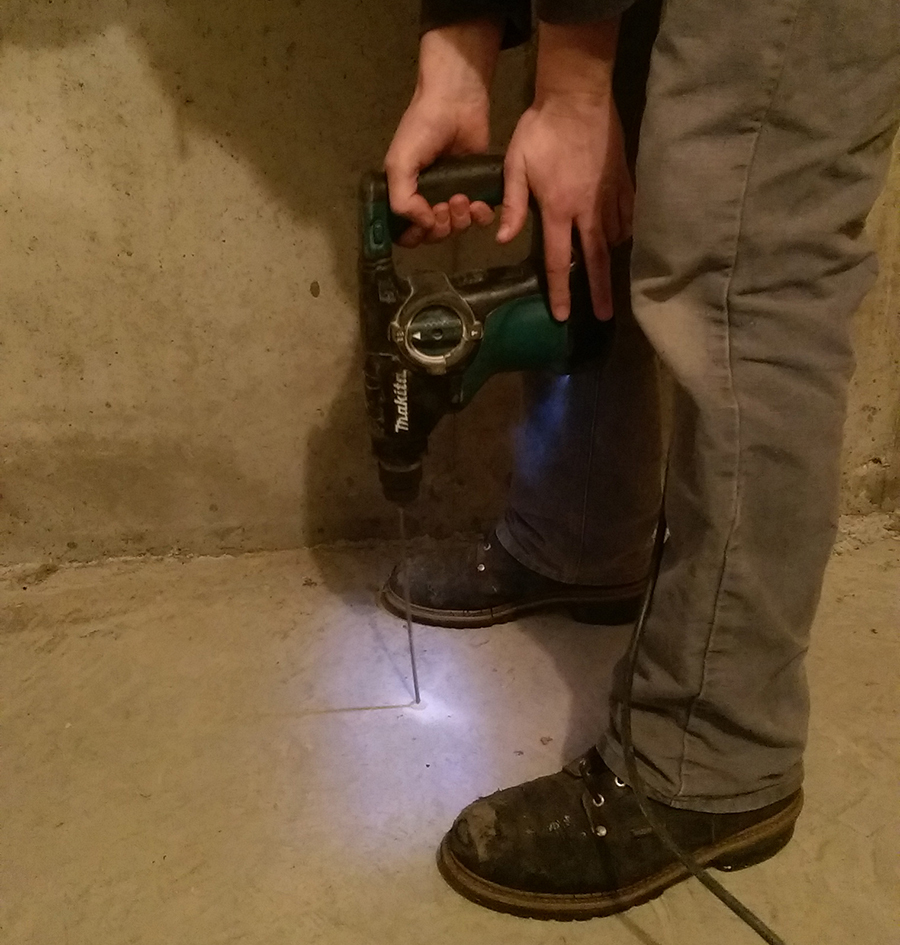
Determining the airflow beneath the slab ensures the system will be able to vacuum the radon particles and vent them out properly.
If difficult or problem soils exist under the home, more than one extraction point may be needed.
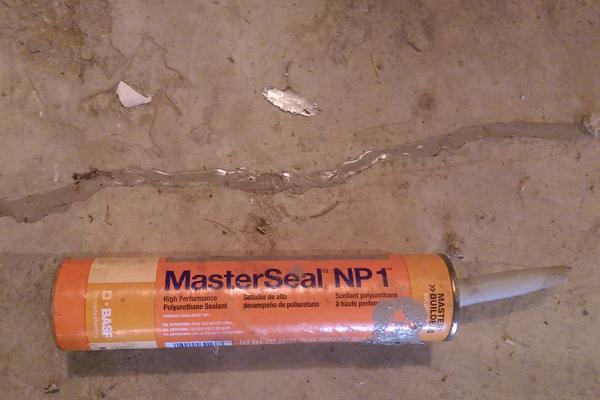
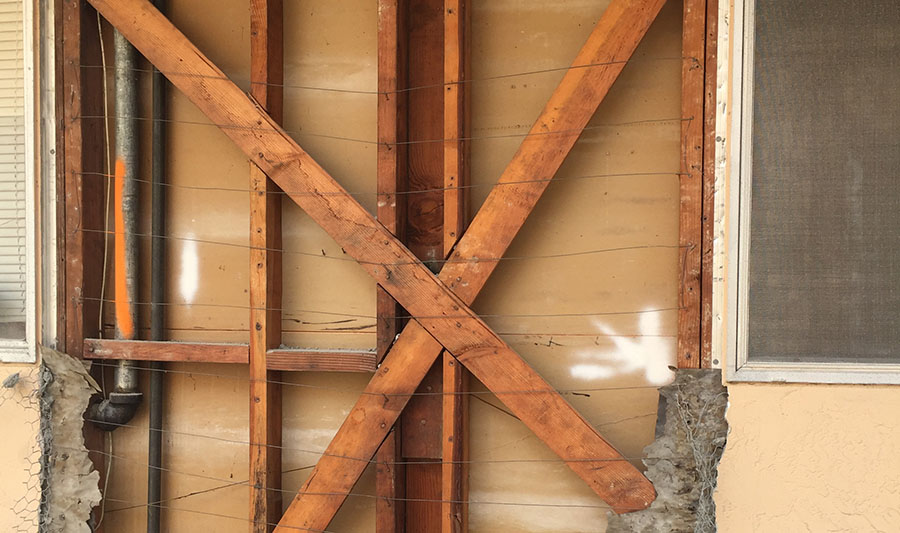
2. Seal cracks in the foundation walls and floor to prevent radon leaks
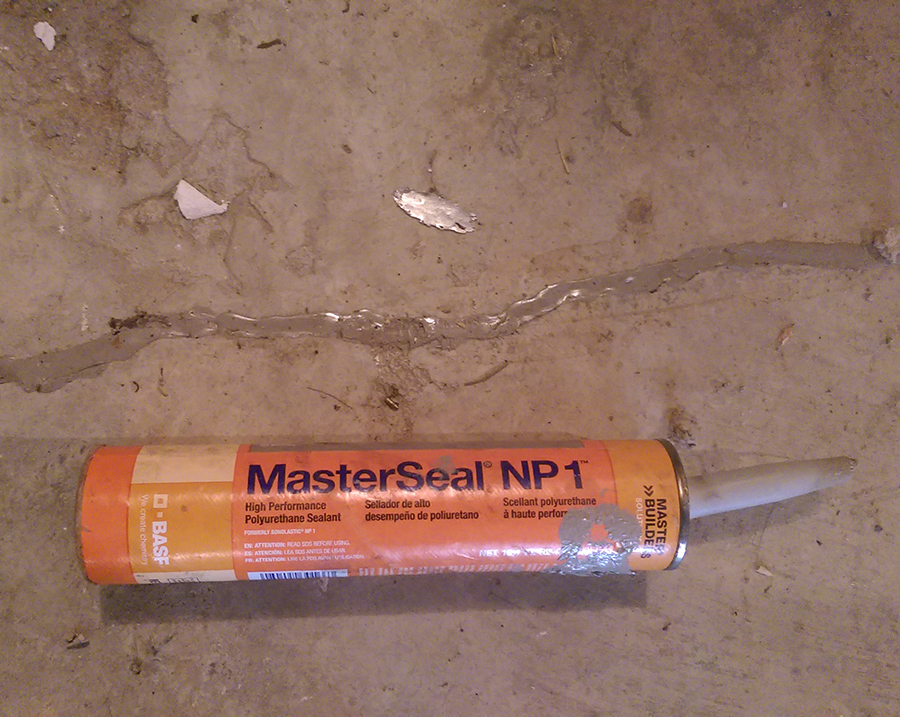
The overall goal of the system is to suck up most of the air from under the slab that is rising through the soil. Sealing the cracks allows better suction and increases the amount of soil gas captured by the mitigation system.
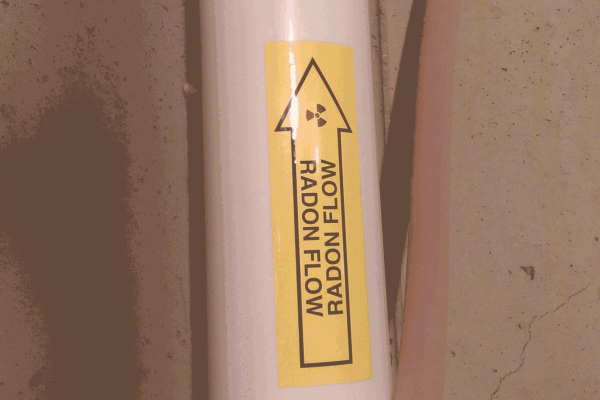
3. Install a vertical PVC pipe running from beneath the slab and extending through an exit point above the roof line to vent radon
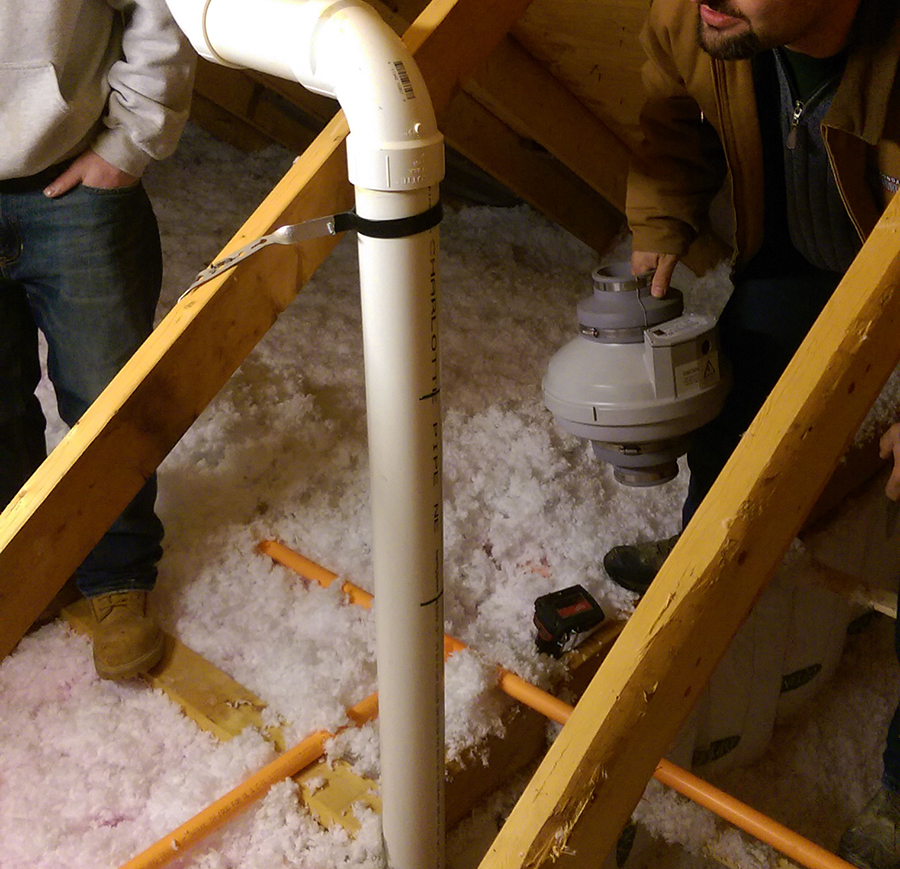
This pipe diverts the air and radon particles out of the house.
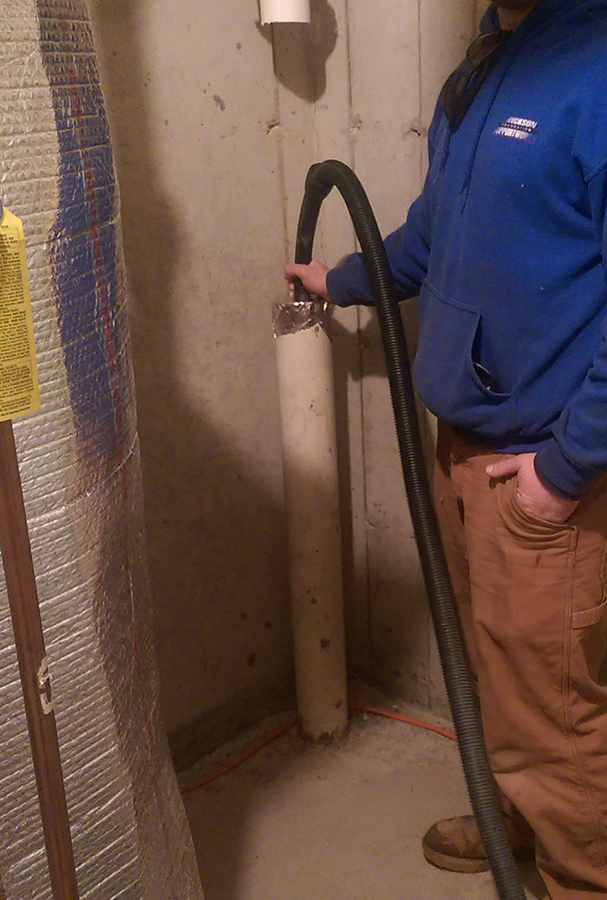
Once the PVC pipe is installed, test the sub-slab communication again to check the system.
It is recommended to remove ten gallons of soil beneath the pipe to create more surface area of soil to suck from.
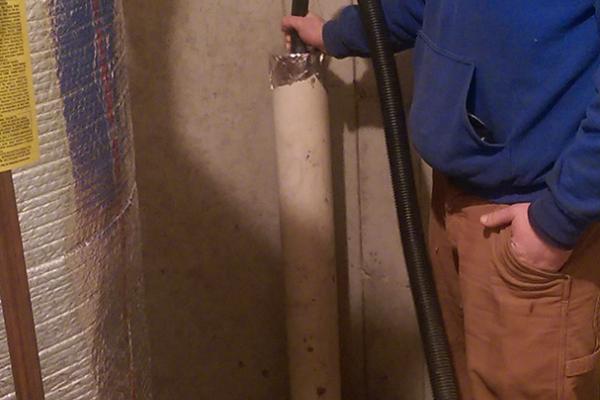
Here, we tested the pipe using a shop vac and noticed the pressure readings in the air flow were much different after sealing the cracks around the foundation.
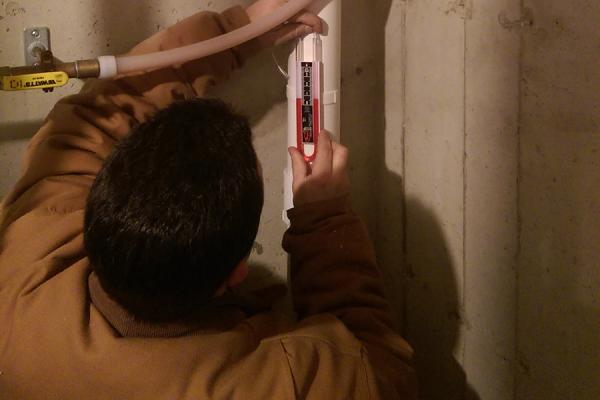
4. Install a manometer to verify the radon mitigation system is working
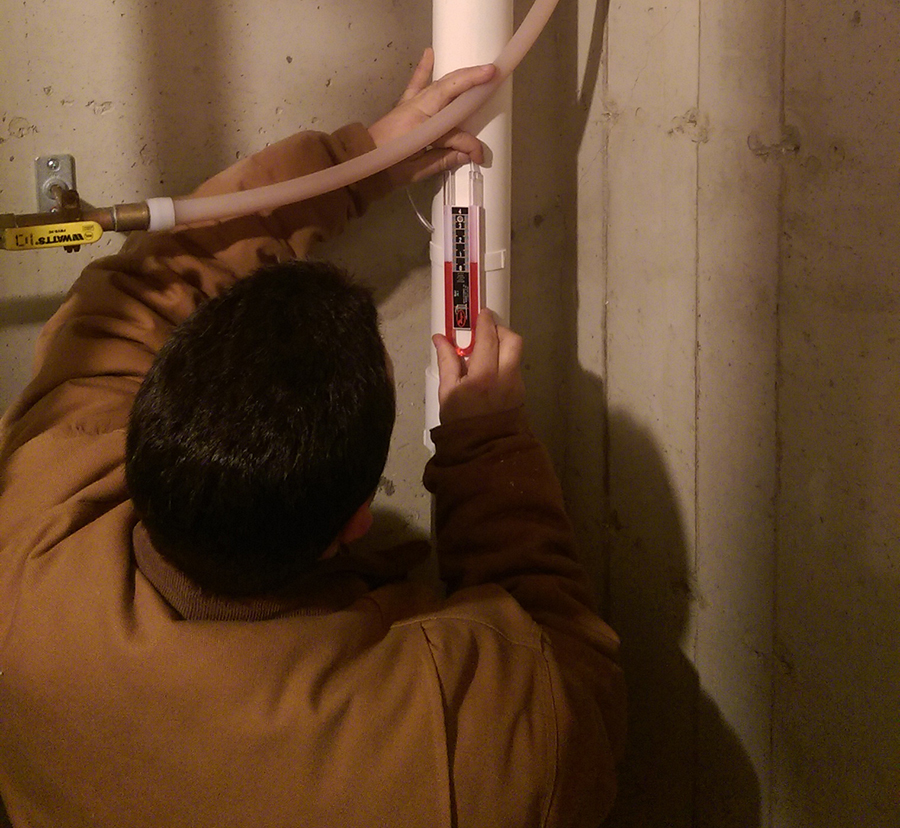
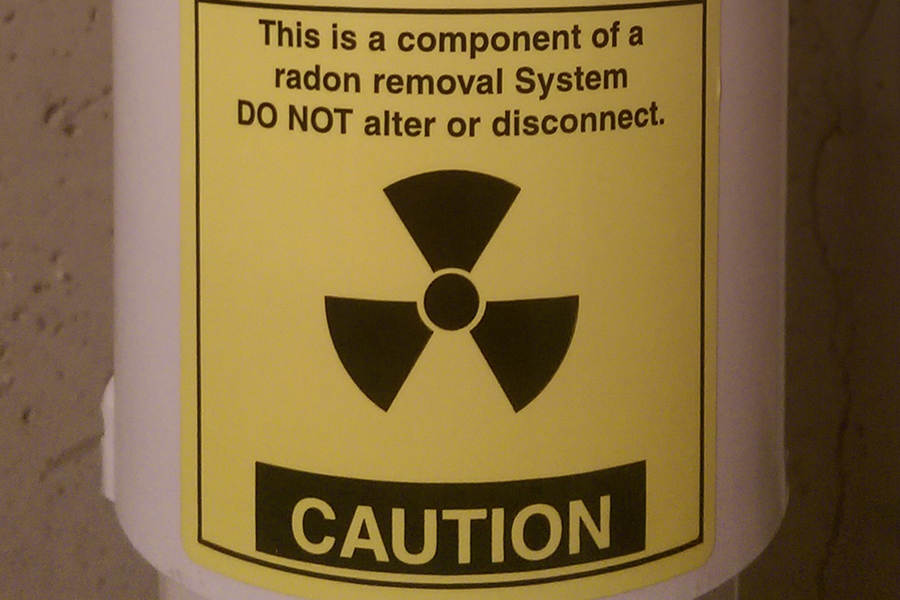
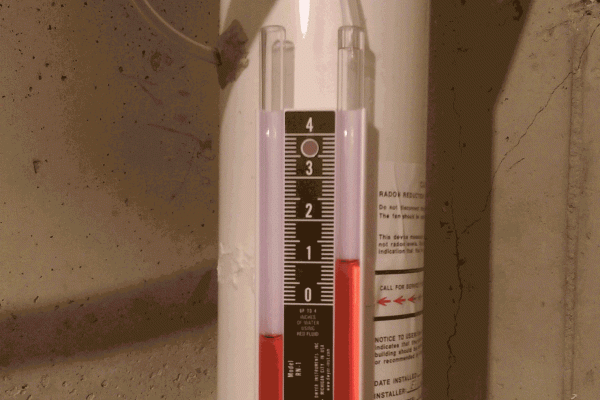
The manometer is mounted on the pipe and has a small tube that is inserted into the pipe.
Homeowners can check the manometer to make sure the radon mitigation system is operating correctly.
If the fluid inside the manometer is above zero on the side which has the small tube extending out into the pipe, the air is being vacuumed upward and the system is working correctly.
Of course, the manometer will read zero when installing and before the fan is turned on.
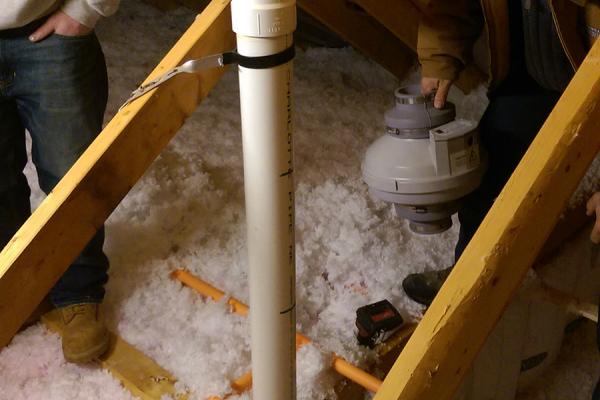
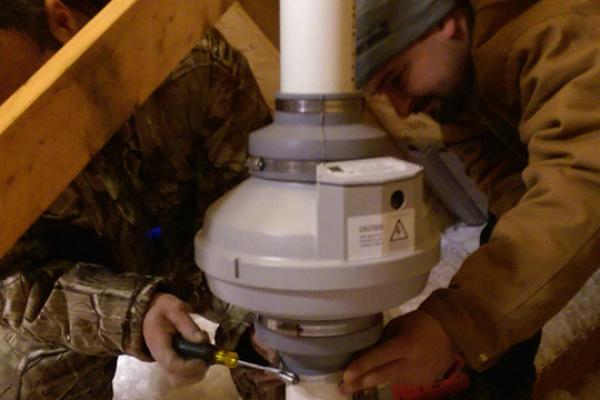
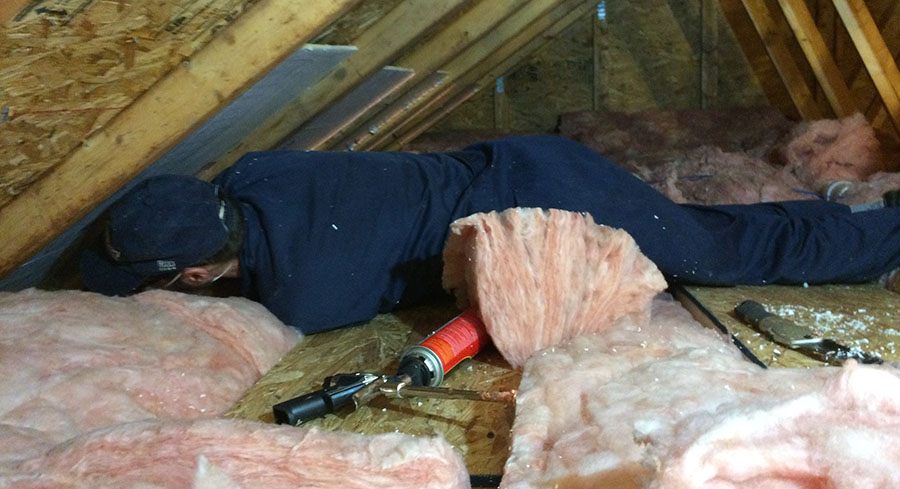
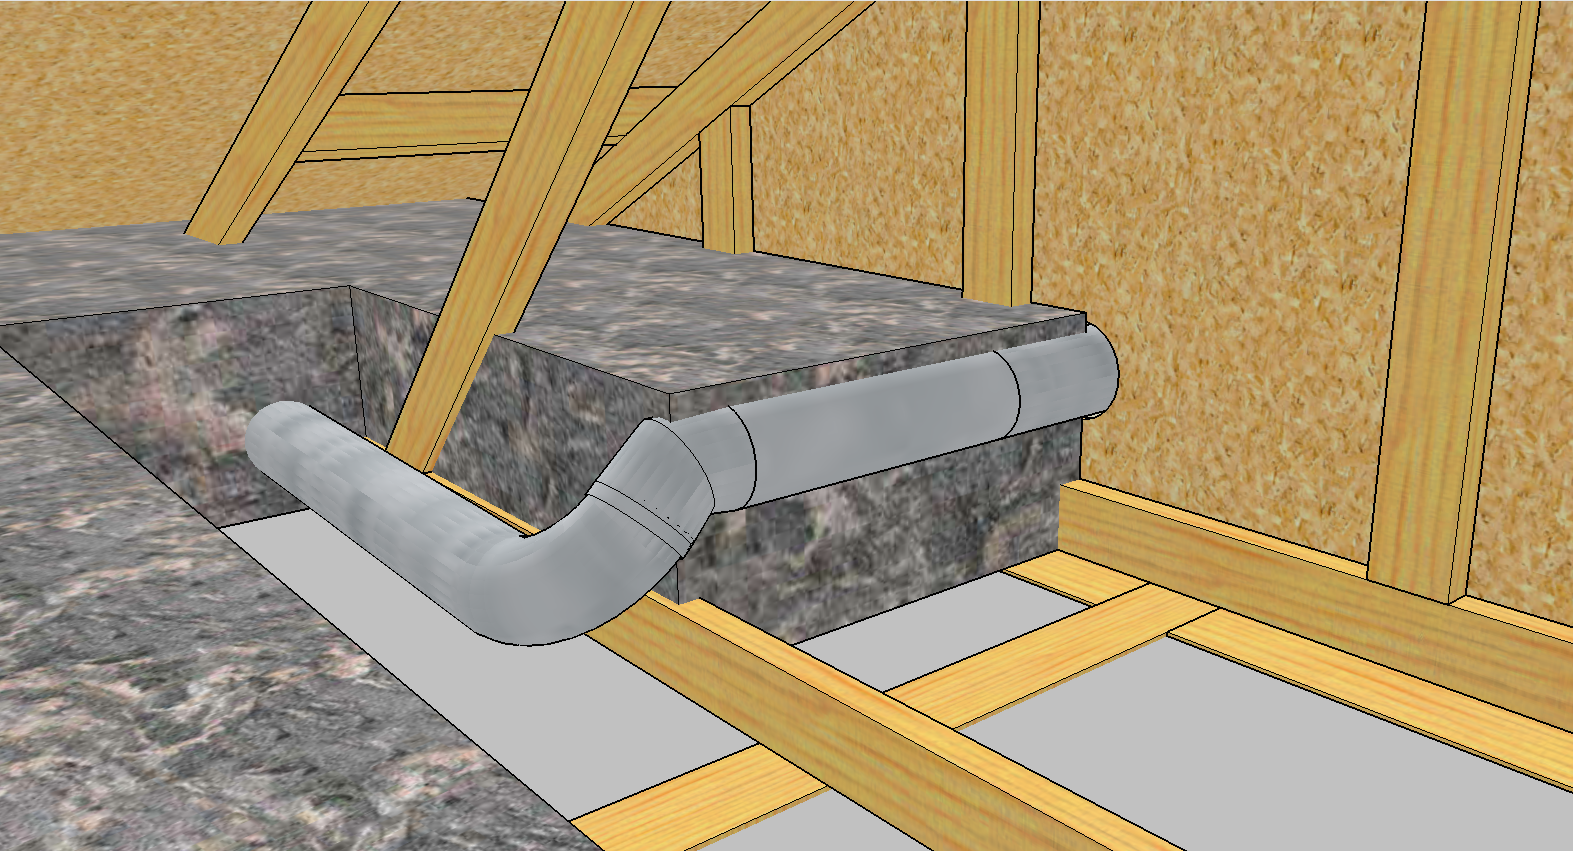
5. Cut the pipe in the attic and install the radon fan
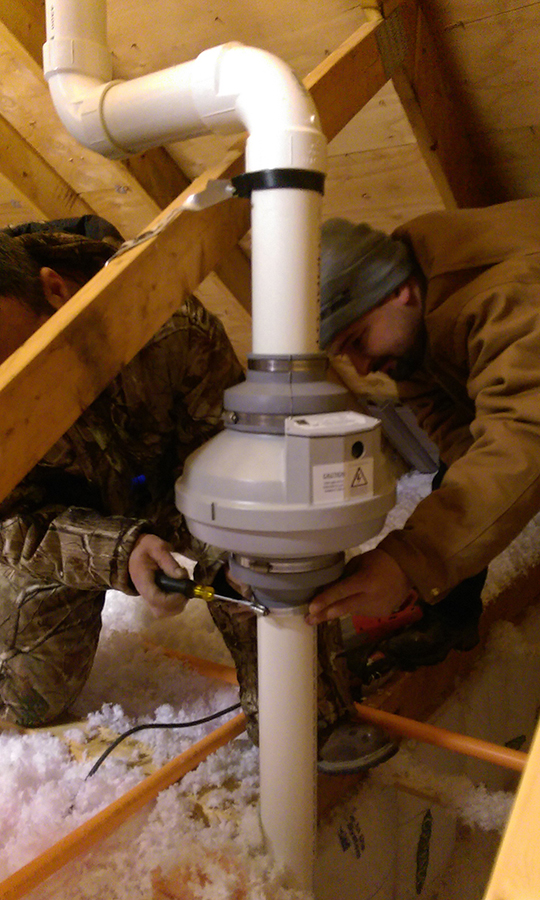
The fan keeps a continuous vacuum effect in place, sucking up the air from beneath the slab in the basement and venting it out above the home.
There are different grades of fans available, homes with compact soils may require a more powerful fan system than a sandy soil home.
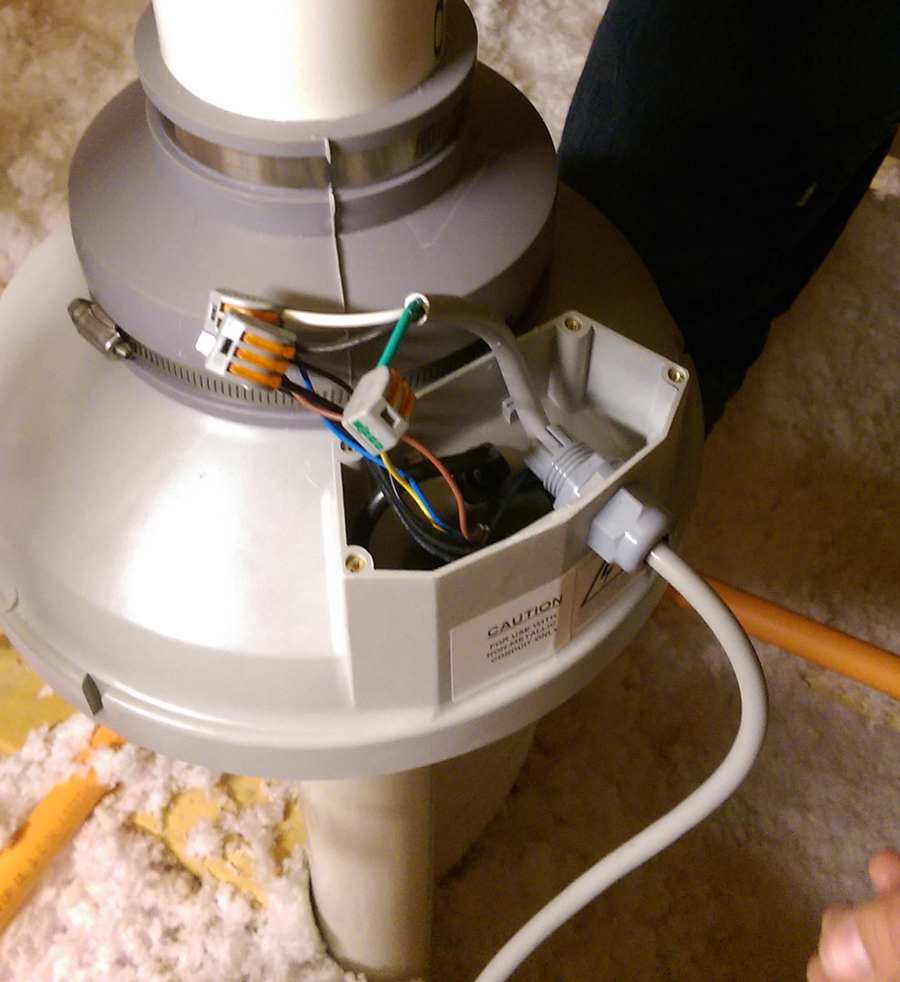
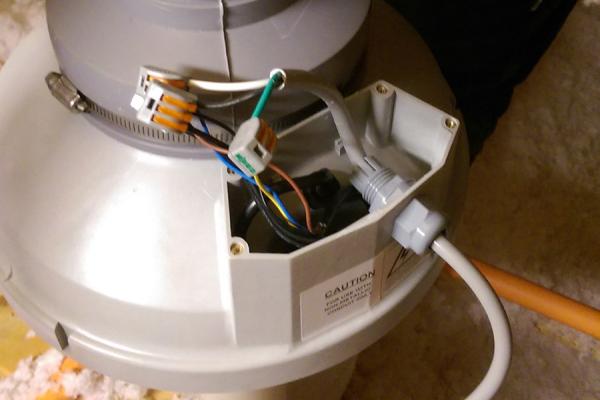
Connect the wires (of course, this requires access to an electrical outlet in the attic).
6. Check the radon mitigation system
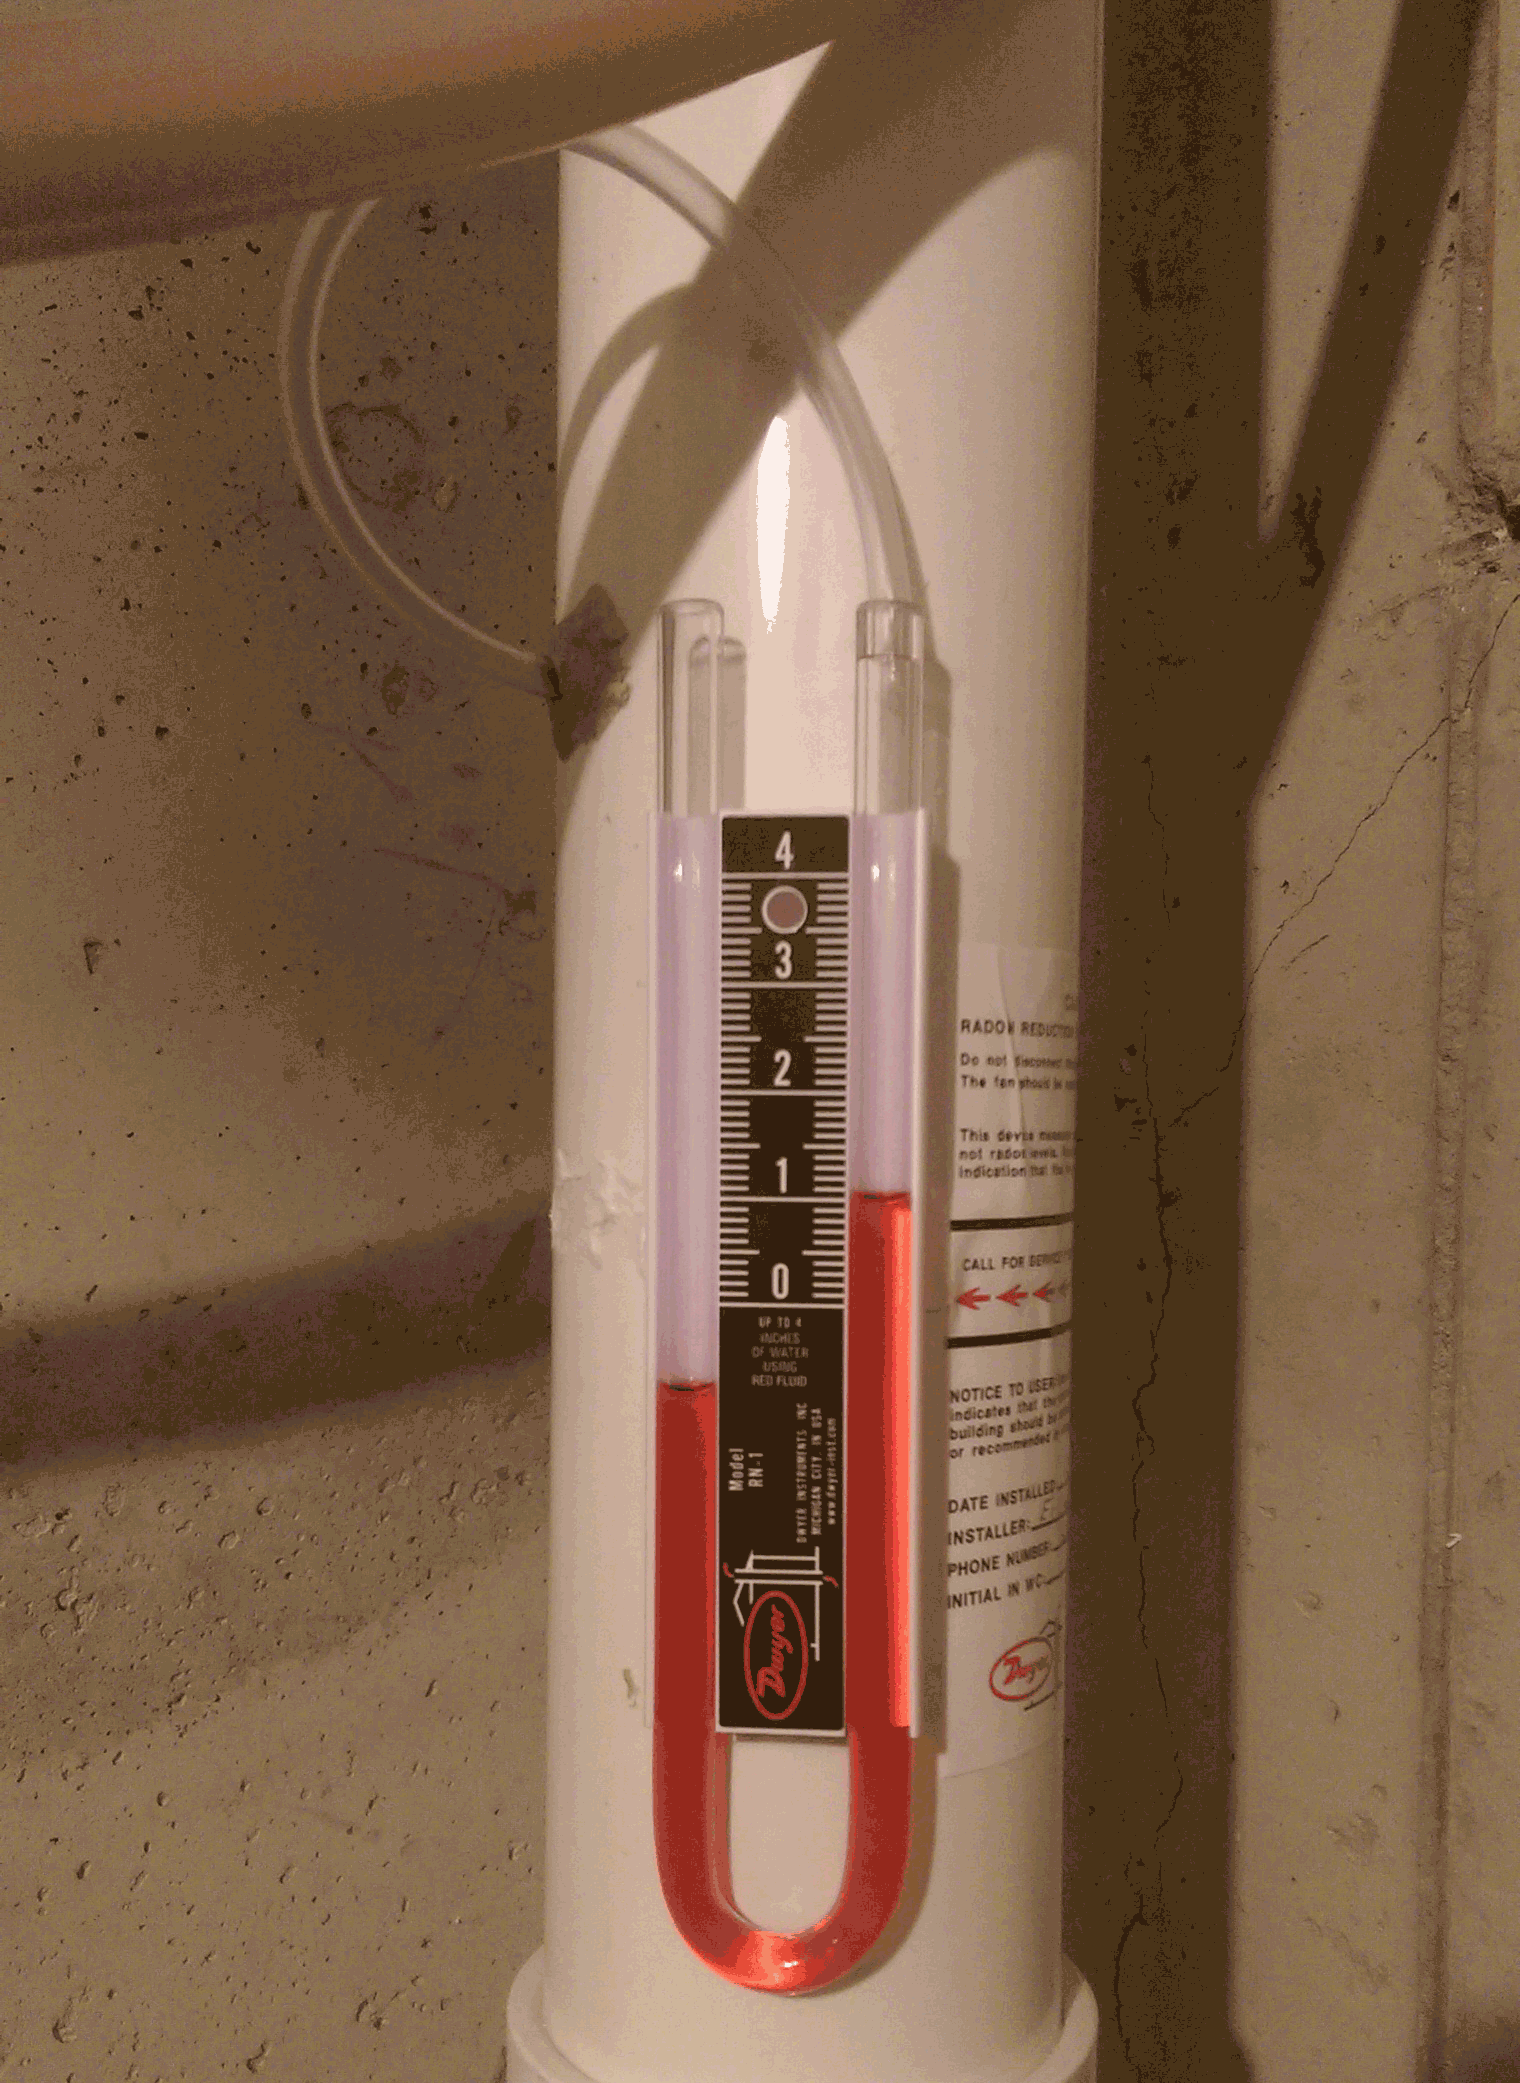
Once the fan is installed, the manometer should have a reading greater than zero. If the reading is still zero, the system has not created a negative air pressure under the slab, and radon particles could still be entering the home.
Seal the leaks and retest.
